Configure Secure OpenVPN private network access
Step-by-step guide to set up OpenVPN to access your private network
Step-by-step guide to set up OpenVPN to access your private network
This document will show you how to set up OpenVPN to access your private network over the Internet. VPN allows to connect to your private network services. We will show how to configure OpenVPN using BounCA in an OpenWRT router. The complete guide of OpenVPN is out of the scope of this tutorial, for more information about configuring OpenVPN, check their documentation OpenVPN Guide We assume you have a working BounCA and create a certificate authority, see Create Root Certificate Authority.
To use OpenVPN, you need to have a server certificate, and for all connecting clients separate client certificates. When you configured CRL, you can revoke access via CRL.
Start with creating the server certificate. Enter the dashboard of your intermediate CA which must sign your server certificate.
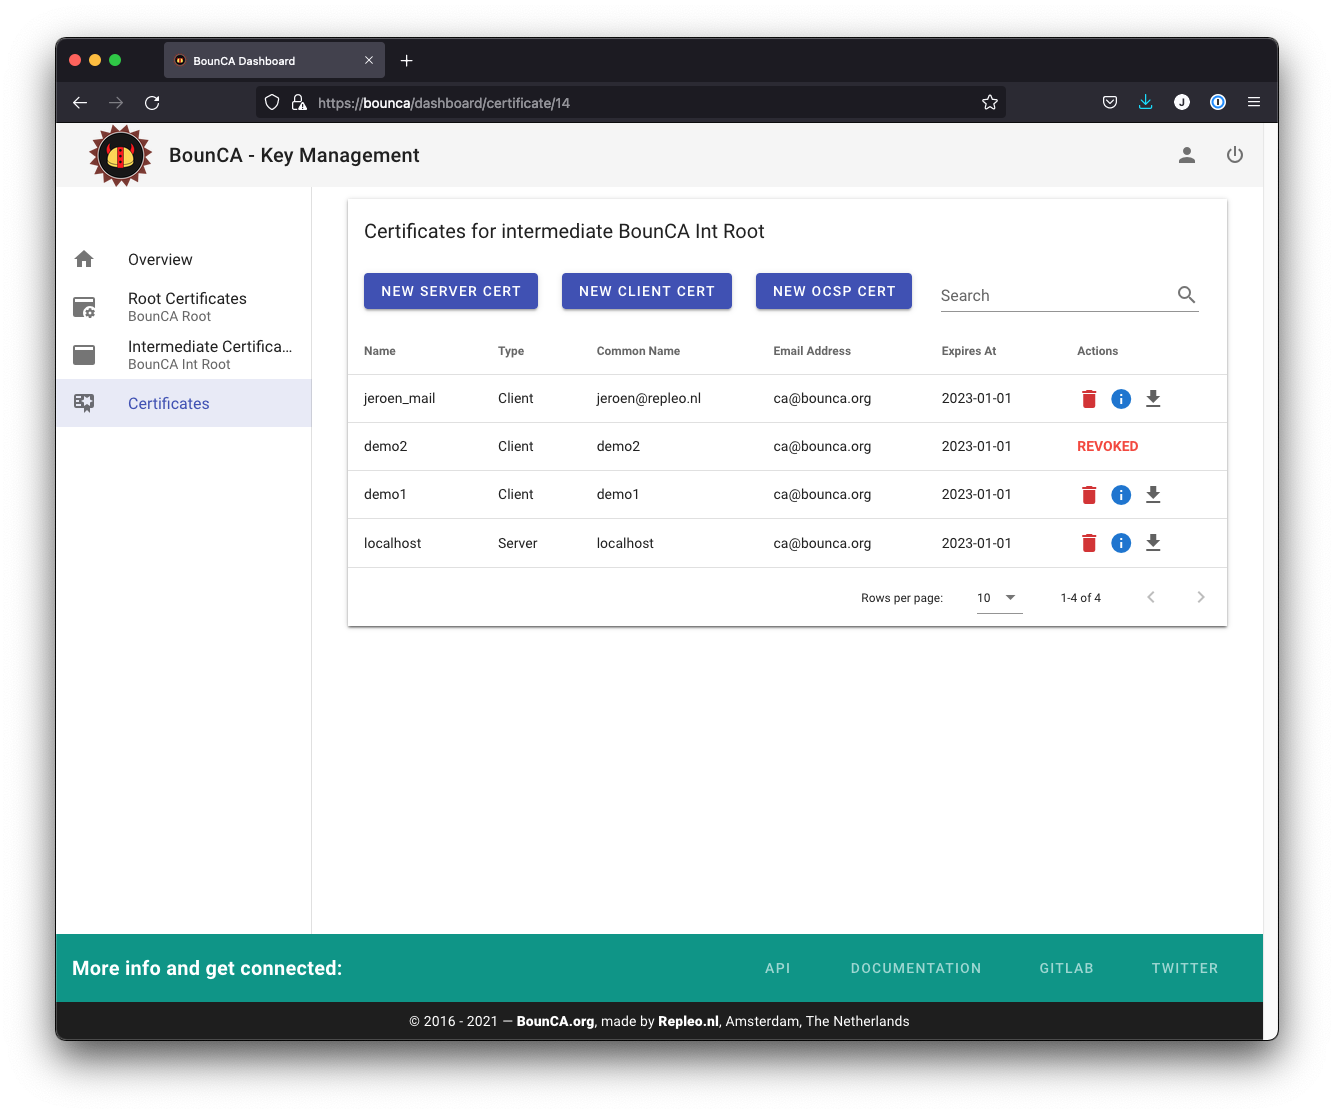
Step into intermediate certificate
Click on the New Server Cert button to add a new server certificate, and a form will be shown. You must at least define the Common Name, it can be everything, we will use the FQDN of our vpn server.

Create OpenVPN server certificate
We give the server certificates a validity of two years. The passphrase is kept empty, otherwise we cannot automatically start OpenVPN during booting. You can copy the distinguished name information from the intermediate certificate by pressing the Copy From Intermediate button.

Empty passphrase and name of OpenVPN server certificate
Press create, and download the certificate bundle from the dashboard.
OpenVPN also needs Diffie-Hellman parameters. Generate those on the command line using openssl:
openssl dhparam -out dhparams.pem 4096. It might take a while to generate them.
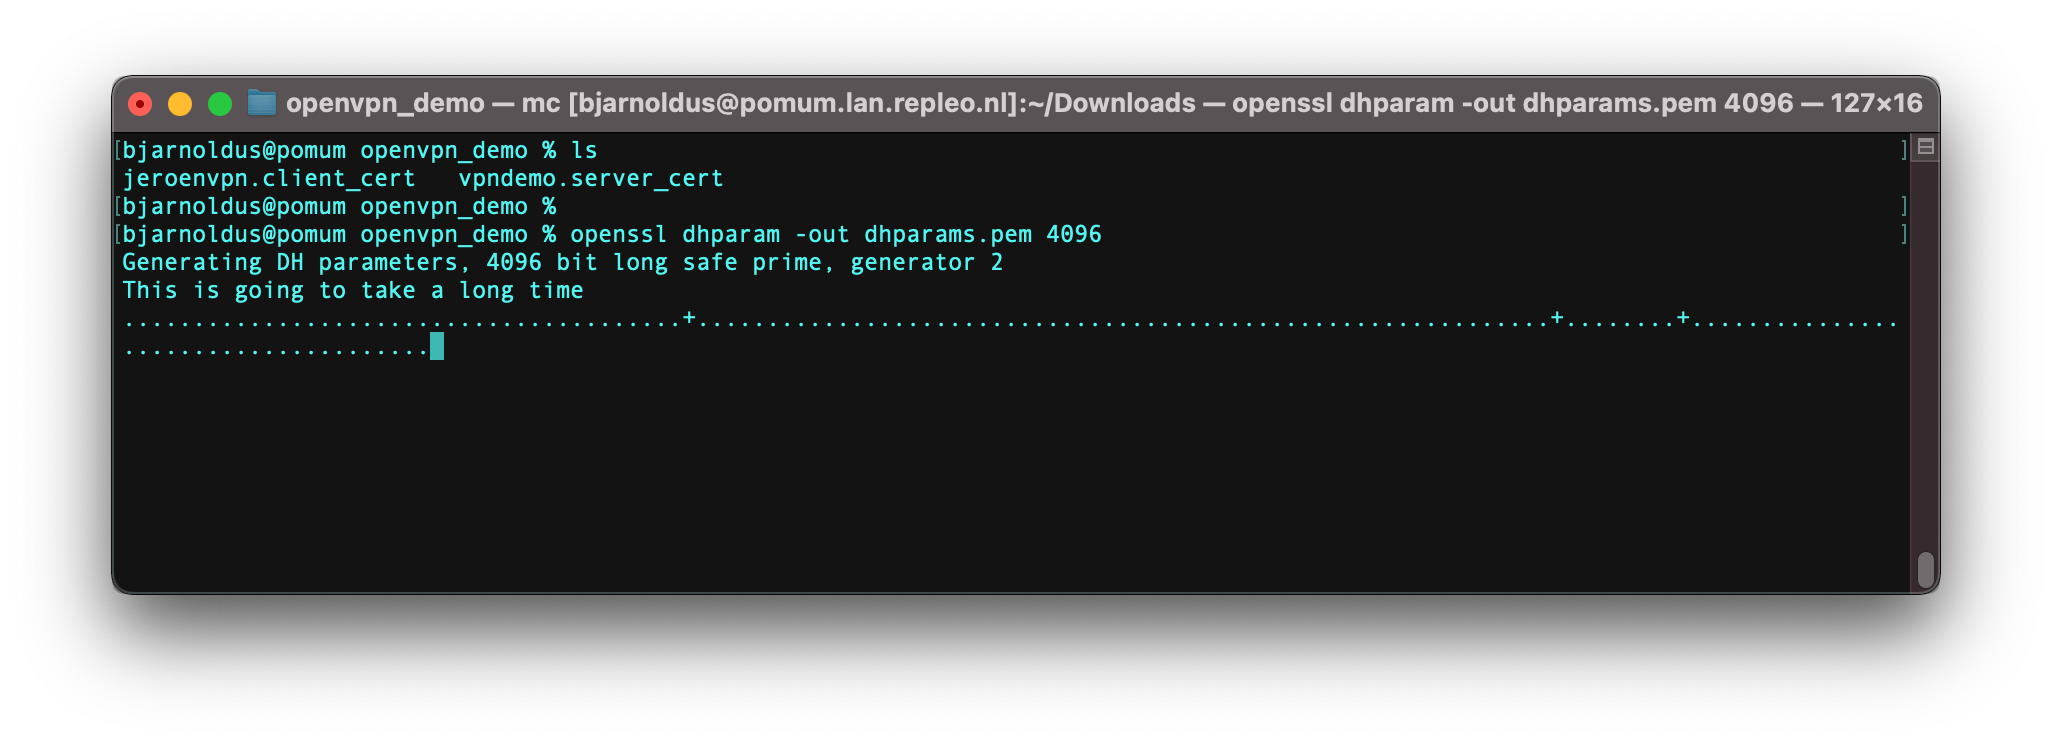
Generate Diffie-Hellman parameters
We will discuss how to configure OpenVPN using the webinterface of an OpenWRT router. As OpenWRT is Linux-based, the configuration can also be used on the commandline of a Linux machine.
Create the server ovpn file, like the one below:
comp-lzo yes
dev tun
proto udp
port 1194
mssfix 1420
keepalive 10 60

; Allow multiple logins with same certificate
duplicate-cn

cipher AES-256-CBC
auth SHA256
; disable old insecure encryption like SHA1, disable in case old clients need to connect
tls-version-min 1.2

; Optimization for windows clients
sndbuf 393215
rcvbuf 393215
push "sndbuf 393215"
push "rcvbuf 393215"


; The certificates and key
ca /etc/openvpn/rootca.pem
cert /etc/openvpn/vpndemo-chain.pem
key /etc/openvpn/vpndemo.key
dh /etc/openvpn/dhparams.pem
; Optional CRL for revocation clients
;crl-verify int.crl

; VPN subnet
server  192.168.88.0 255.255.255.0
; Route to local network
push "route 192.168.34.0 255.255.255.0"
verb 3
Replace in this file the IPs for the route to your local network, and VPN subnet. The VPN subnet should be different from your local network. That is also the reason a route to your local network needs to be pushed to your clients.
Upload the certificates and keys to your OpenWRT router using scp. In our case, we stored the certificates in /etc/openvpn.
Browse to the UI of your OpenWRT modem, and open de OpenVPN Pane.
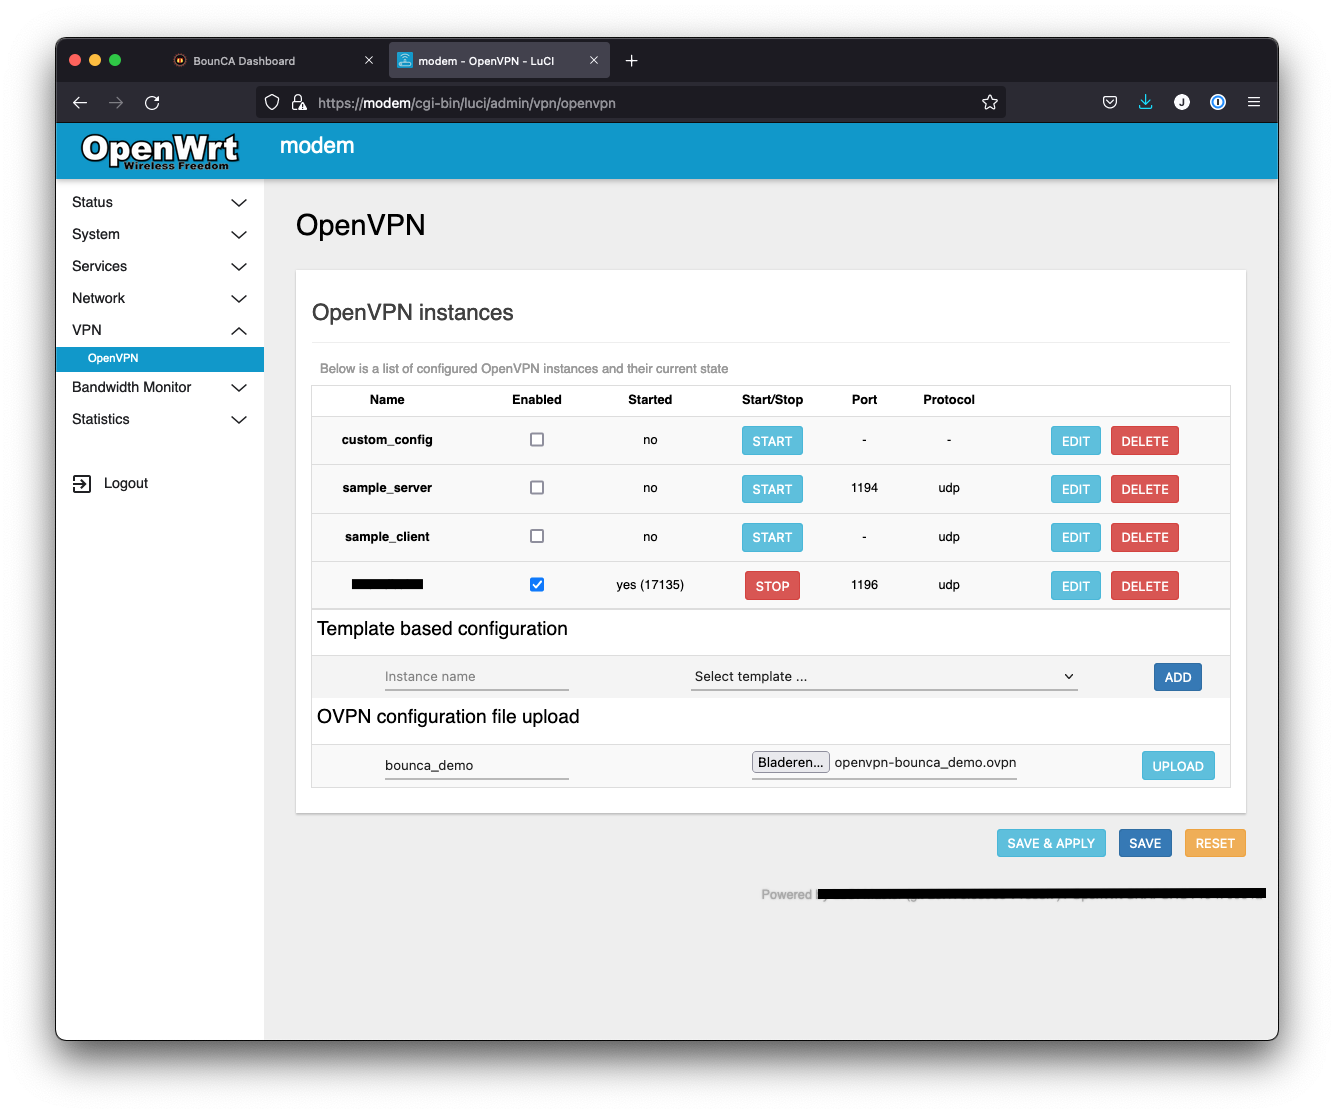
OpenVPN dashboard in OpenWRT
Upload the ovpn file.
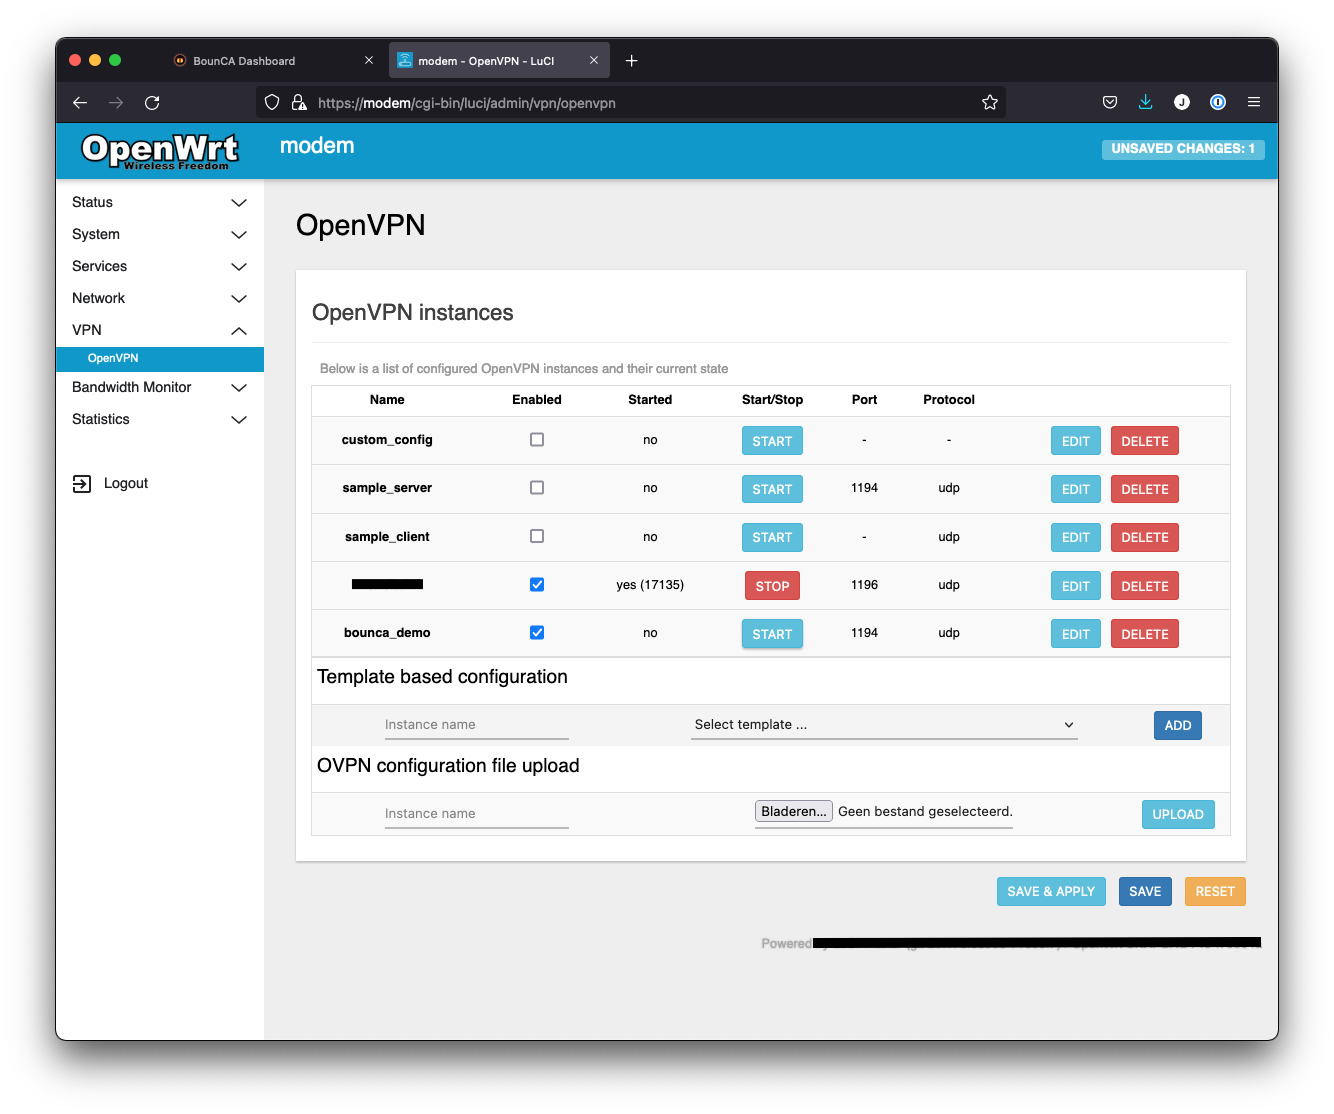
The Demo VPN server has been created in OpenWRT
You can inspect the content of the ovpn file by pressing the edit button.
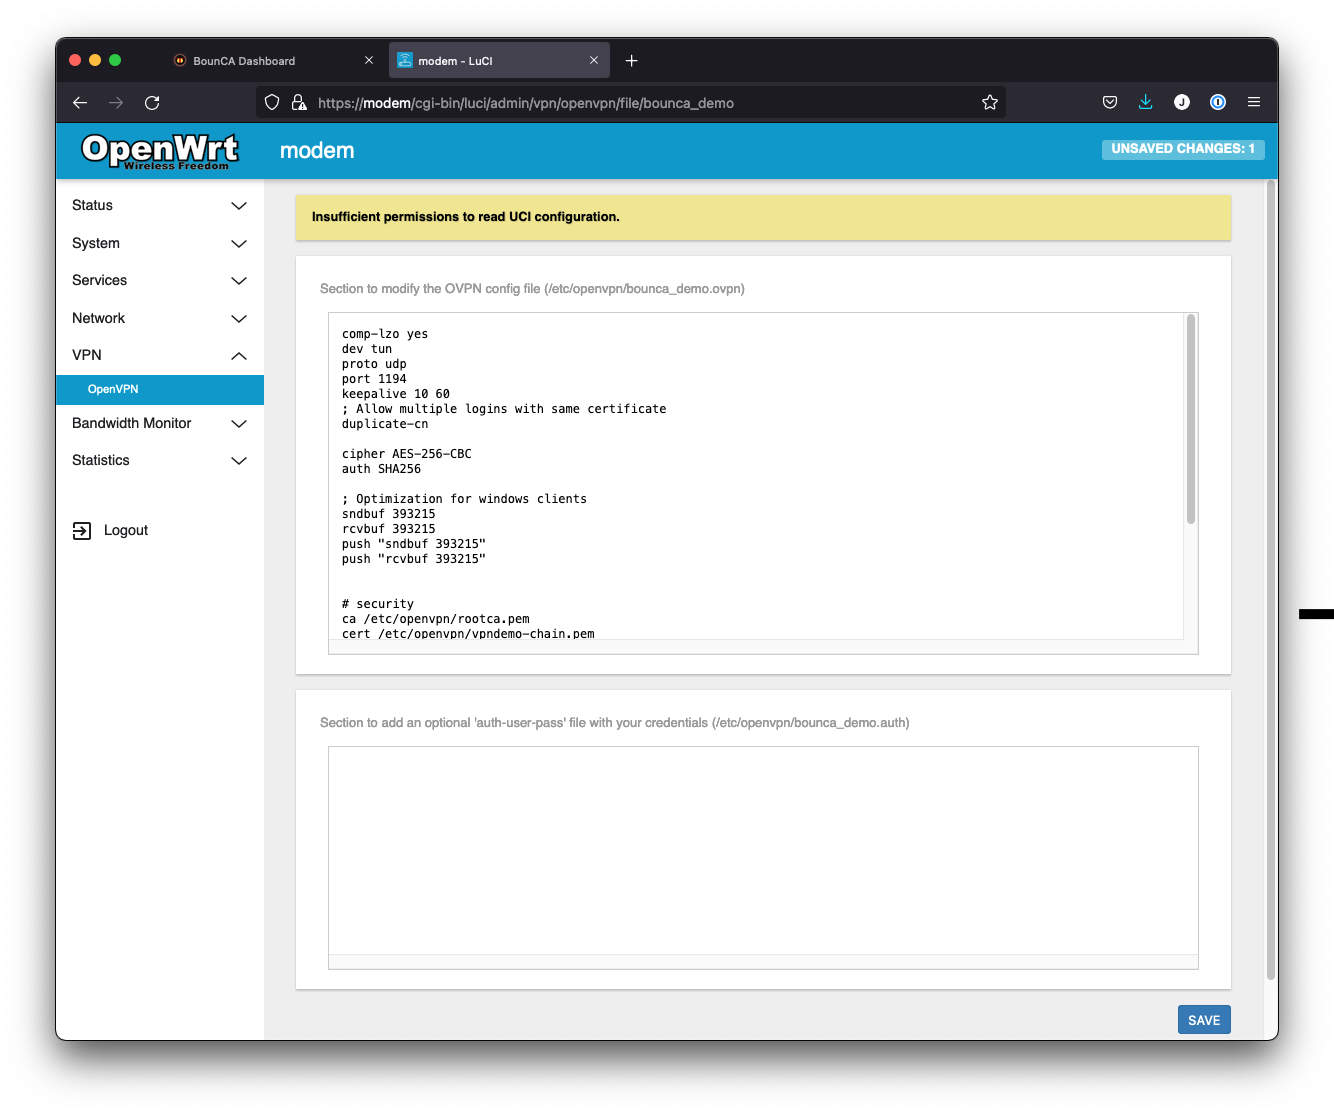
Inspect the config of the Demo VPN
Go back to the VPN dashboard, and press the Save & Apply button. When OpenWRT has been refreshed, you can press the Start button of the demo VPN.

VPN Server has been started
The VPN sever is running at this point, however you are not able to reach it.
OpenWRT has strict firewall rules, and you need to open the port, and connect the tun interface
to the local lan zone.

Add firewall rule for the UPD port 1194 of OpenVPN
The firewall rule allows external clients to connect to the OpenVPN server, you can verify via nmap:
nmap <ip> -p 1194 -sU. You will only notice you cannot reach any device in your internal network.
The tun interface of the OpenVPN server must be added to the local zone, so no traffic will be blocked.
We added an unmanaged interface in the Interfaces dashboard of OpenWRT.
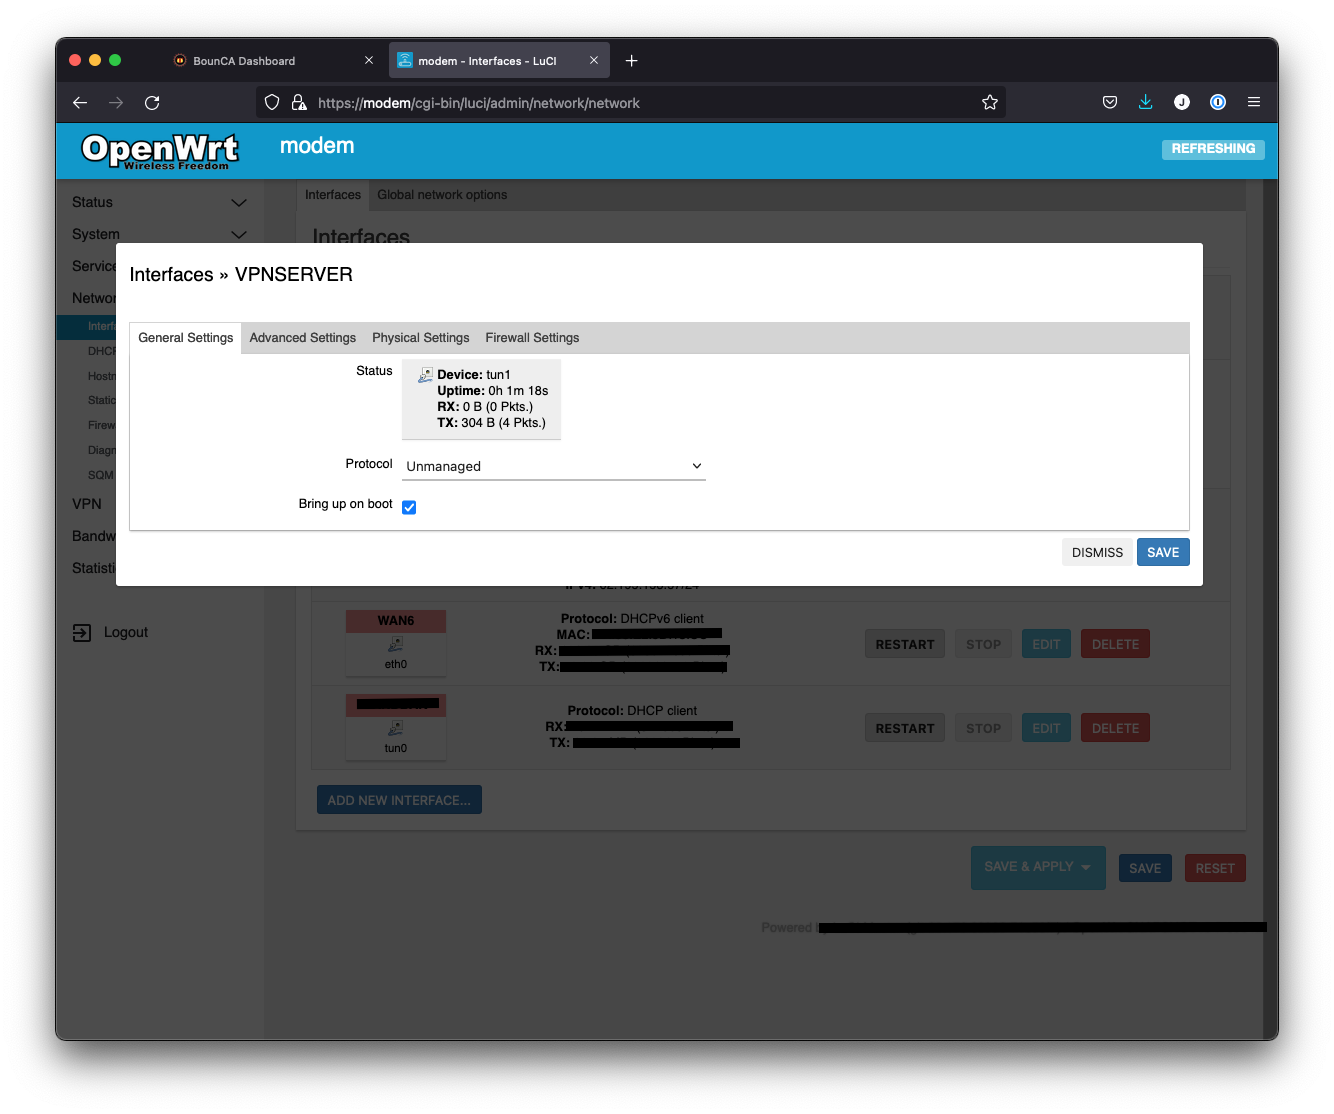
Add unmanaged interface to OpenWRT
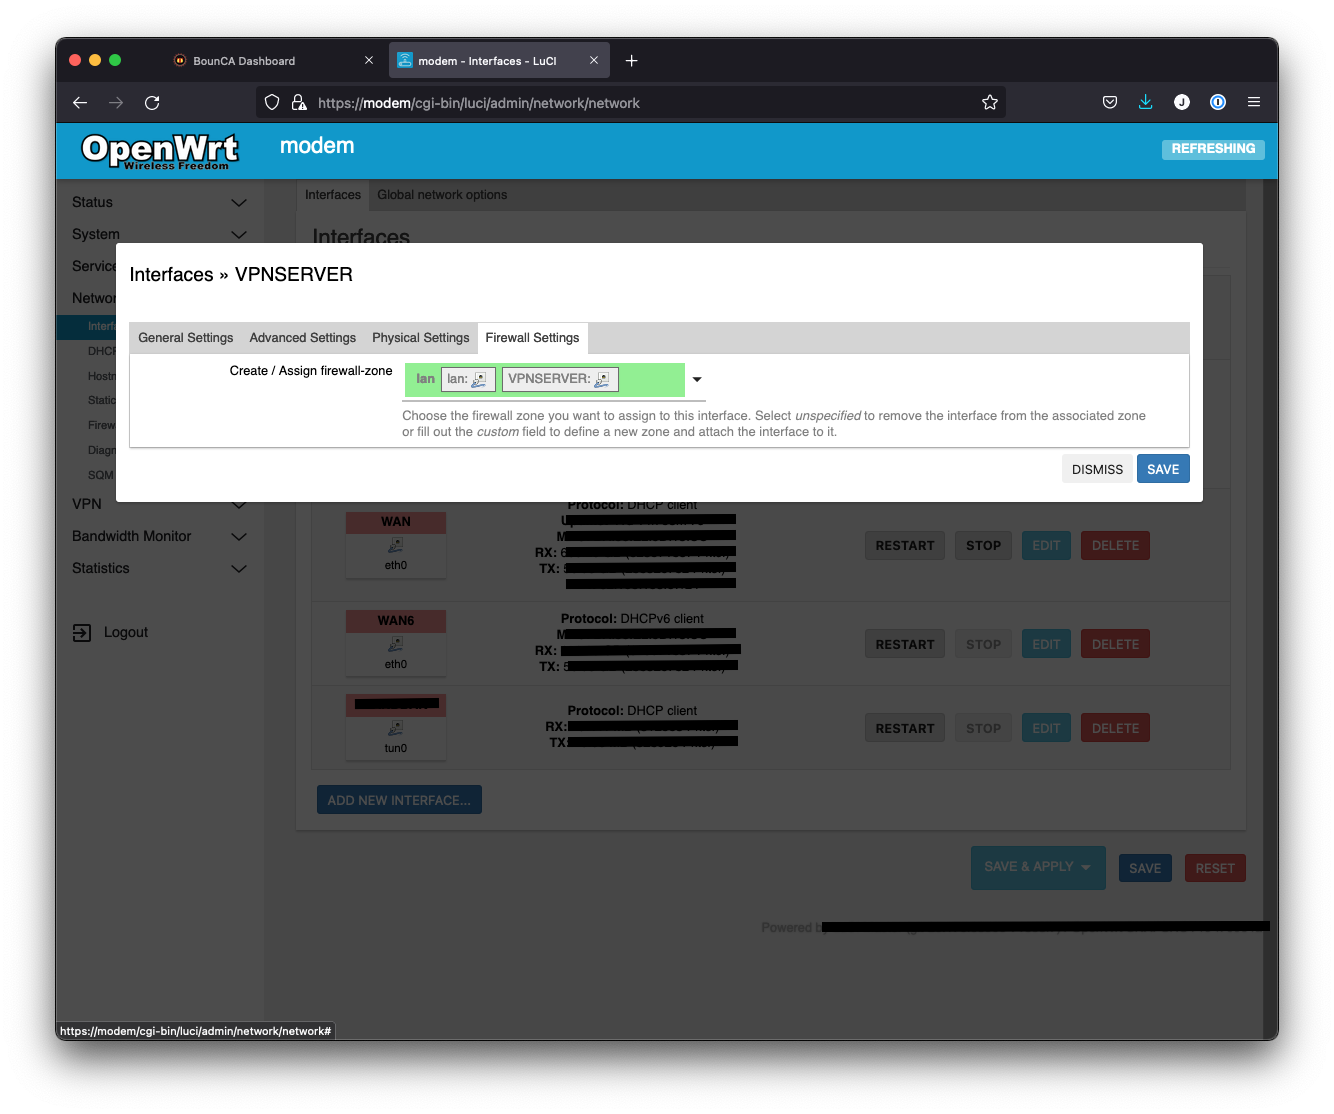
Add OpenVPN interface to local lan zone
The OpenVPN server is now ready. The next section will discuss how to connect to it.
To connect to the VPN server, you need a valid client certificate. Click on the New Client Cert button to add a new client certificate in the intermediate dashboard. The Common Name should be unique. Use for example the user name.
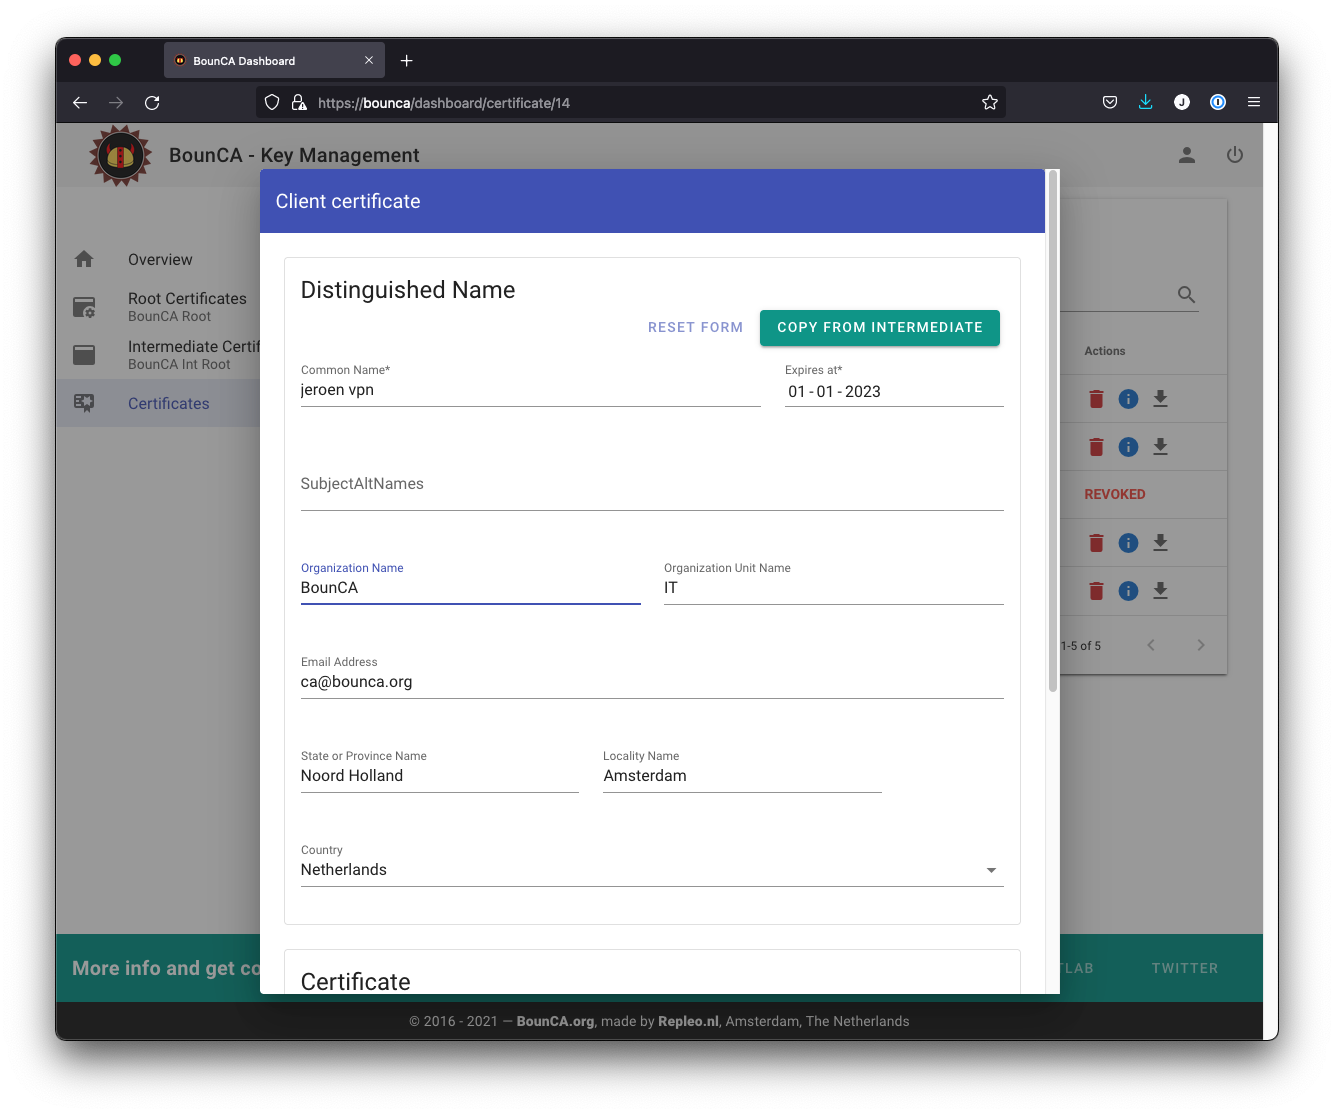
Create client certificate
The client certificate should be protected by a passphrase as it allows to connect to your OpenVPN server.
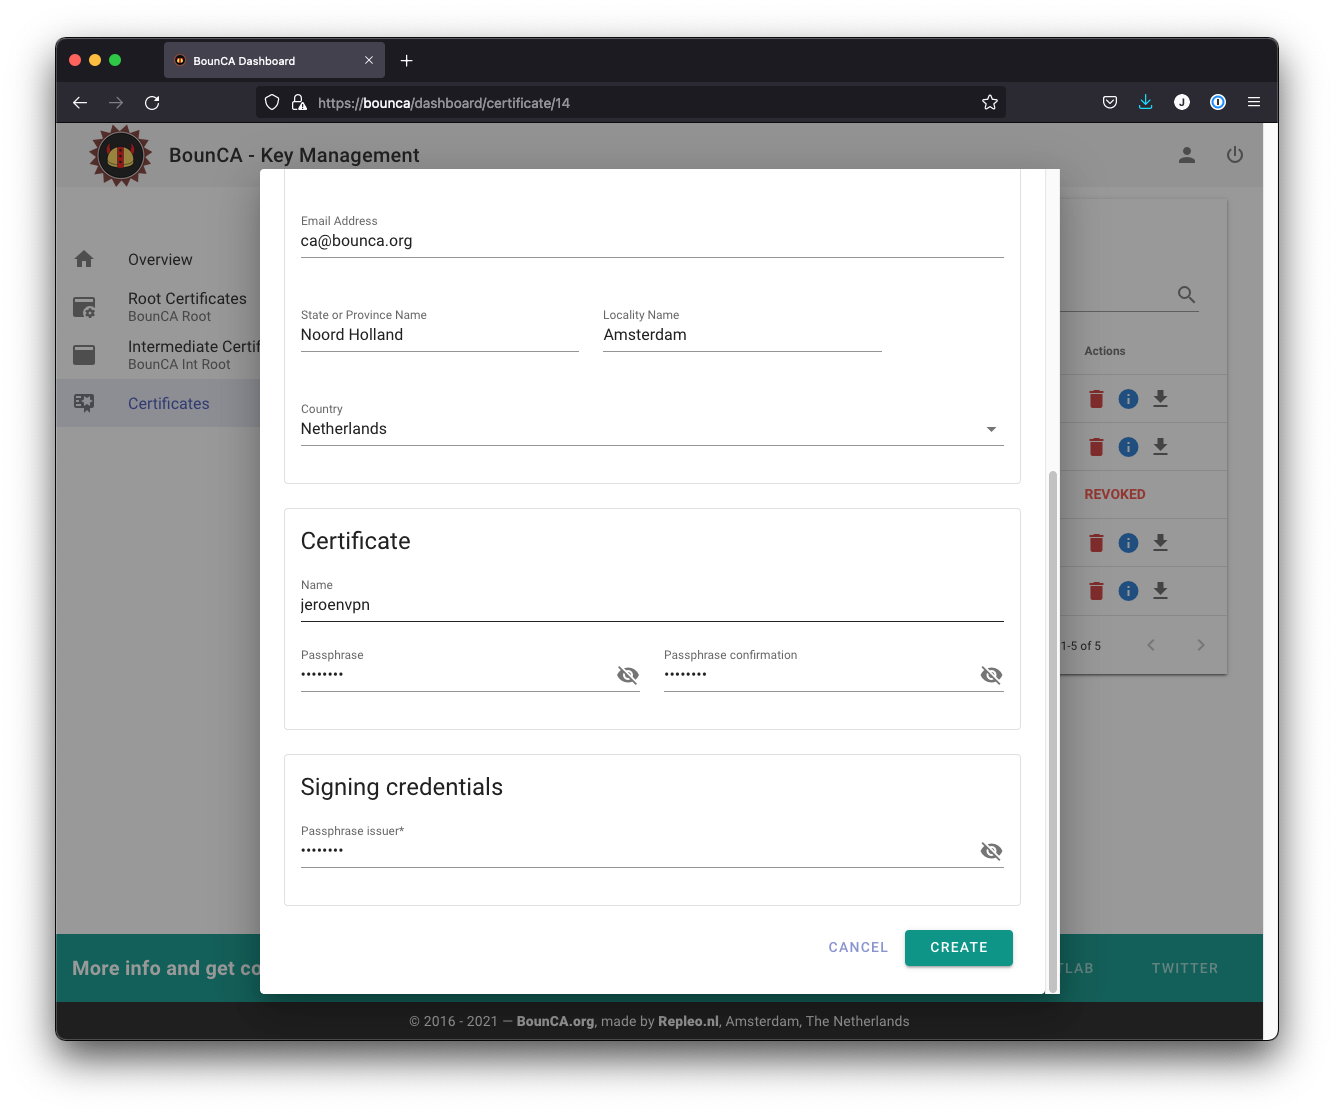
Add passphrase to your client certificate
Download the created client certificate, and use the connect to complete the ovpn file shown below.
client
comp-lzo
dev tun
proto udp
remote <HOSTNAME or IP of Server> 1194
resolv-retry infinite
nobind
persist-key
persist-tun
cipher AES-256-CBC
auth SHA256

<ca>
-----BEGIN CERTIFICATE-----
***Paste Intermediate CA Cert Text Here***

-----END CERTIFICATE-----
-----BEGIN CERTIFICATE-----
***Paste Root CA Cert Text Here***

-----END CERTIFICATE-----
</ca>
<cert>
-----BEGIN CERTIFICATE-----
***Paste Your Cert Text Here***

-----END CERTIFICATE-----
</cert>
<key>
-----BEGIN PRIVATE KEY-----
***Paste Your Cert Private Key Here***

-----END PRIVATE KEY-----
</key>
Instead of copying the keys to your ovpn file, you can also refer to the key and certificate via the key and cert directive,
and distribute the key/certificate-pair separately. OpenVPN Connect is be able to handle separated certificate files.
You can now connect your OpenVPN server. For example, you can connect from linux with the following command:
openvpn --config demovpn.ovpn.
Or you can connect via your iPhone using the OpenVPN Connect app. Share the file to your phone using iTunes, and open the OpenVPN Connect app.
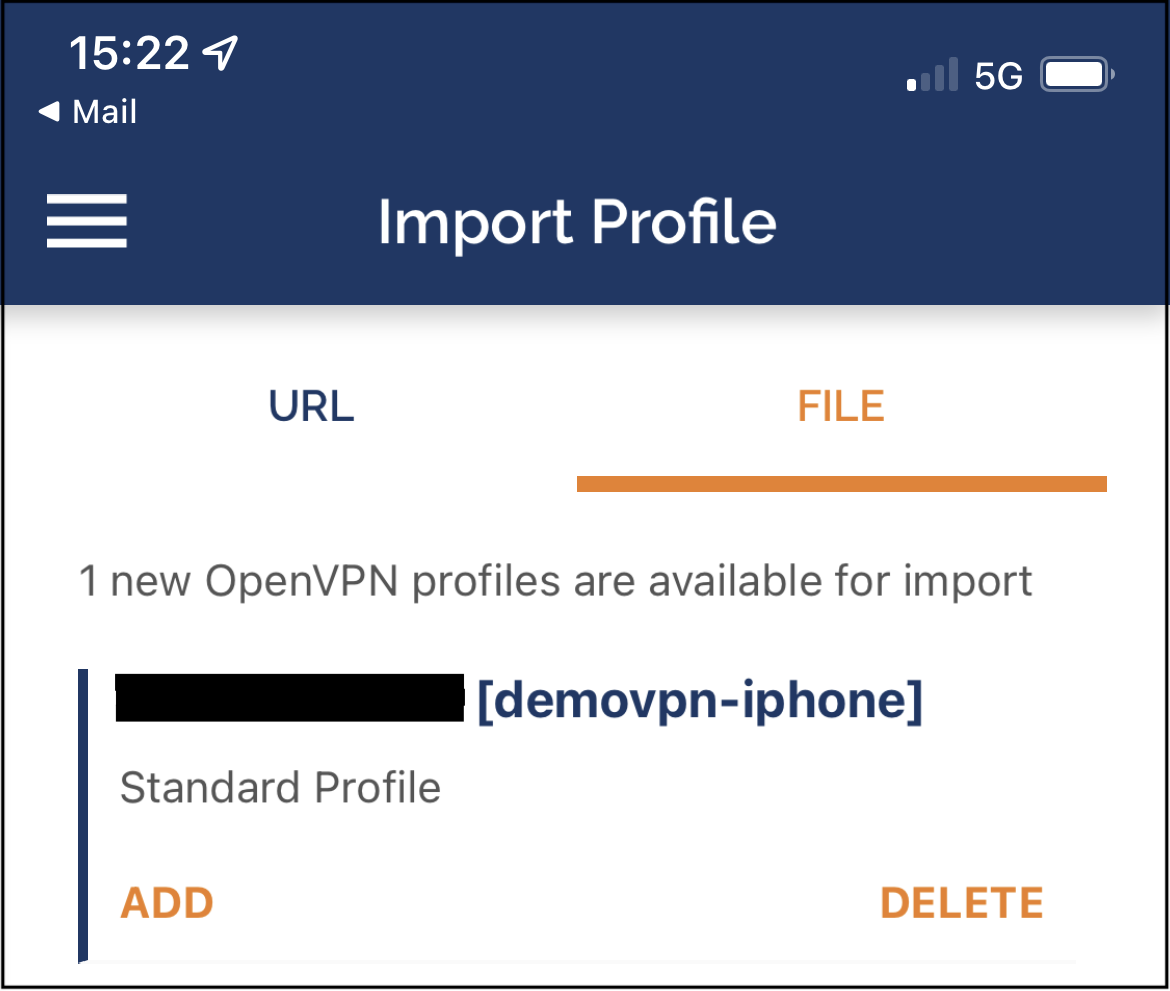
Import ovpn file in OpenVPN Connect
When you import the ovpn file, the app ask to store your passphrase. Depending on your security needs you can decide to store it, and via the edit button you can modify your choice.
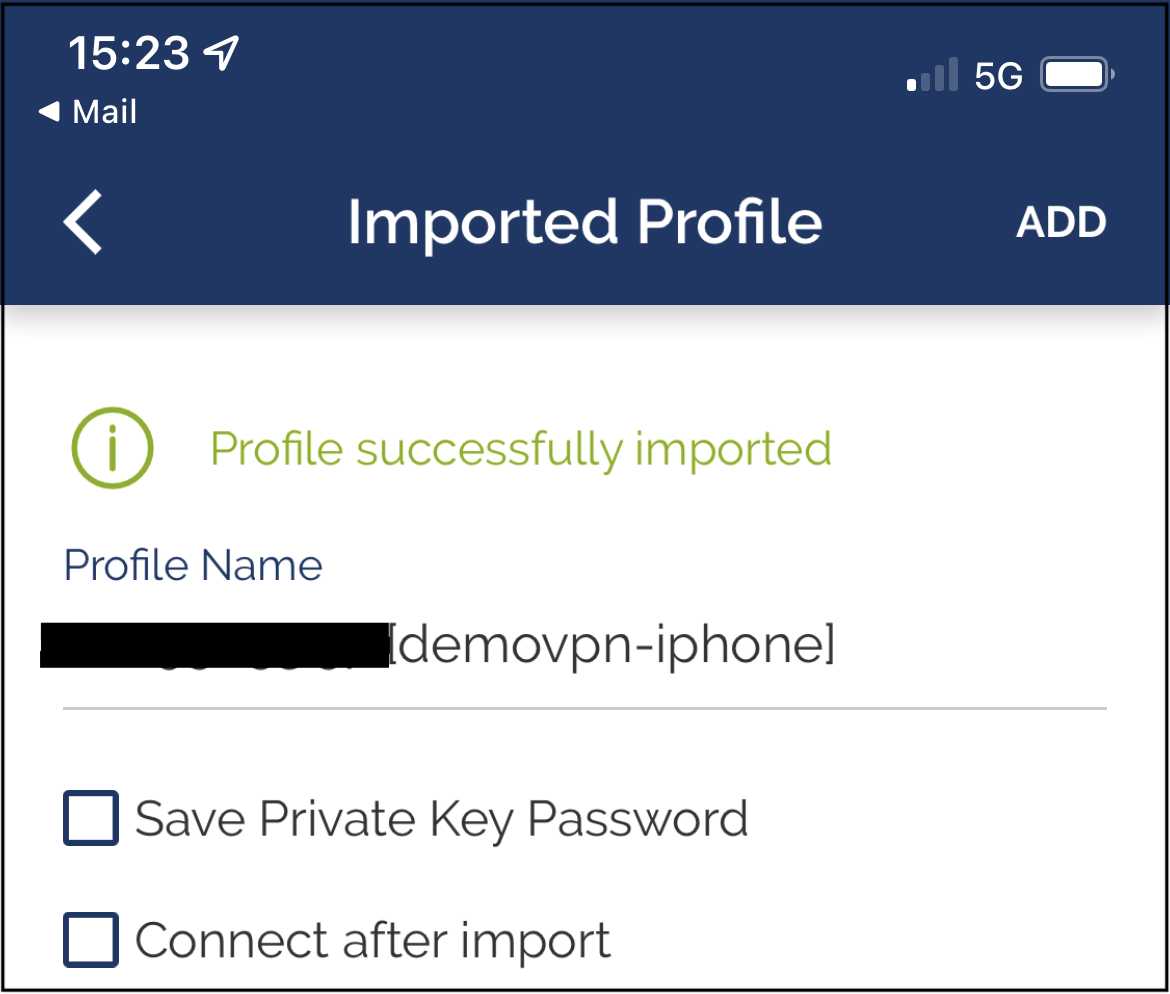
Profile has been imported in OpenVPN Connect
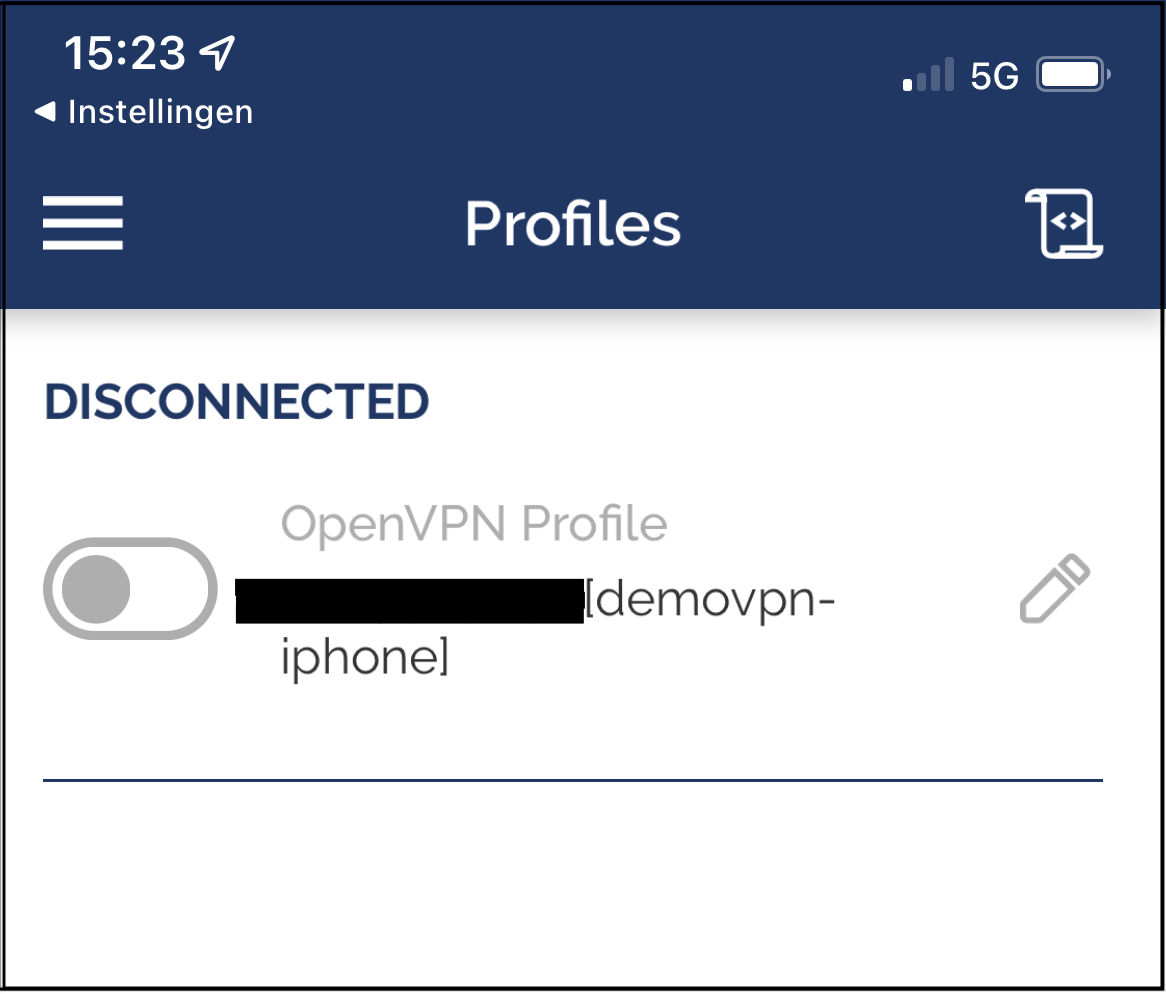
Disconnected profile
Slide the connect button of your profile, and OpenVPN Connect will ask for your passphrase. When you entered your passphrase it will connect to your VPN server.
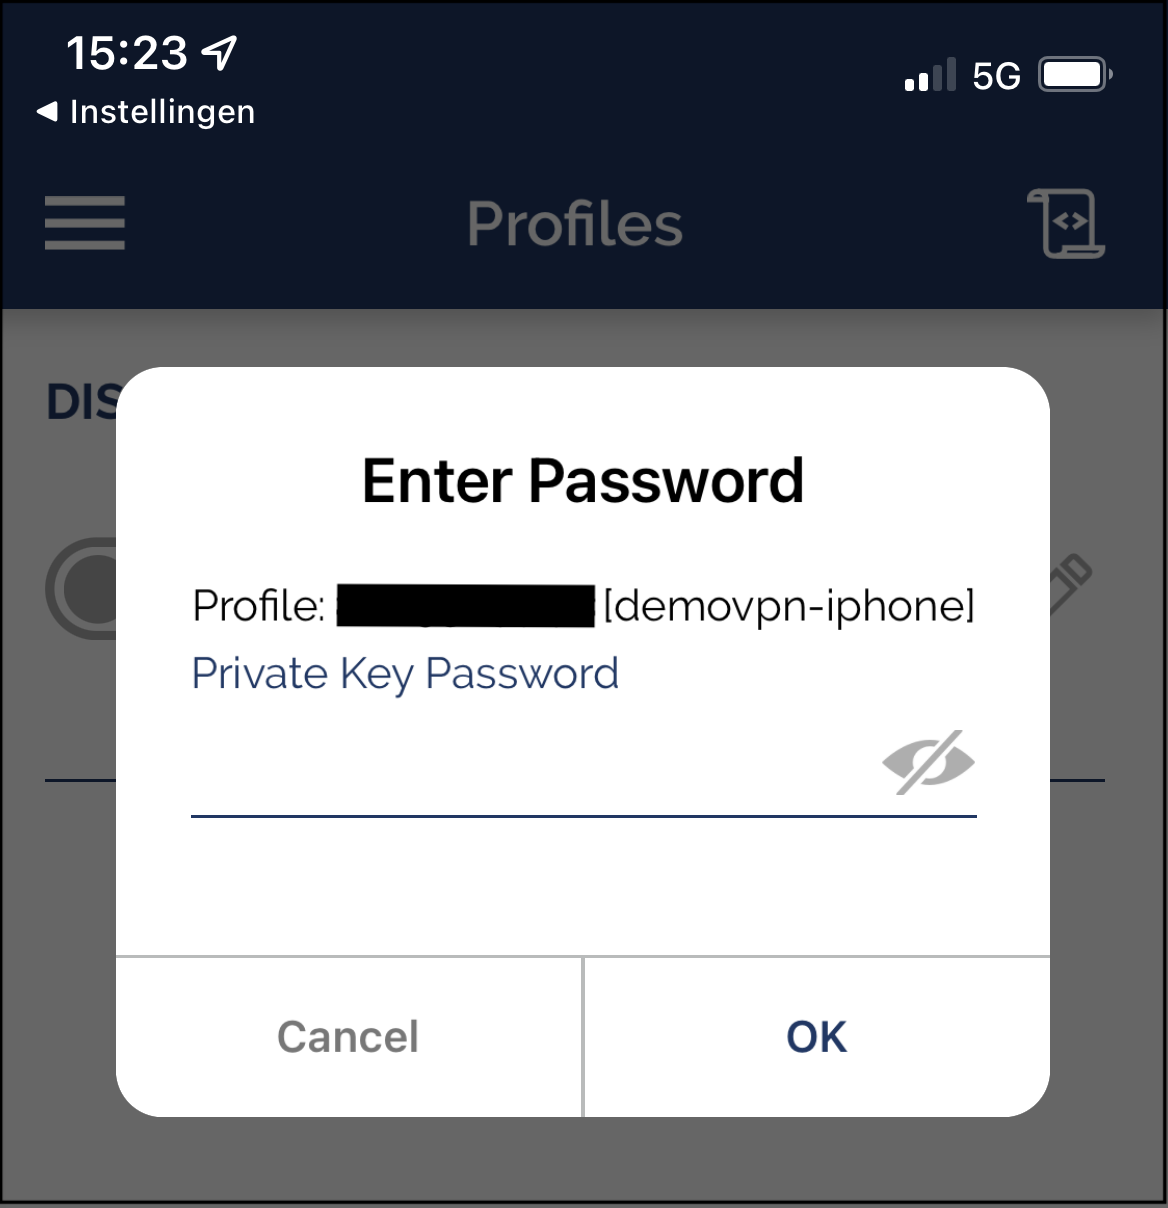
Connect, and enter passphrase
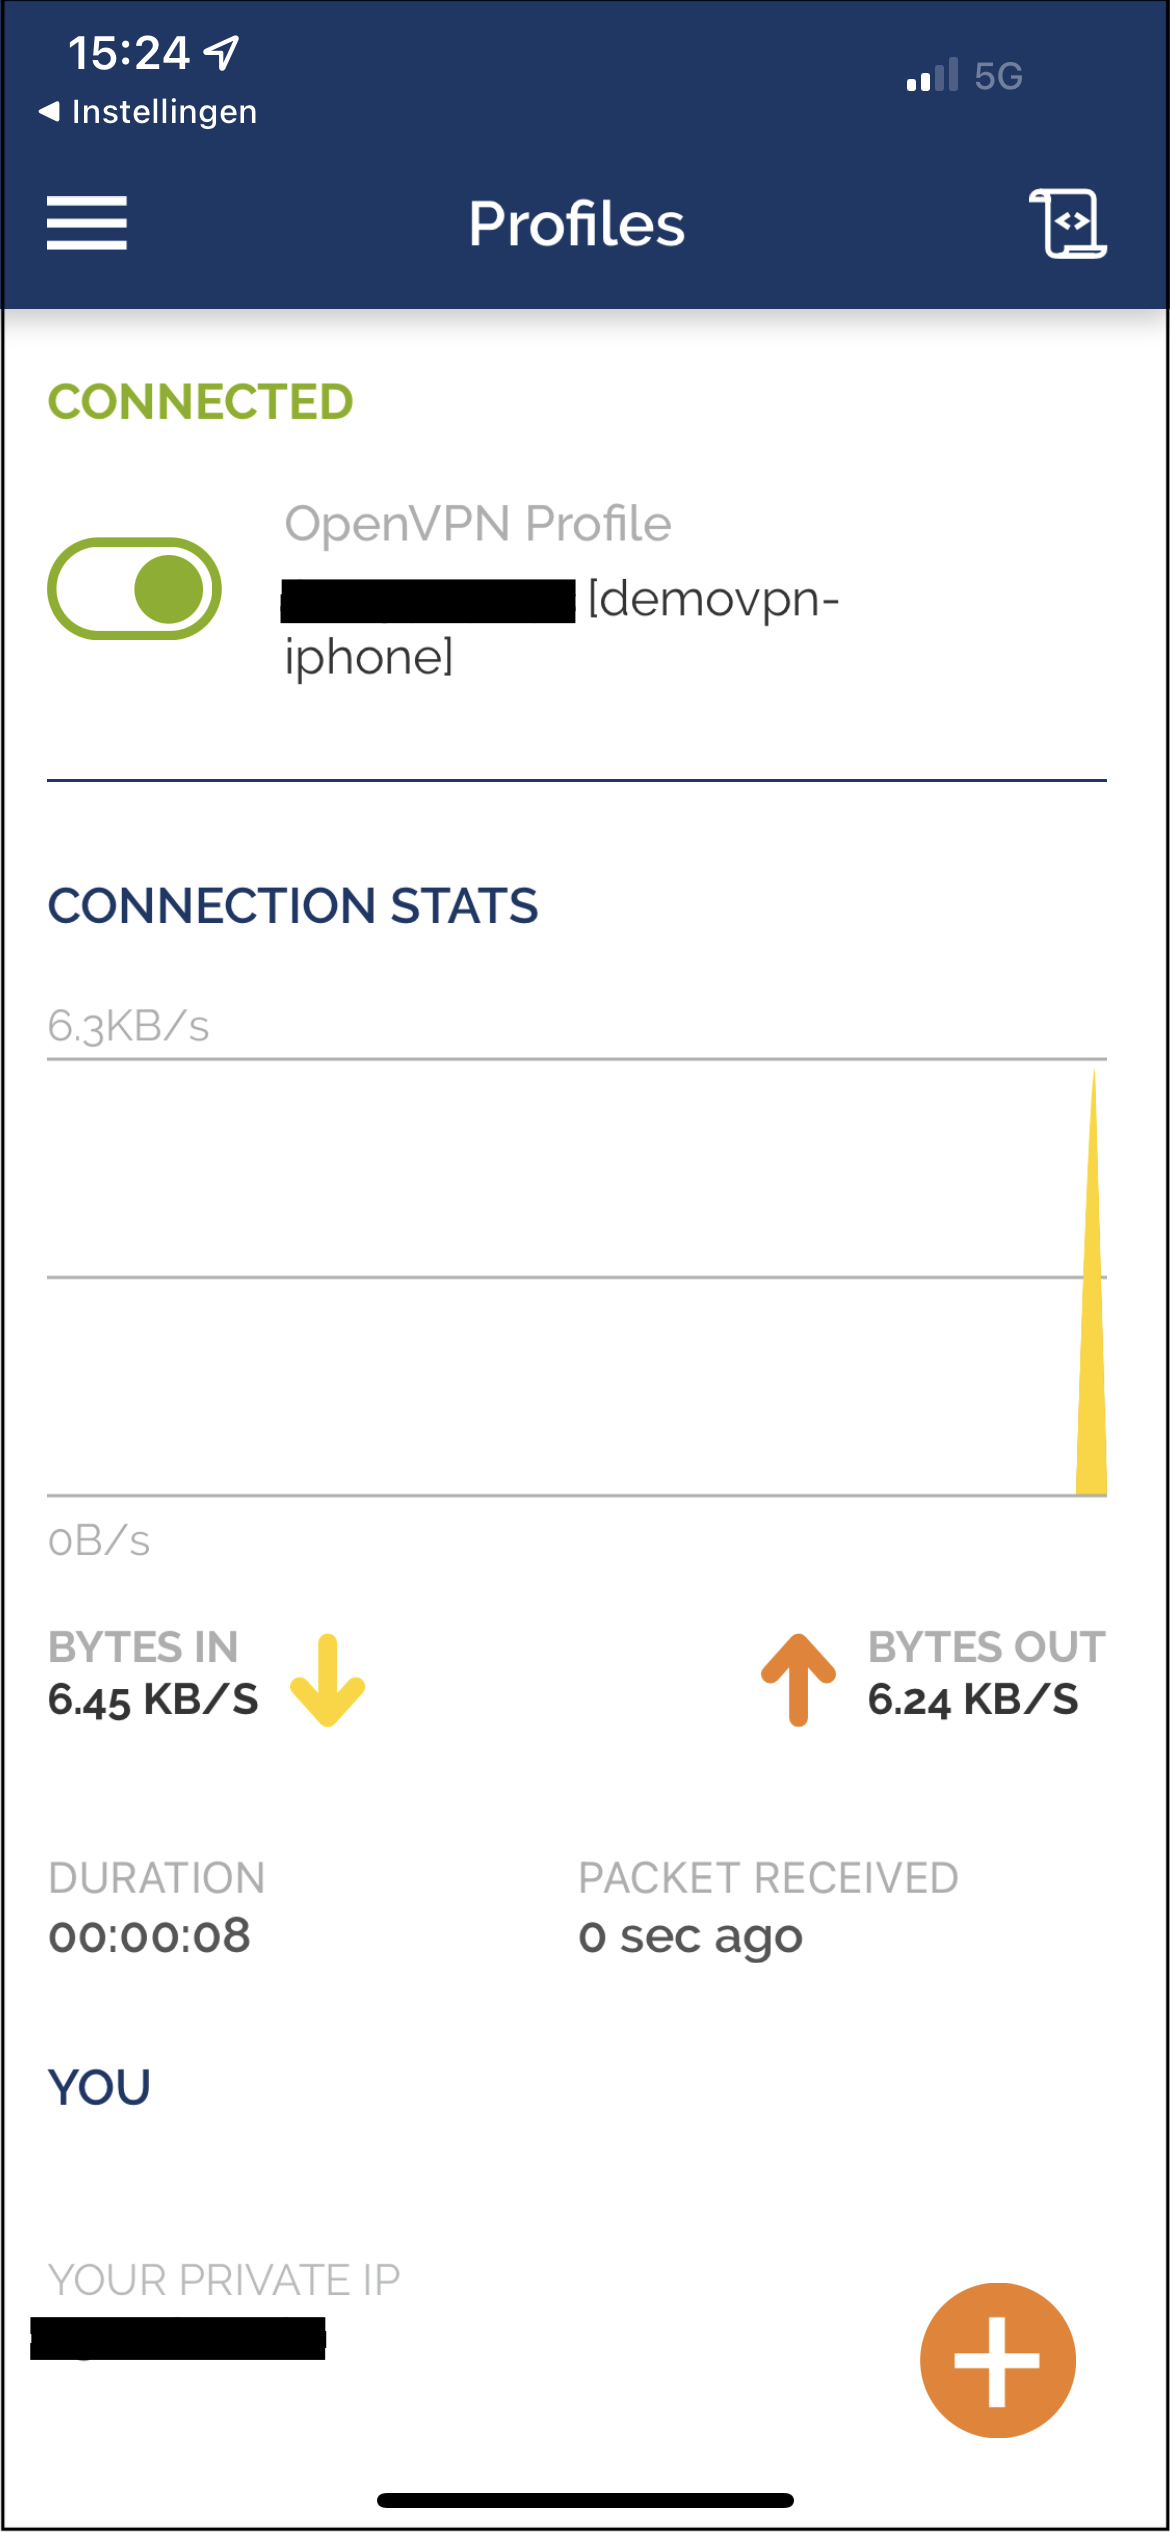
VPN has been connected
You will see a statistics screen after the connection has been established. You can leave the app, the connection will remain in background. Your iPhone is now connected to your local network via the VPN. You can browse for example to a local webserver, in this example the local hosted BounCA server.
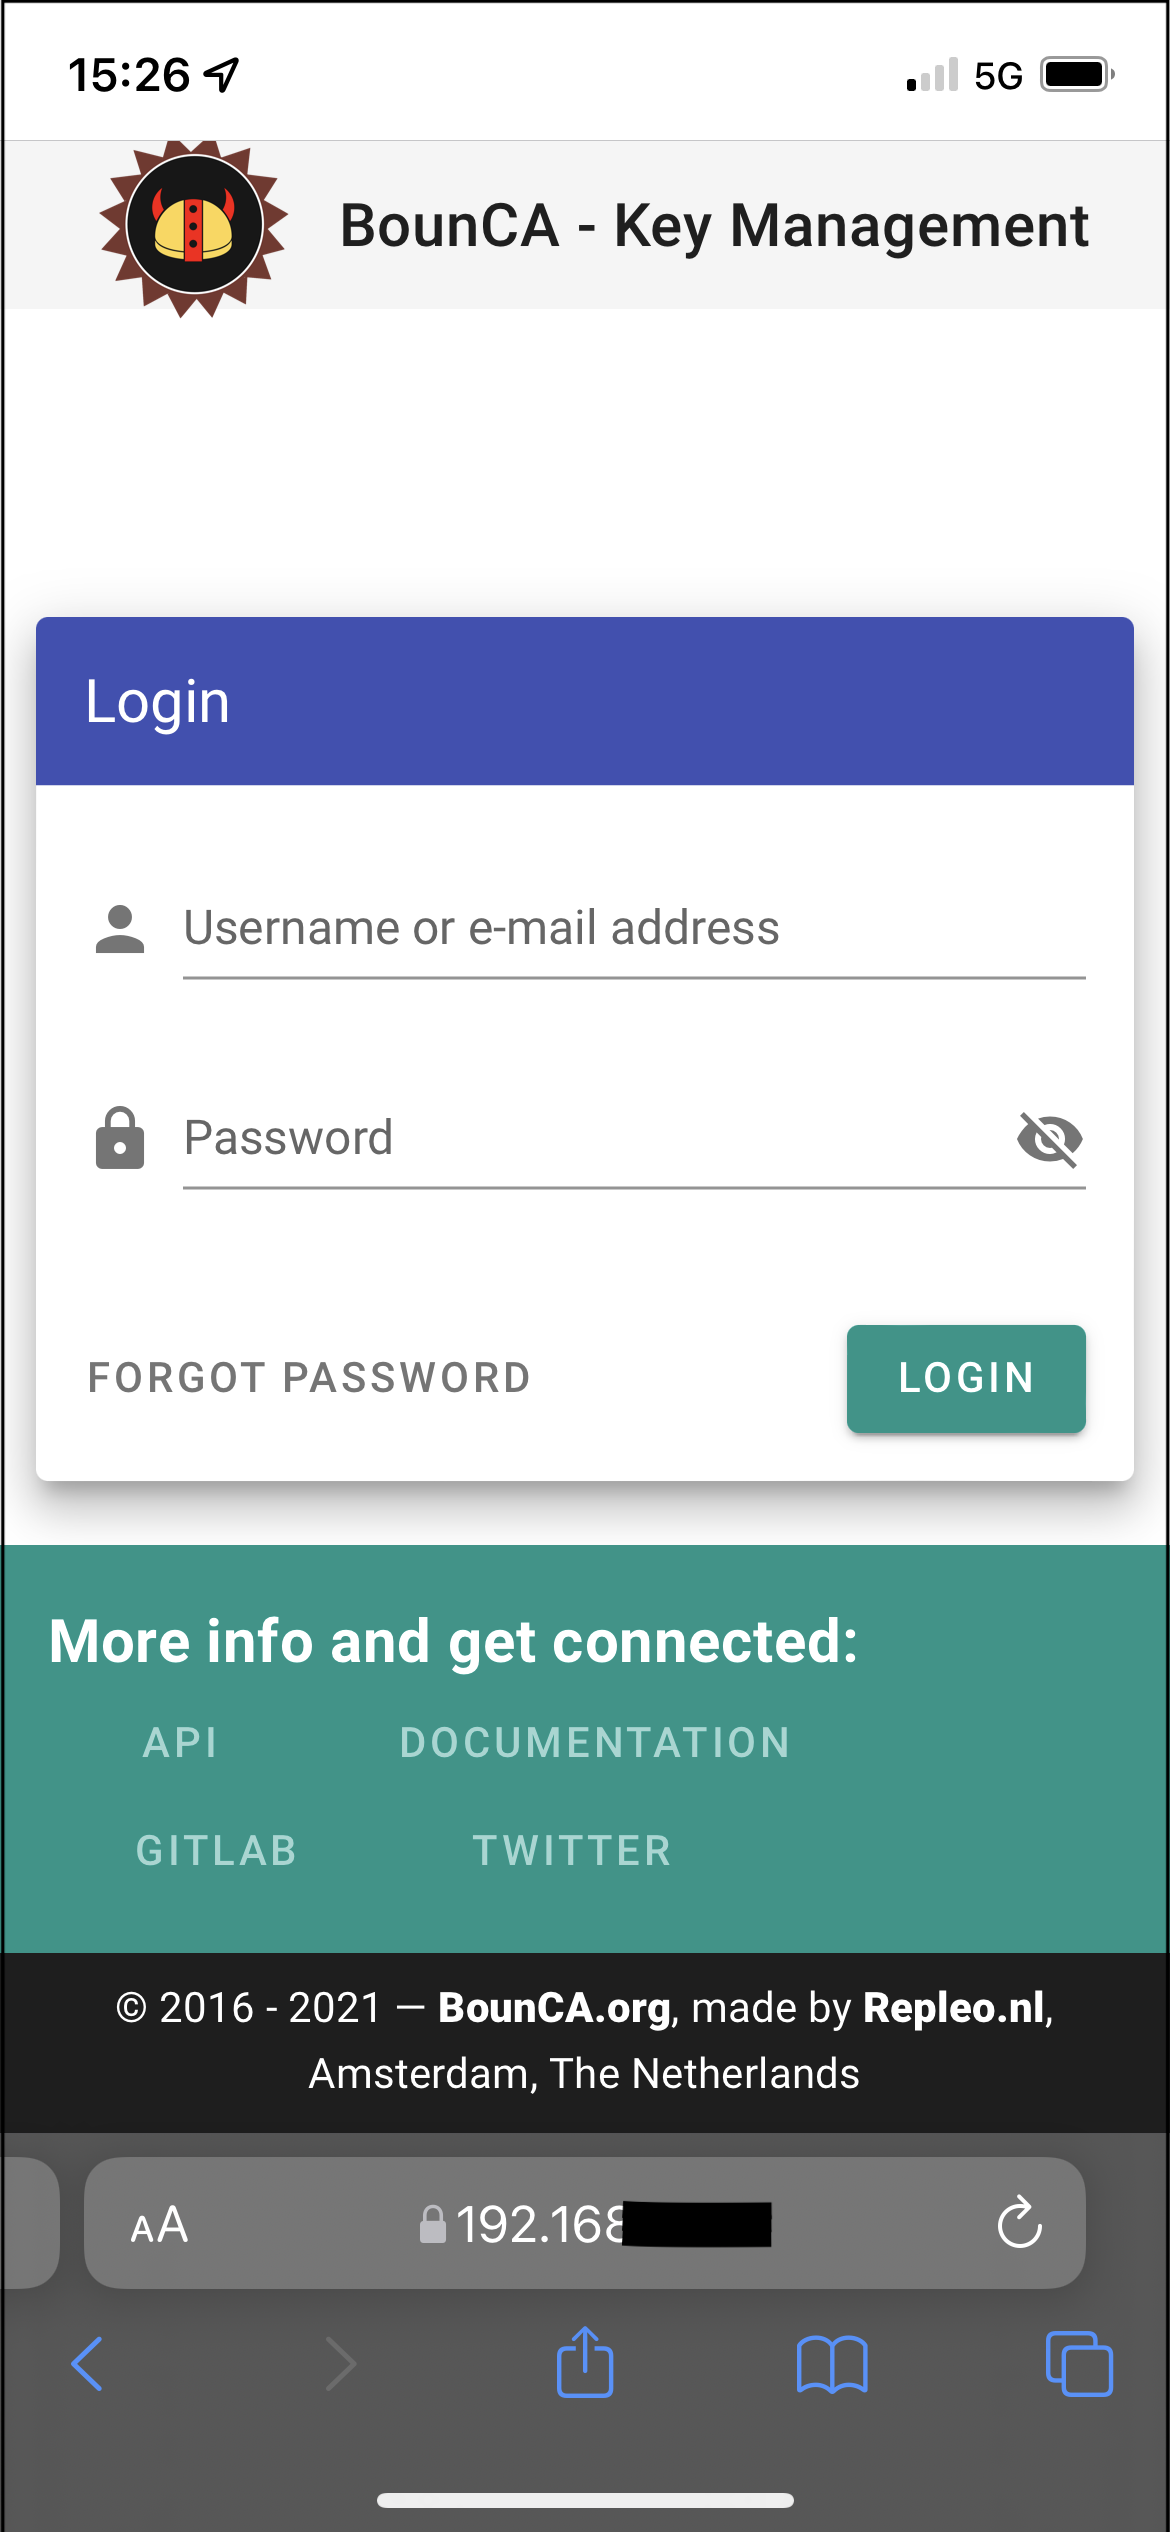
Browsing via the VPN to a locally hosted server
This guide showed how to set up an OpenVPN server. The configuration options are plenty for OpenVPN, and you can increase the security by improving the checking of the certificates, and require more strict encryption. We refer for these options to the OpenVPN Guide.