Self-Signed Client Certificate
Step-by-step guide to set up mutual TLS using client certificates.
Step-by-step guide to set up mutual TLS using client certificates.
This document will show you can generate a client certificate with BounCA. We assume you have a working BounCA and create a certificate authority, see Create Root Certificate Authority.
Client certificates can be used to authenticate HTTP sessions, automatic login to web applications, and to sign/encrypt e-mails. Password credentials are not necessary when using client certificate. This is useful when authenticating or provisioning Internet of Things devices to an API. The devices don not store user credentials, and all authentication is offloaded to the SSL layer. CRL or OCSP can be used to revoke access by revoking the certificate. In case the common name and/or subject alternative names field contain an email-address. The mail client will be able to sign your e-mail messages, see Setting up secure E-mail.
Enter the dashboard of your intermediate CA which must sign your client certificate.
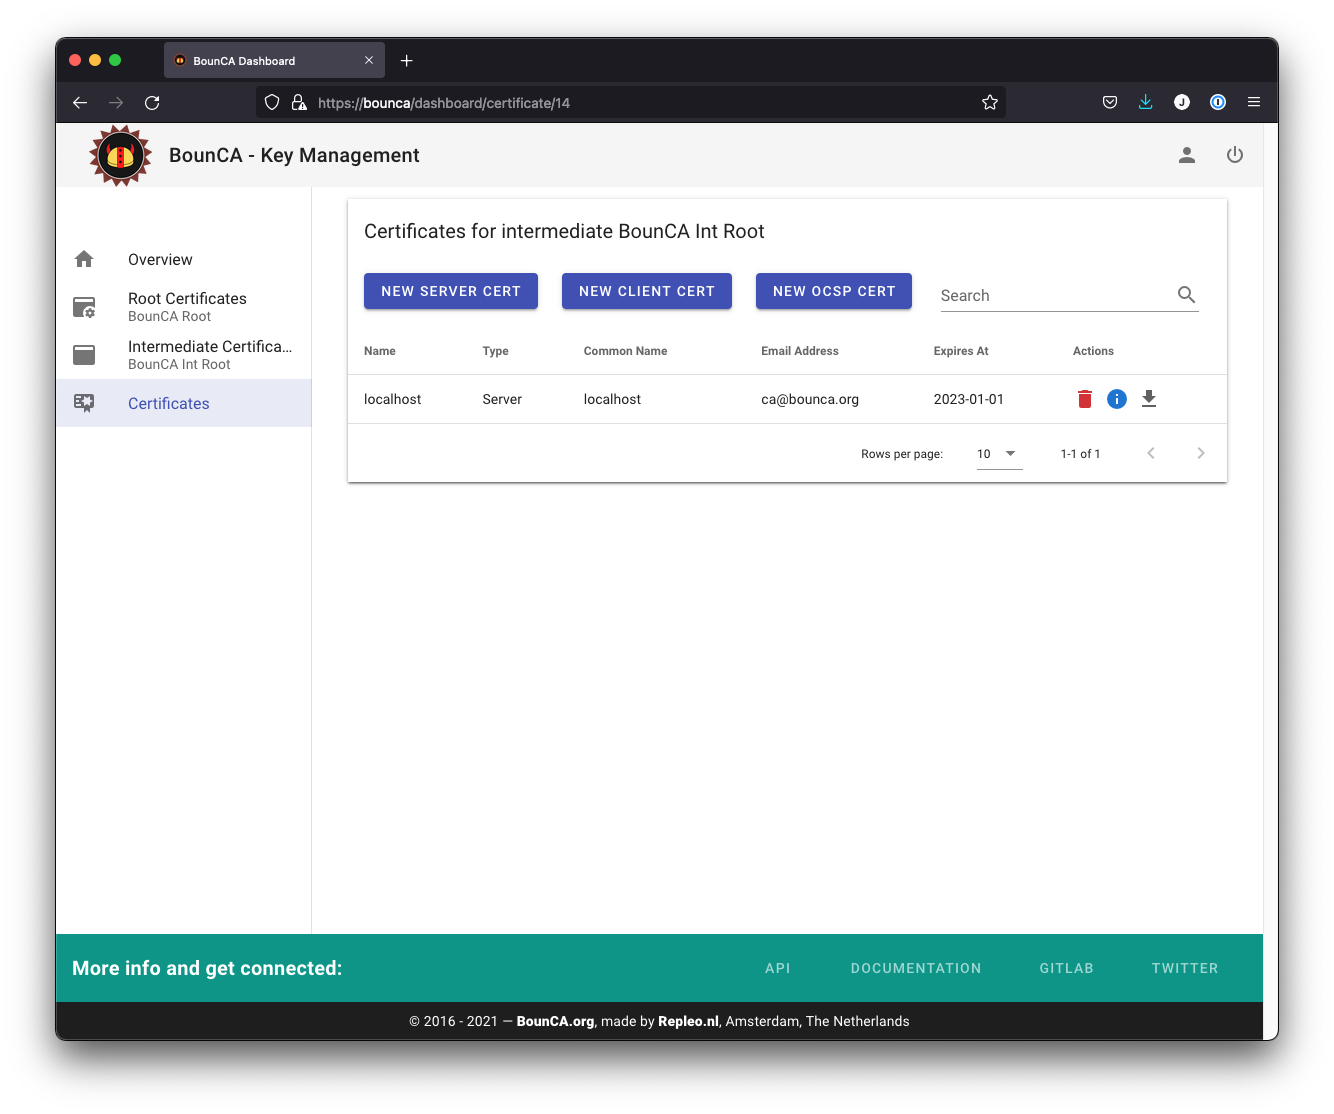
Step into intermediate certificate
Click on the New Client Cert button to add a new client certificate, and a form will be shown. For client certificates, the Common Name is your user name, or e-mail address. For mail signing certificates, you also need to add the e-mail address to the SubjectAltNames.
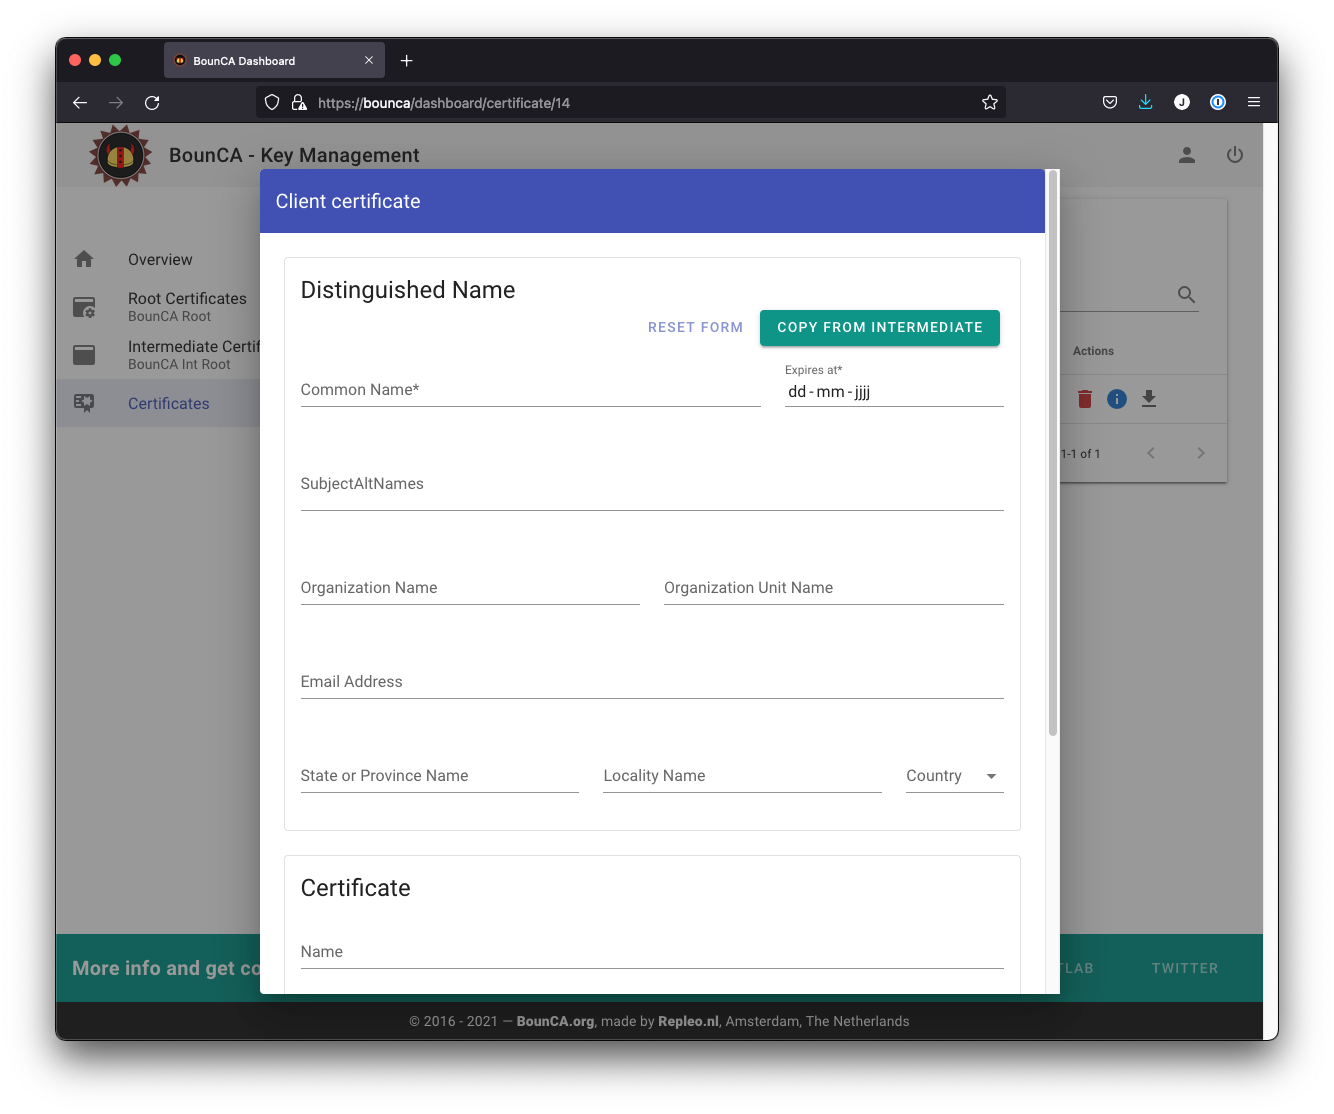
Empty client certificate create form
Fill in the data for your client certificate. We use the Copy From Intermediate button to fill in the base information. Certificates are usually given a validity of one year, though a CA will typically give a few days extra for convenience.

Fill in the data for demo1
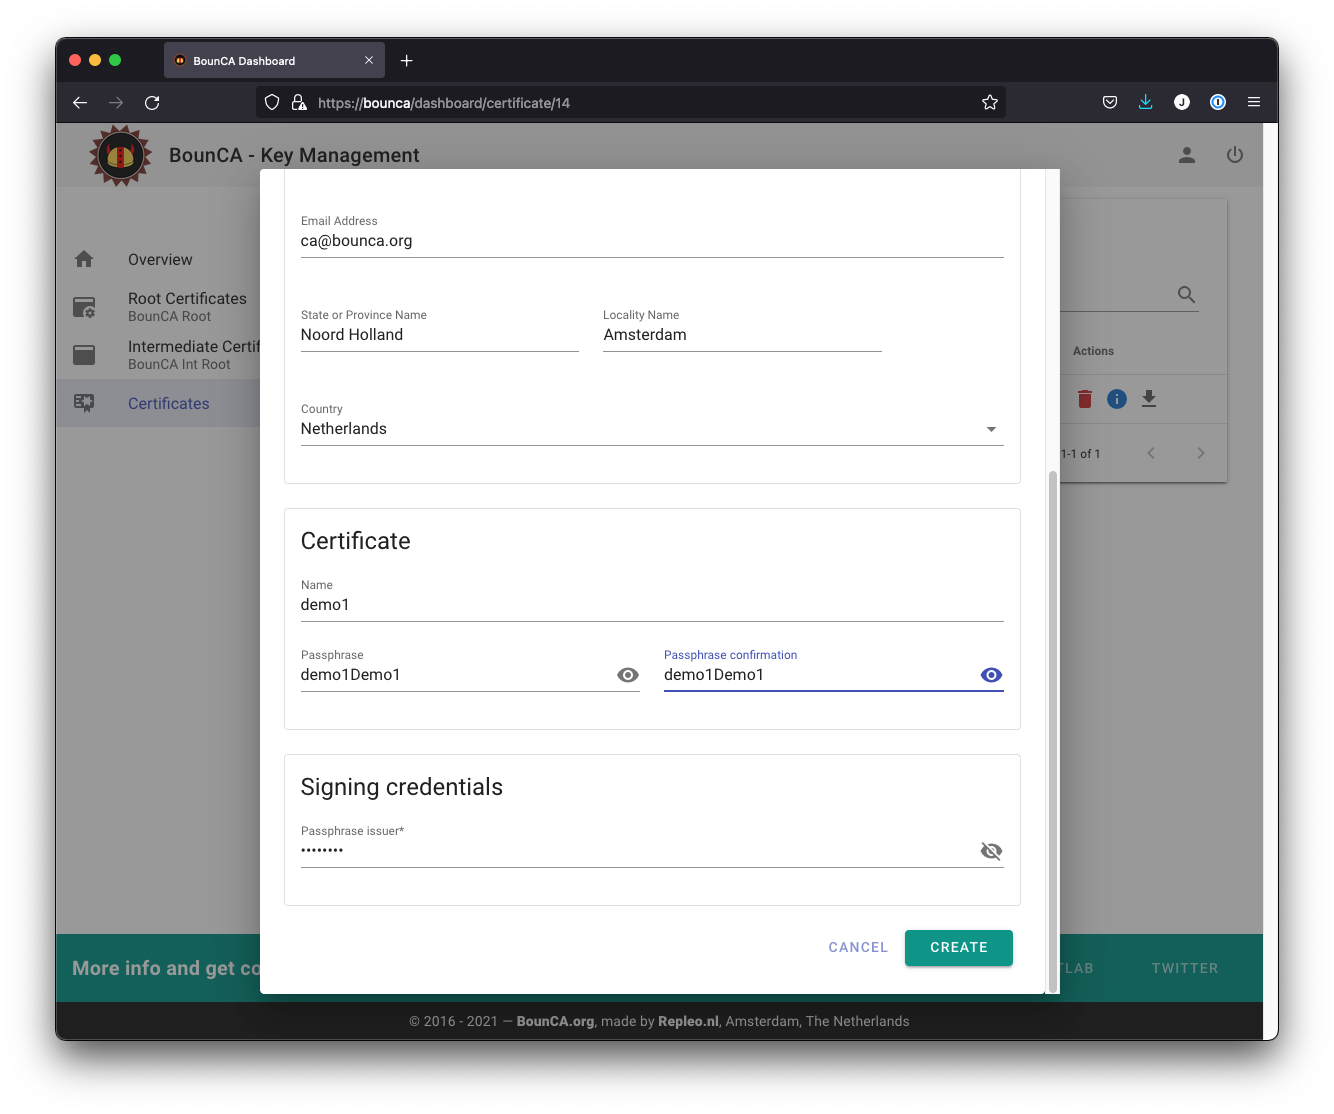
Fill in the passphrase for demo1
The passphrase of the demo1 certificate is set to demo1Demo1. The passphrase secures the certificate, and should be kept secret.
Note
The passphrase is necessary for Firefox. It is not possible to load unencrypted PCKCS12 blobs in Firefox.
For this tutorial we create a second client certificate, which we will revoke later on.
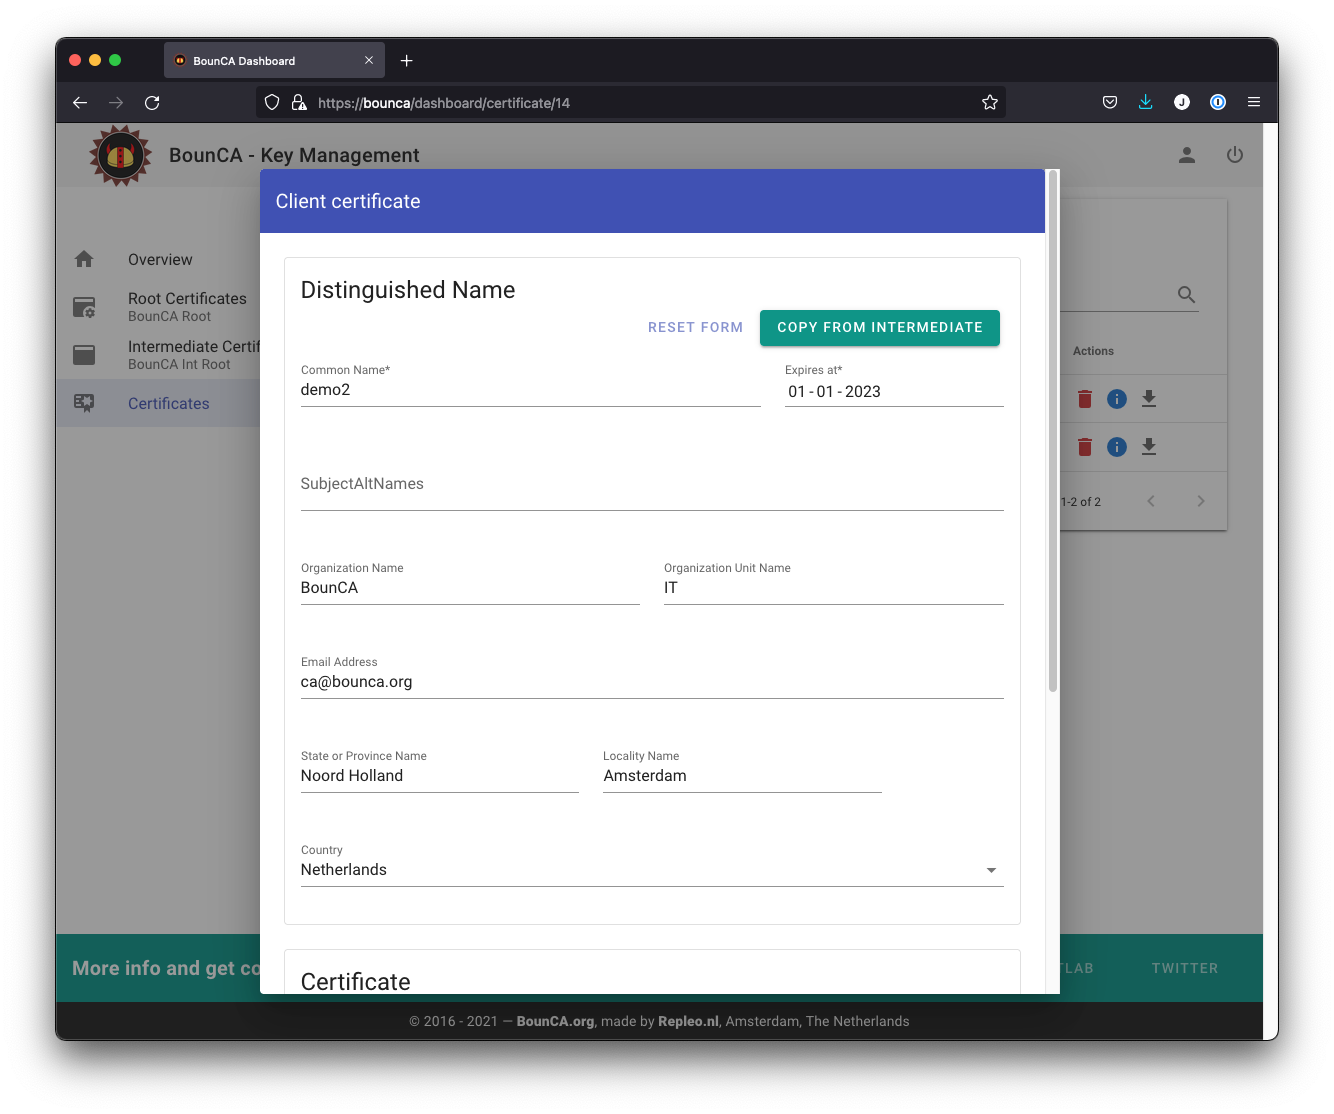
Create a second client certificate
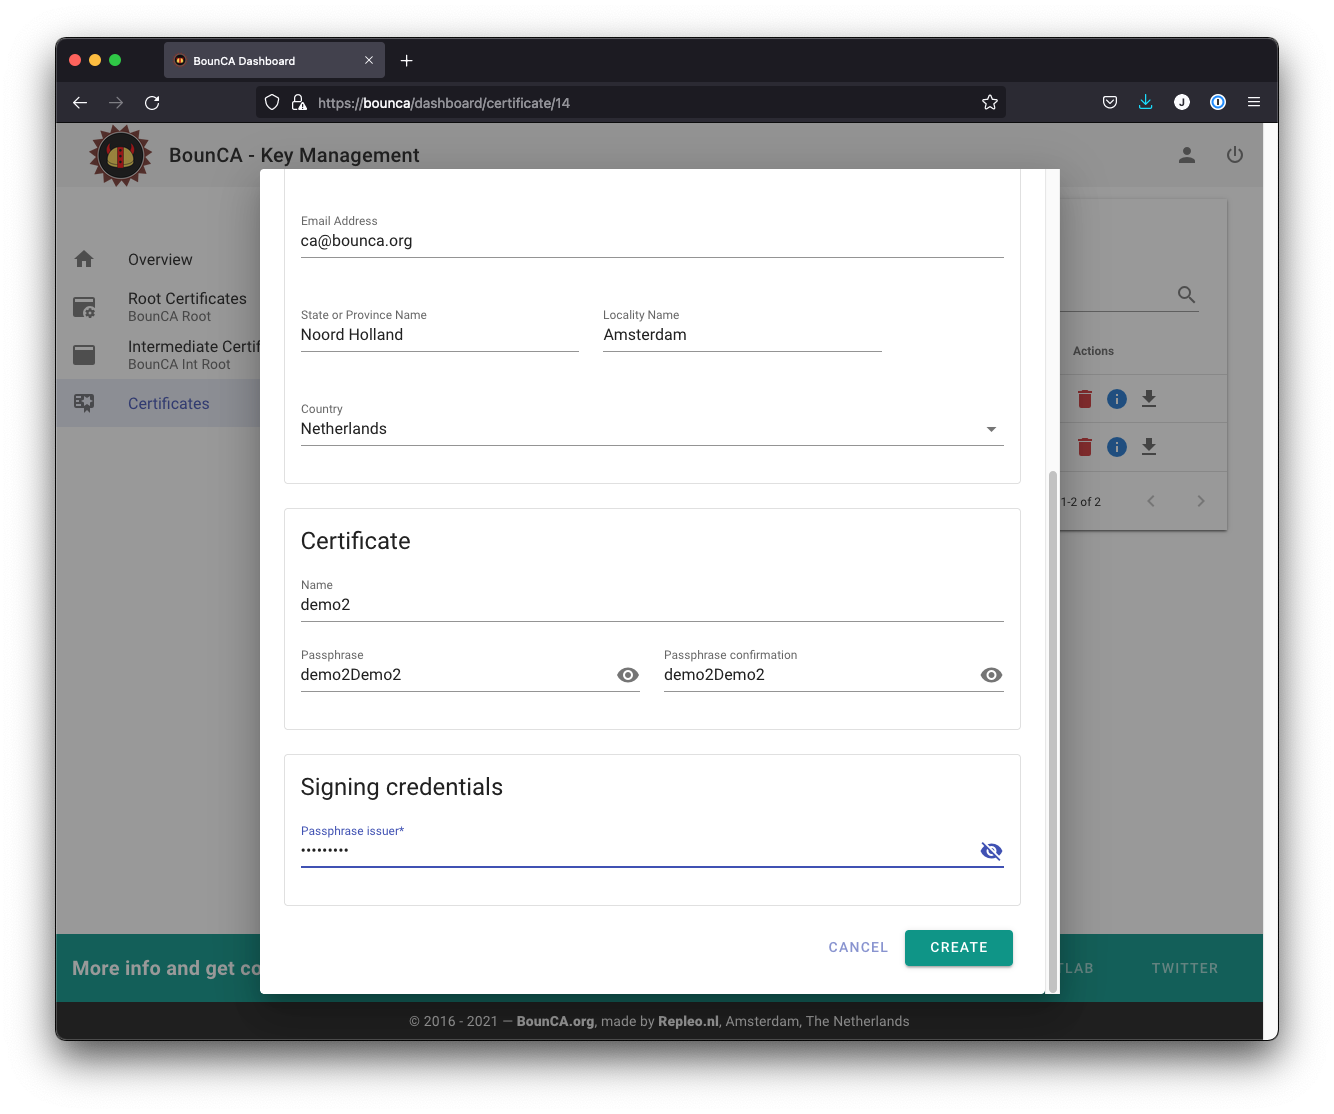
Fill in the passphrase for demo2
You have now two generated client certificates. Download both certificate zips, we need them later to sign in to the webserver. It is not possible to download the zip after the demo2 client has been revoked.
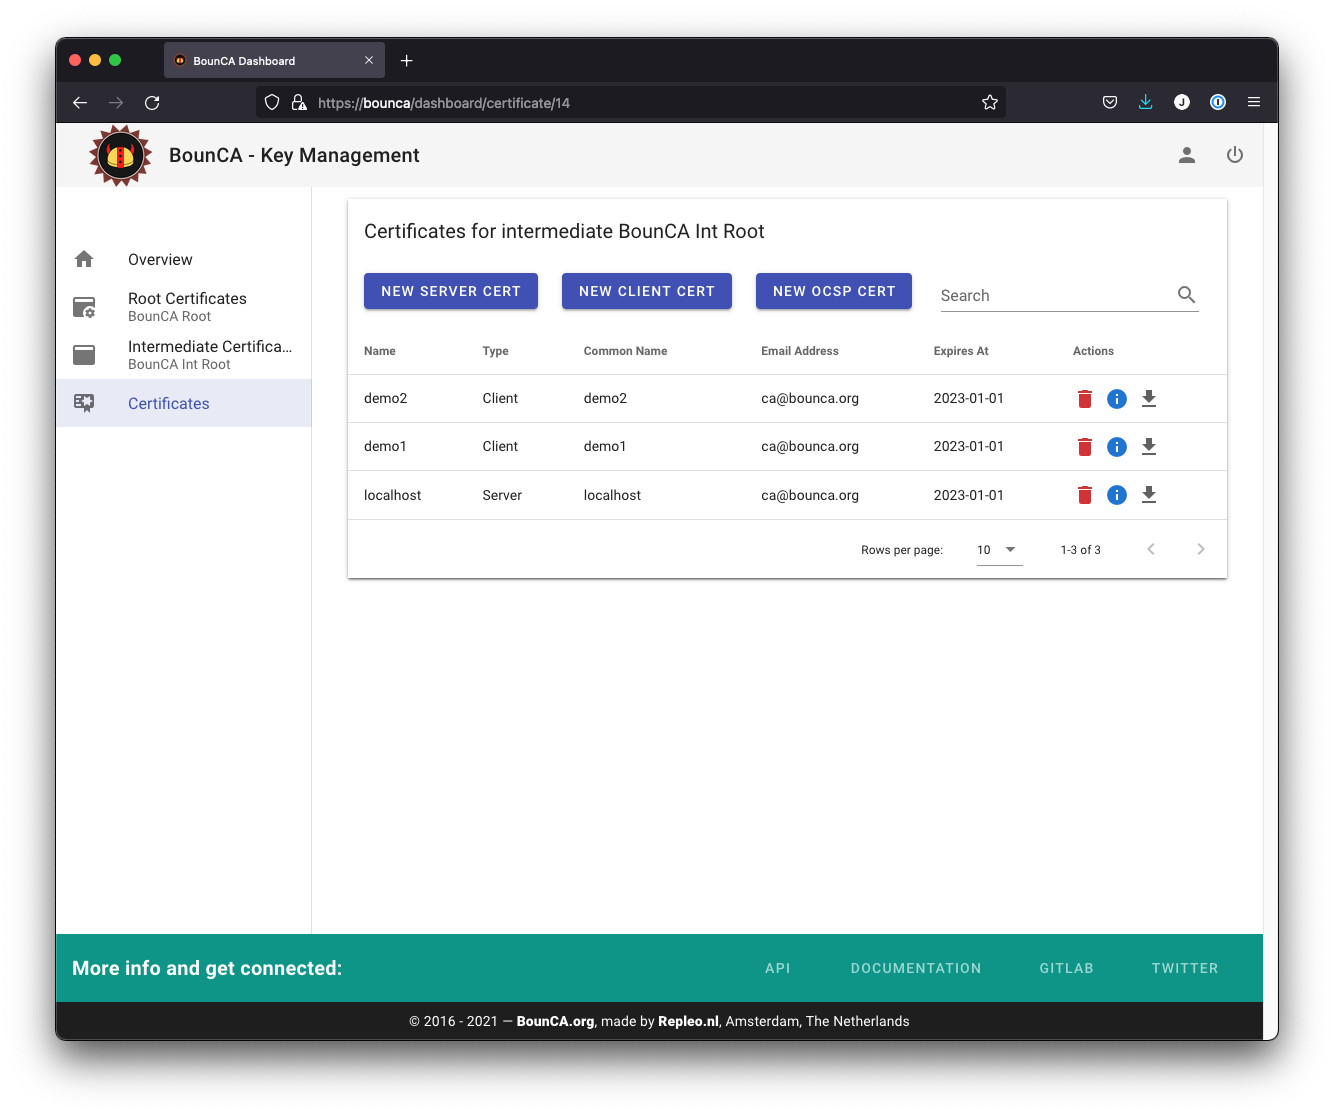
Overview generated certificates
Press the delete icon of the demo2 certificate. A popup will be shown asking for a passphrase. You need to fill in the passphrase of the intermediate certificate.
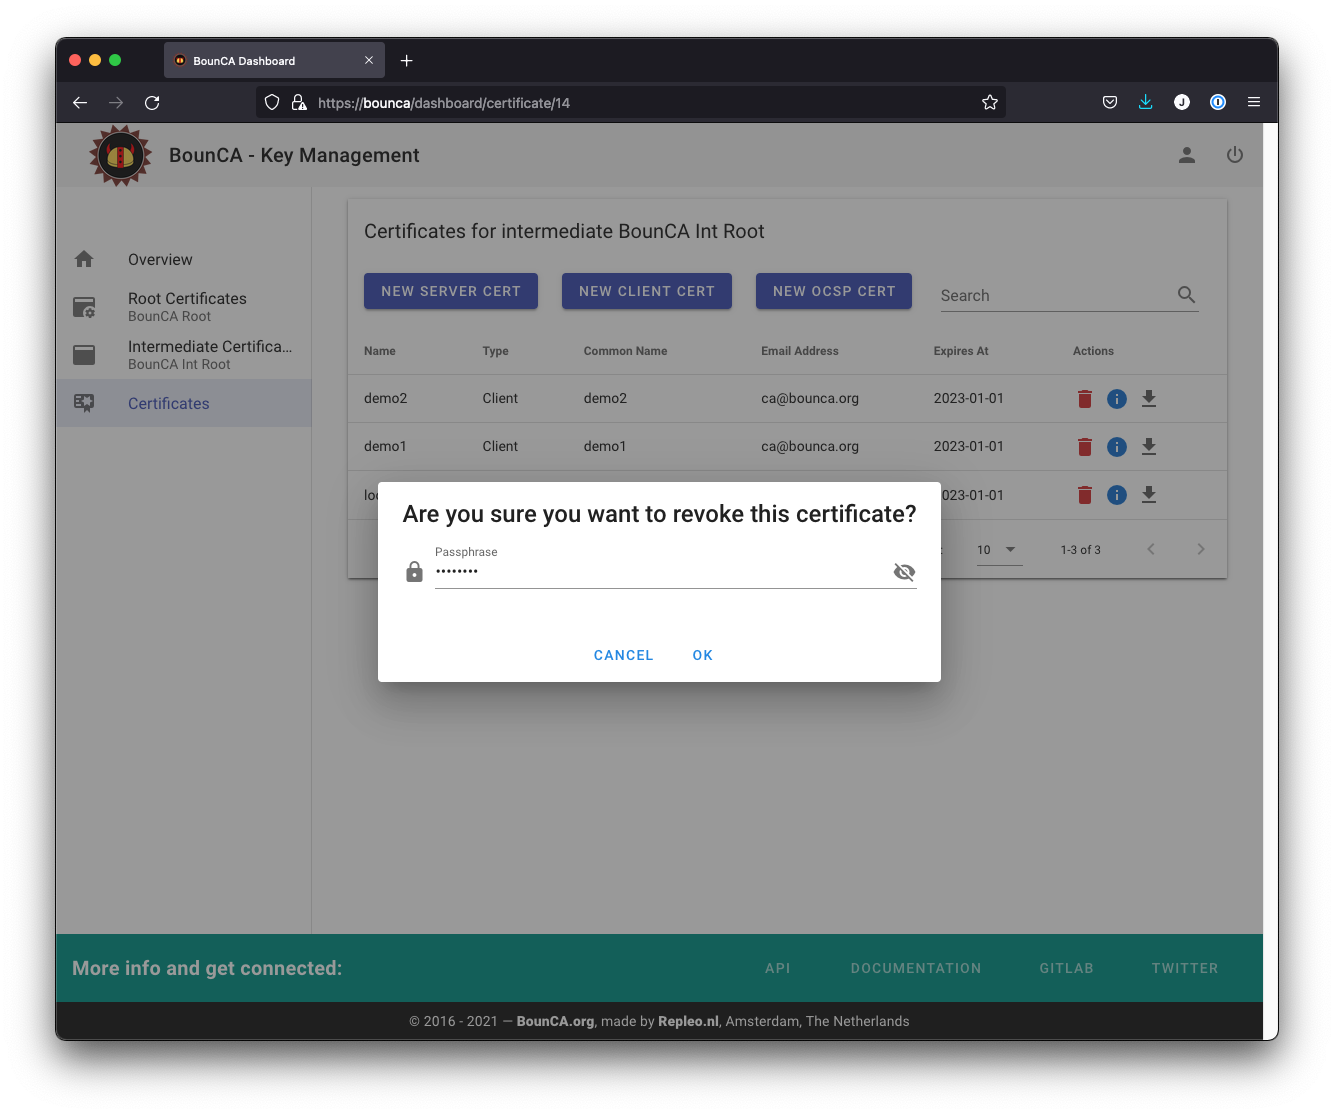
Enter passphrase of intermediate certificate

Overview with revoked demo2 certificate
Go to the intermediate certificate. Click on the CRL button to download the CRL list. You need to copy it to your webserver hosting the crl file, or in our tutorial, we store it in the configuration of nginx. You also need to download the intermediate certificate itself. This file will be used as chain to verify the client certificate.
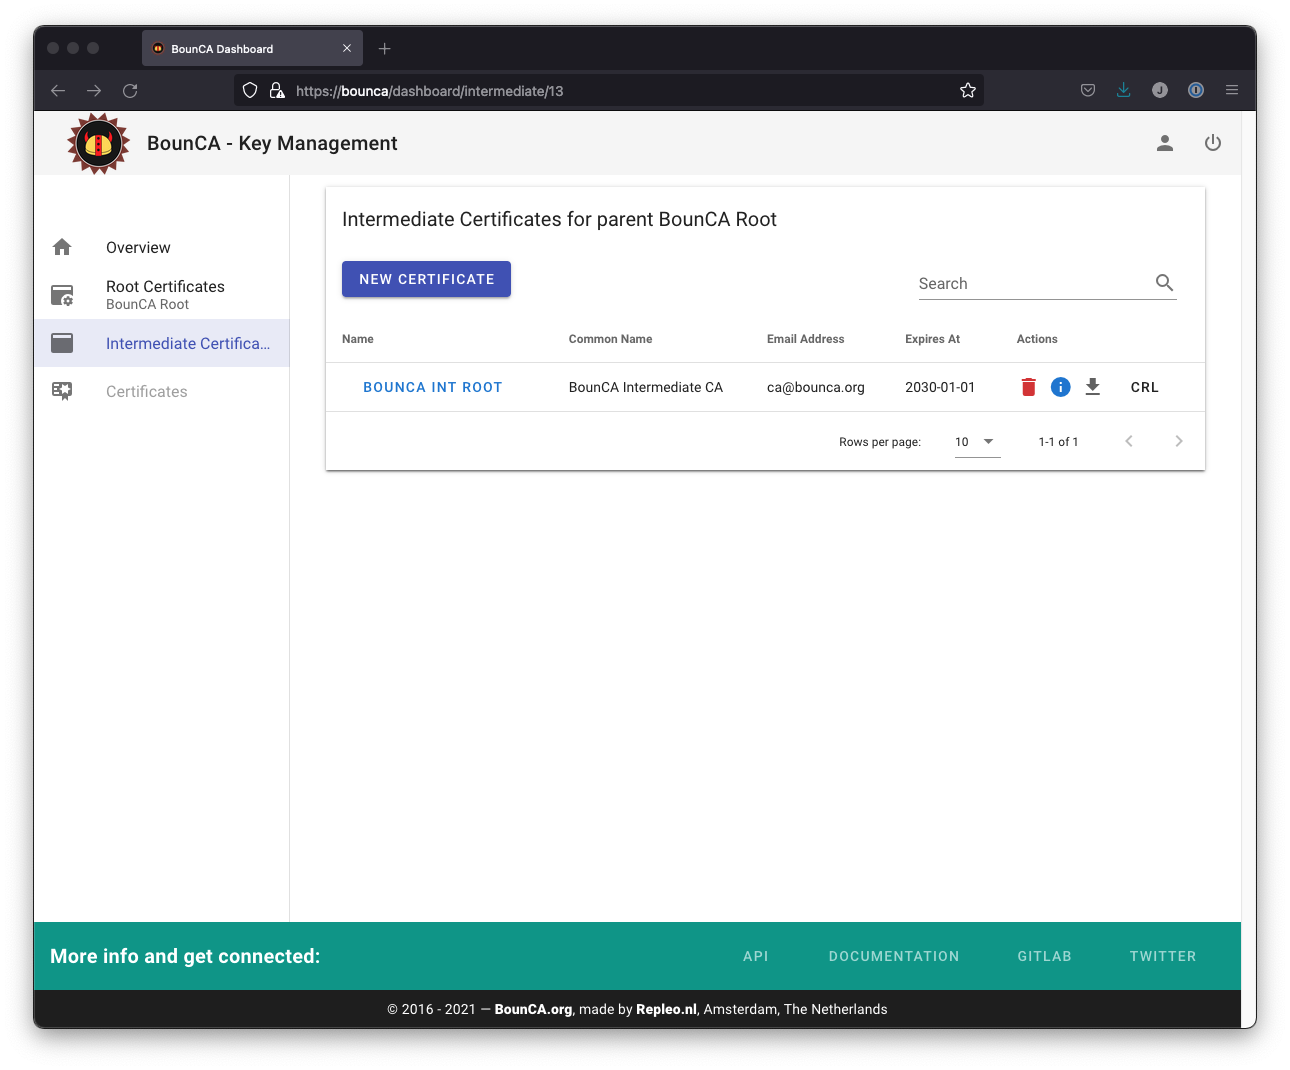
Download CRL file and intermediate chain pem
Download also the CRL file of the root certificate. We need it later for nginx.
Before we show how to configure Nginx, we first check if the certificates are correctly generated. All certificates used in these examples can be found in demo nginx client auth.
Open a terminal, and go to the directory where you downloaded the certificates.
First check the validity of the demo1 and demo2 certificate, using the following command:
openssl verify -CAfile rootca.pem -untrusted intermediate.pem demo1.pem
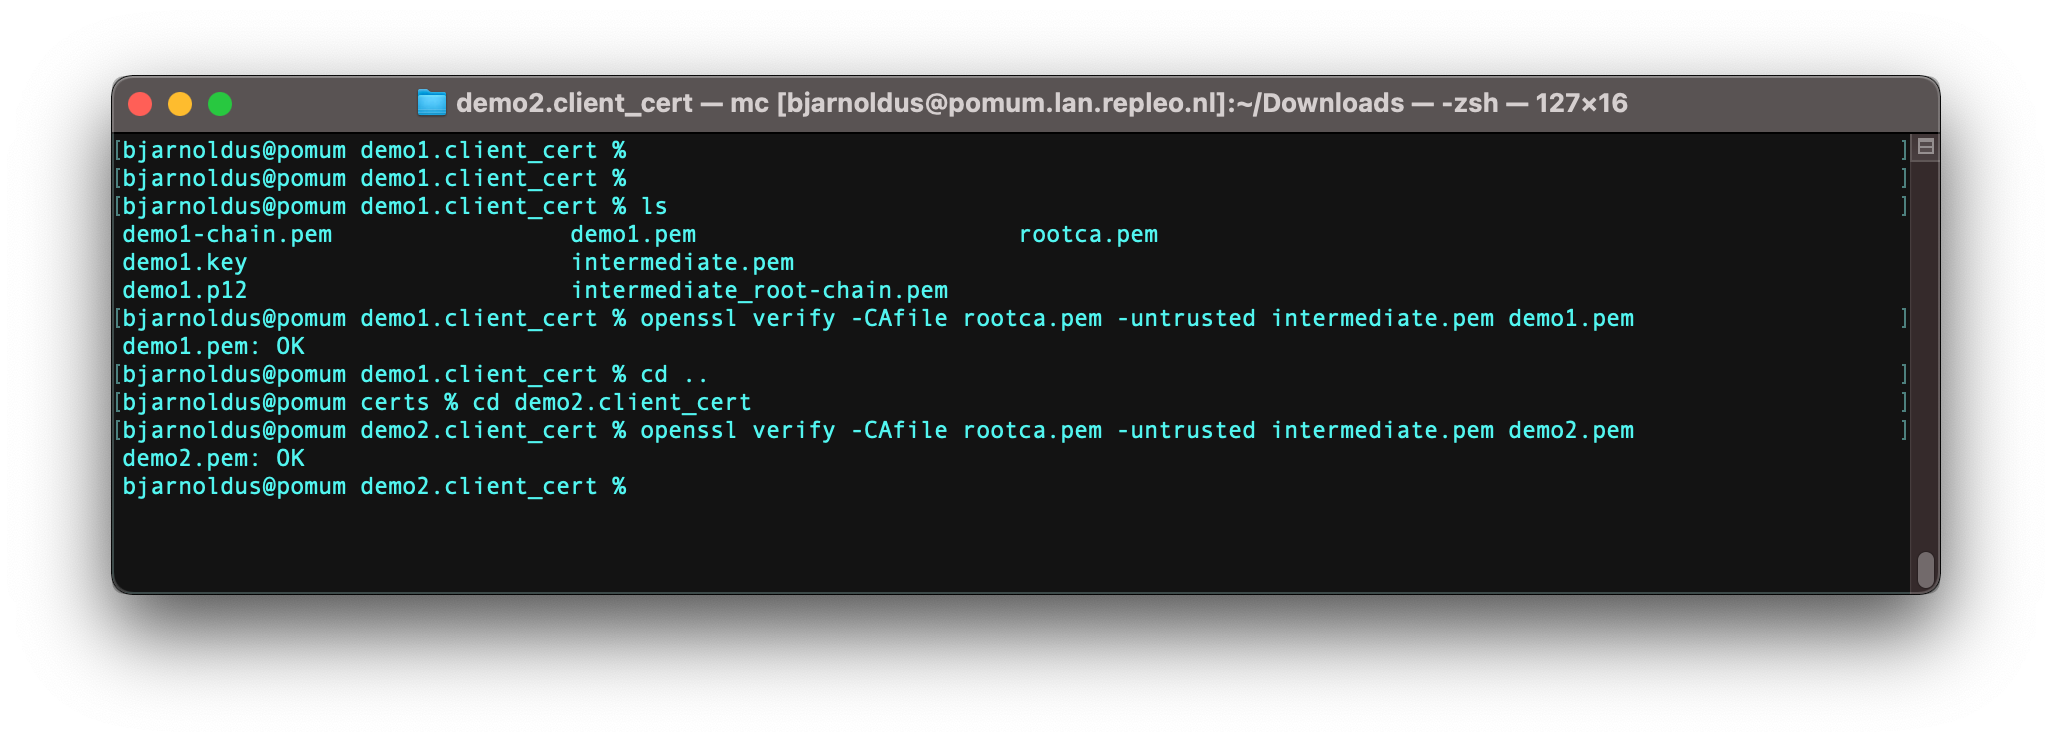
Verify demo certificates
Check the content of the CRL file. In our case the demo2 certificate has been revoked, so we
would expect one serial of a revoked certificate. Use the command: openssl crl -in int.crl -text -noout.
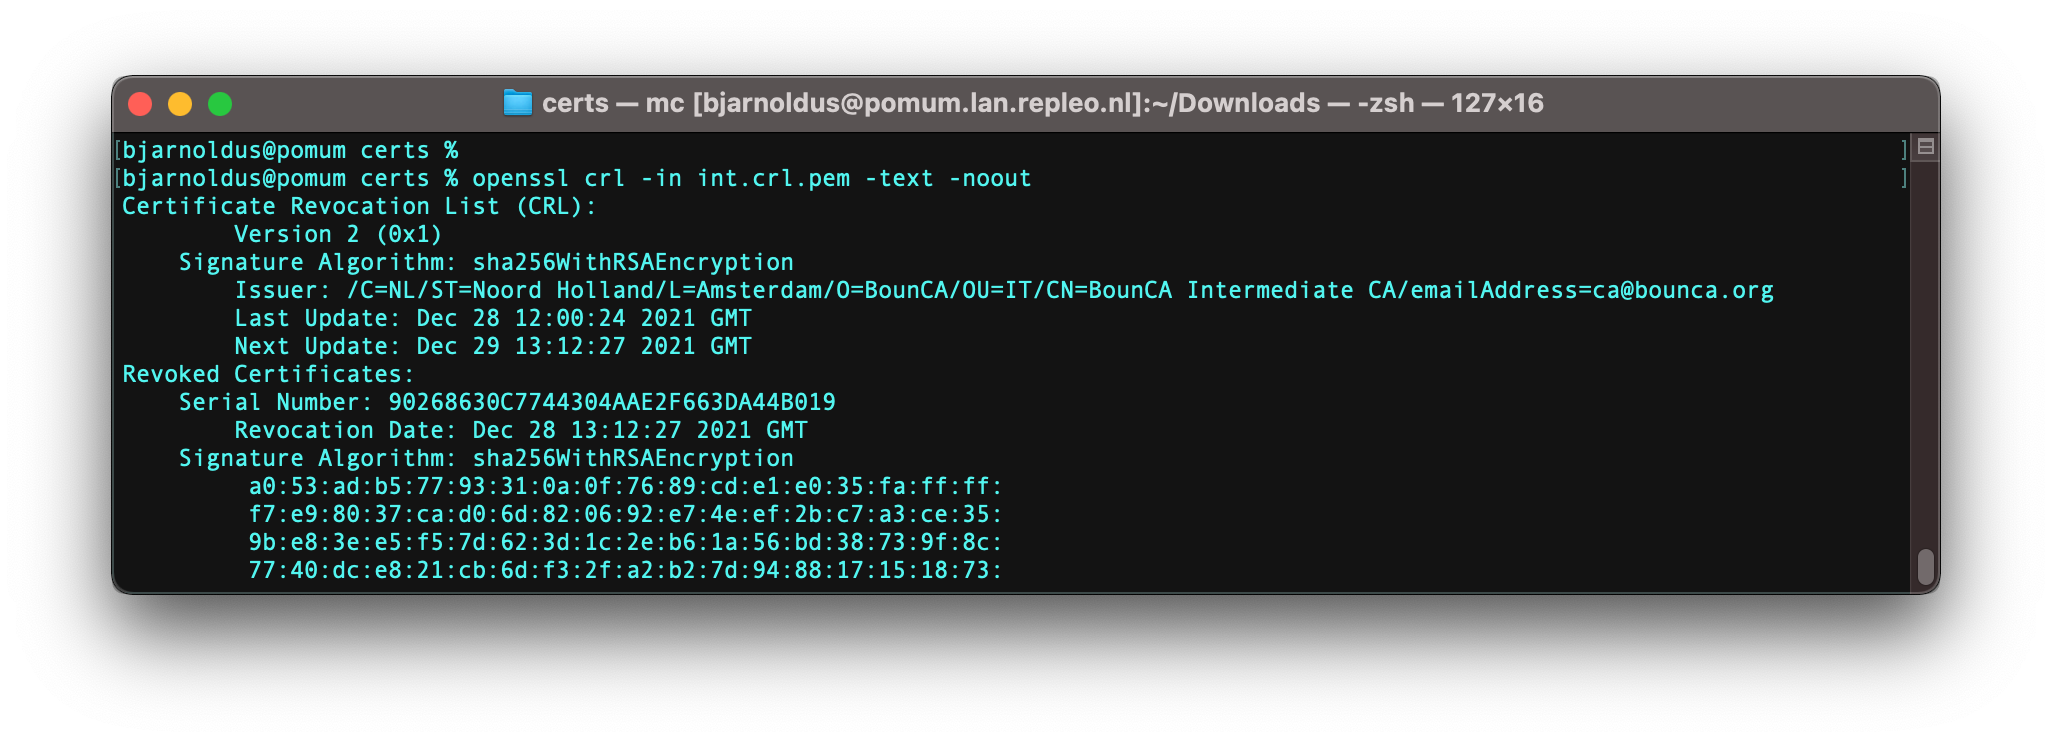
Content of intermediate CRL file
You can verify the demo2 certificate has been revoked by the following command: openssl verify -extended_crl -verbose -CAfile crlchain.pem -crl_check demo1.crt.
OpenSSL needs the crl file in front of your CA chain. Create it by combining the files: cat int.crl intermediate.pem rootca.pem > crlchain.pem.
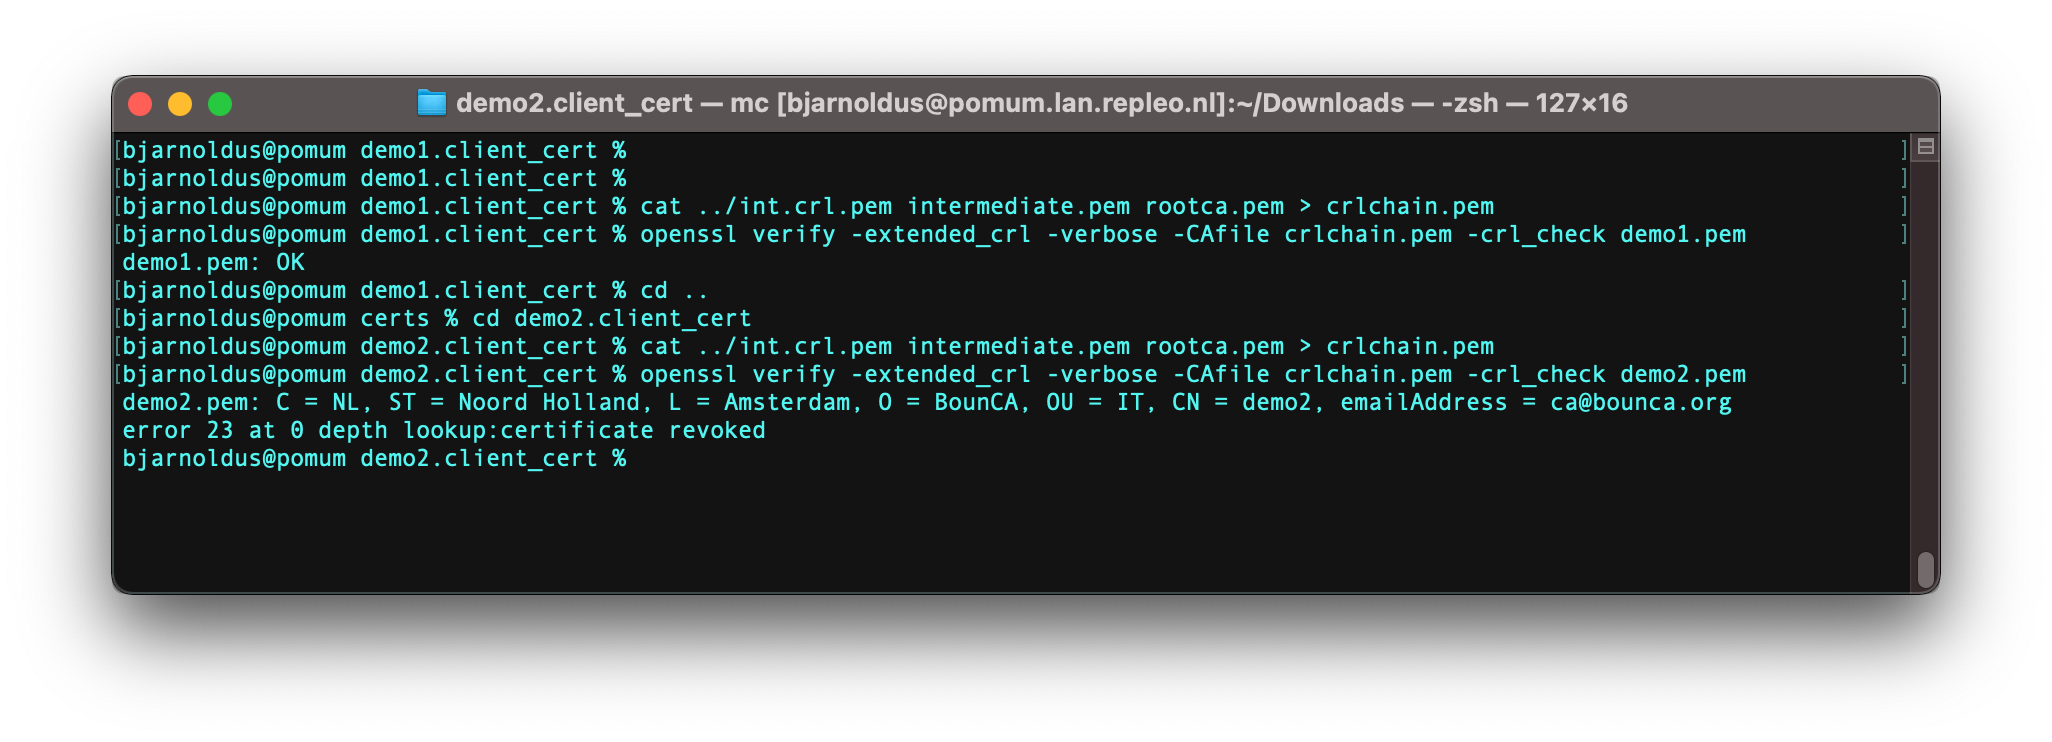
Revoked certificate
We have shown how to generate a client certificate. Now it is time to show a real world use case. A client certificate can be used to setup a mutual TLS connection with your webserver. In case of mutual TLS, both ends needs to trust each other before an encrypted connection has been established.
This guide shows you in a couple of steps how to install the enable client certificates on Nginx to enable end-to-end encryption. You can find the configuration of this tutorial in demo nginx client auth. We assume you have added the root ca to your trusted certificates, as discussed in Create Root Certificate Authority.
You need the following files for configuring Nginx:
<domain>-chain.pem: The server domain certificate including its complete root chain
<domain>.key: The key of your server domain certificate
BounCA_Int_Root.intermediate-chain.pem: Chain of intermediate certificate and root certificate, download it via intermediate tab view in BounCA
root_int.crl: The combined certificate revocation list, create it via the command: cat root.crl int.crl > root_int.crl
Add the following server block to your nginx server:
server {
    listen 443 ssl;
    server_name localhost;
    ssl_certificate      /etc/nginx/certs/localhost-chain.pem;
    ssl_certificate_key  /etc/nginx/certs/localhost.key;

    access_log /var/log/nginx/access.log;
    error_log /var/log/nginx/error.log debug;

    ssl_client_certificate /etc/nginx/certs/BounCA_Int_Root.intermediate-chain.pem;
    ssl_verify_depth 2;
    ssl_verify_client optional;

    if ($ssl_client_i_dn != "emailAddress=ca@bounca.org,CN=BounCA Intermediate CA,OU=IT,O=BounCA,L=Amsterdam,ST=Noord Holland,C=NL") {
      return 403;
    }

    ssl_crl /etc/nginx/certs/root_int.crl;

    location / {

        if ($ssl_client_verify != SUCCESS) {
           return 403;
        }
        root /var/www;
    }
}
This Nginx configuration is for a mutual TLS connection including revocation support. Lets consider the configuration file.
The first part is for the HTTPS connection of the domain, equal to the configuration as discussed in Create Server Certificate.
The client verification is enabled by ssl_verify_client, we put it on optional. In case of optional, it is possible to generate
a 403 by checking the $ssl_client_verify variable in the location scope. Other option is on, in that case Nginx will handle it.
The ssl_verify_depth is 2, to support client certificates signed by an intermediate certificate. The chain for client certificates
is provided via the ssl_client_certificate parameter. This file should contain the intermediate certificate followed by the root certificate.
Nginx doesn’t check the chain of the certificate to verify its validity. If a valid client certificate has been send for the given root authority, Nginx
will just pass it. To check if the client certificate is signed by the desired intermediate issuer, add an extra condition for the $ssl_client_i_dn variable.
To obtain the value, you can fetch the subject by the following command: openssl x509 -in intermediate.pem -noout -subject.
However, to be sure you have the correct value, you can expose the value of $ssl_client_i_dn by adding a header in the location scope: add_header X-debug-message "$ssl_client_i_dn" always;.
You will see the issuer dn in the webserver response.
The Certificate Revocation List (crl) is configured via the ssl_crl parameter. The CRL handler of Nginx requires a CRL file for all certificates in the chain.
Combine the CRL of the root certificate and intermediate: cat root.crl int.crl > root_int.crl.
Start Nginx, and access your webserver using curl: curl --cacert rootca.pem --cert demo1.pem --key demo1.key --pass demo1Demo1 https://localhost:8443.
If you don’s supply a client certificate you will get a 403, and in case you supply a revoked certificate, you will get a 400.
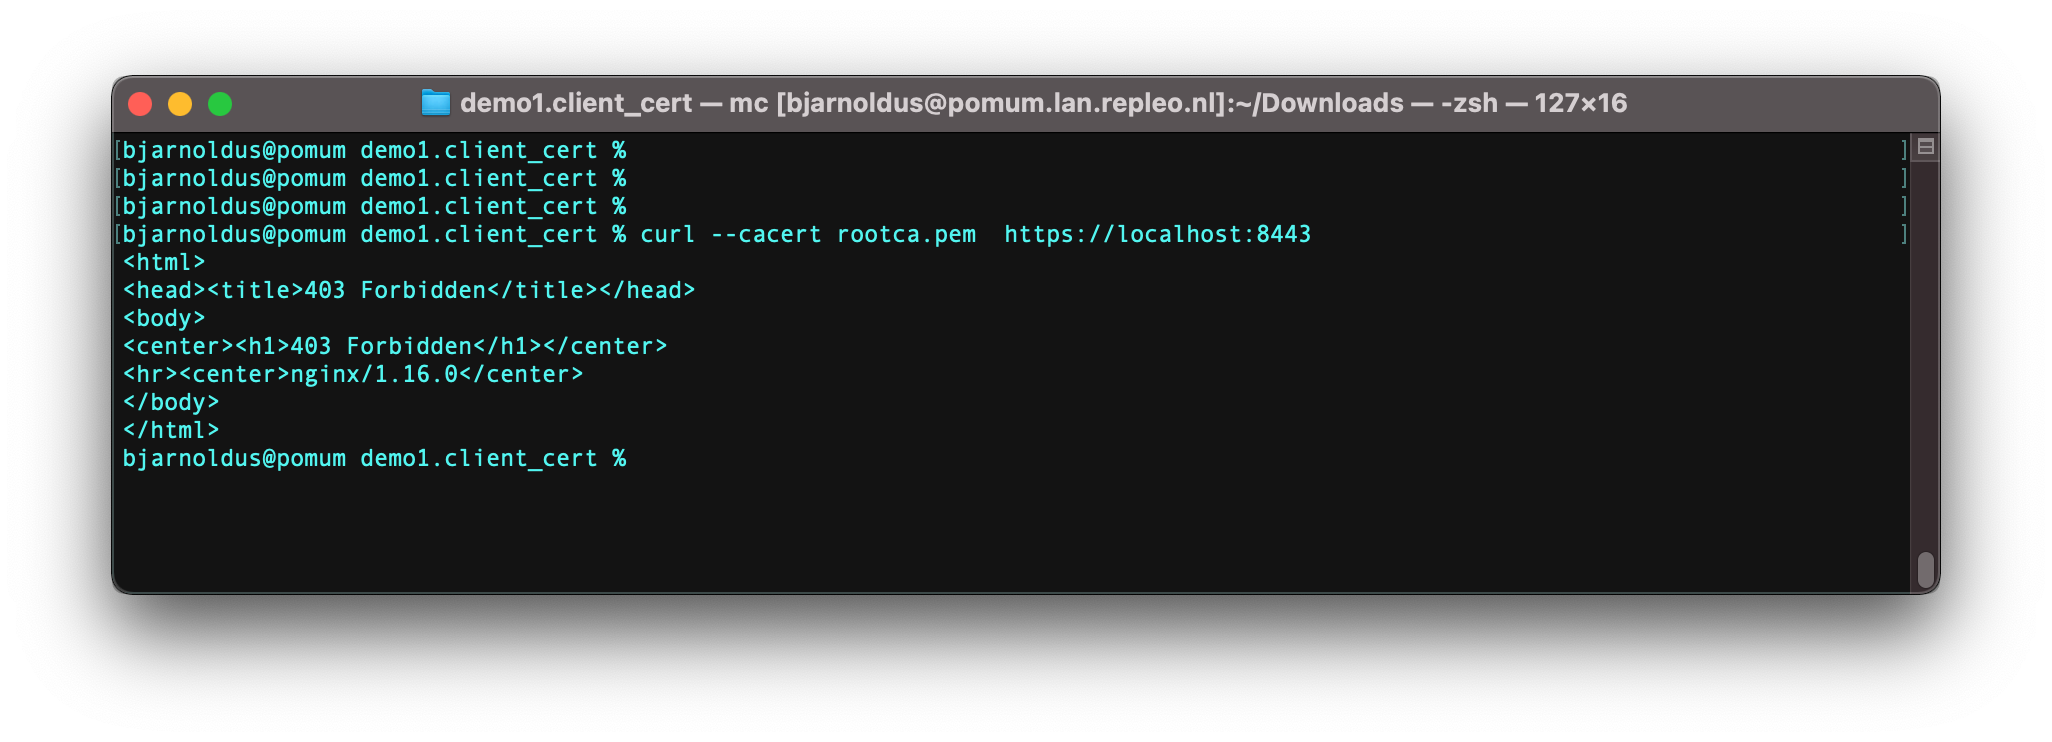
No client certificate provided, 403 response
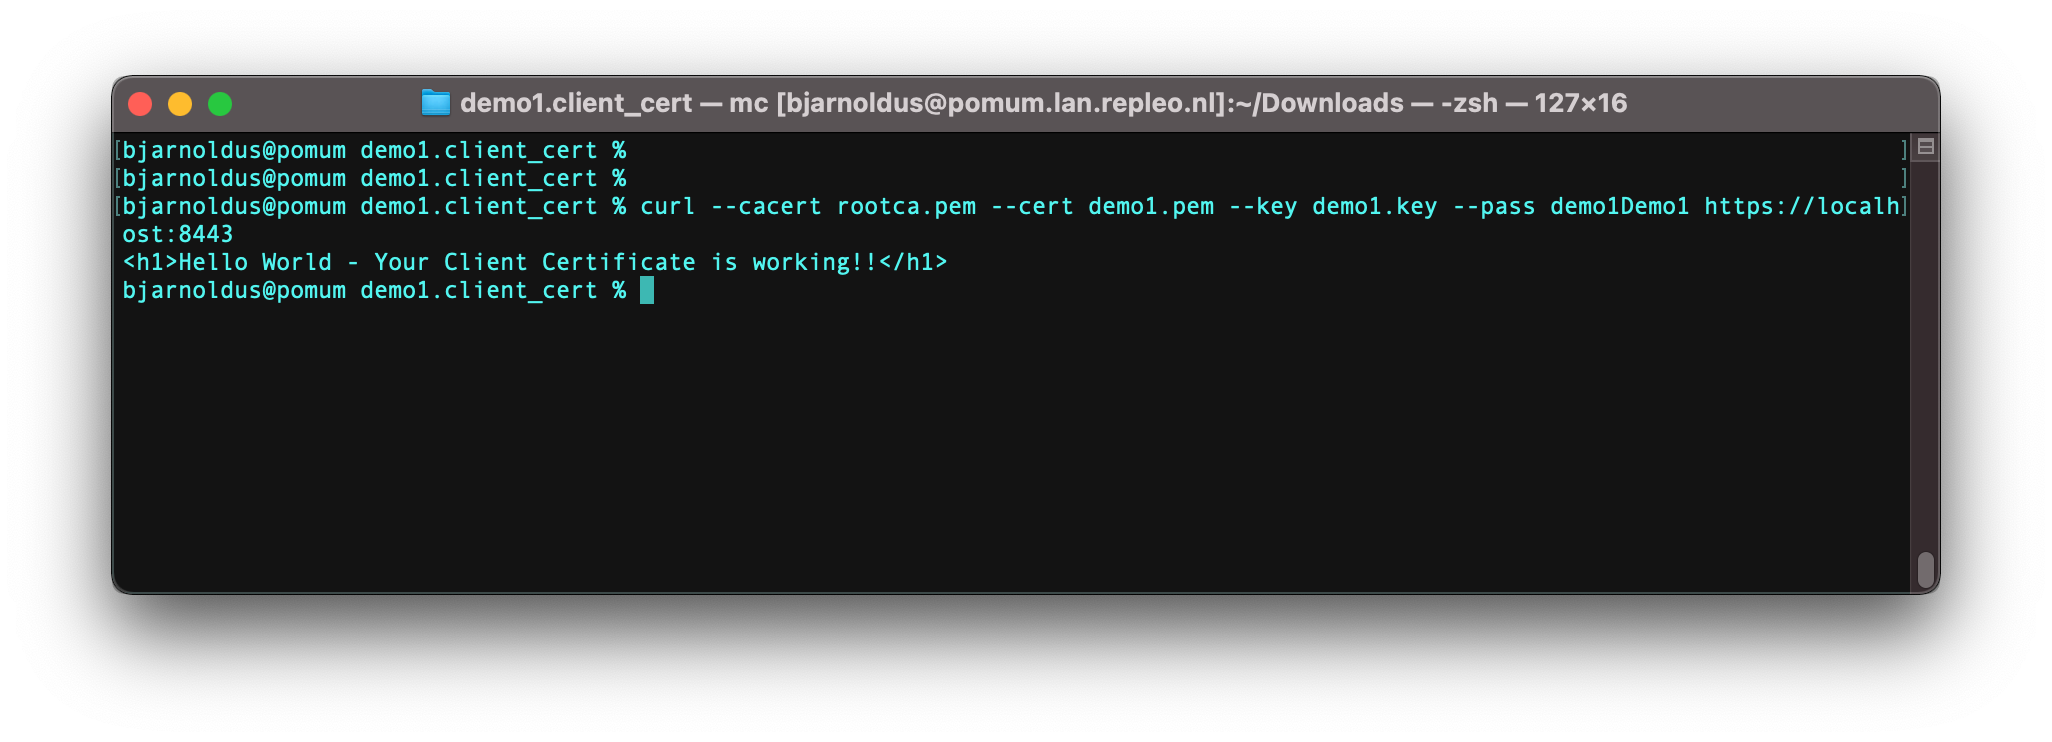
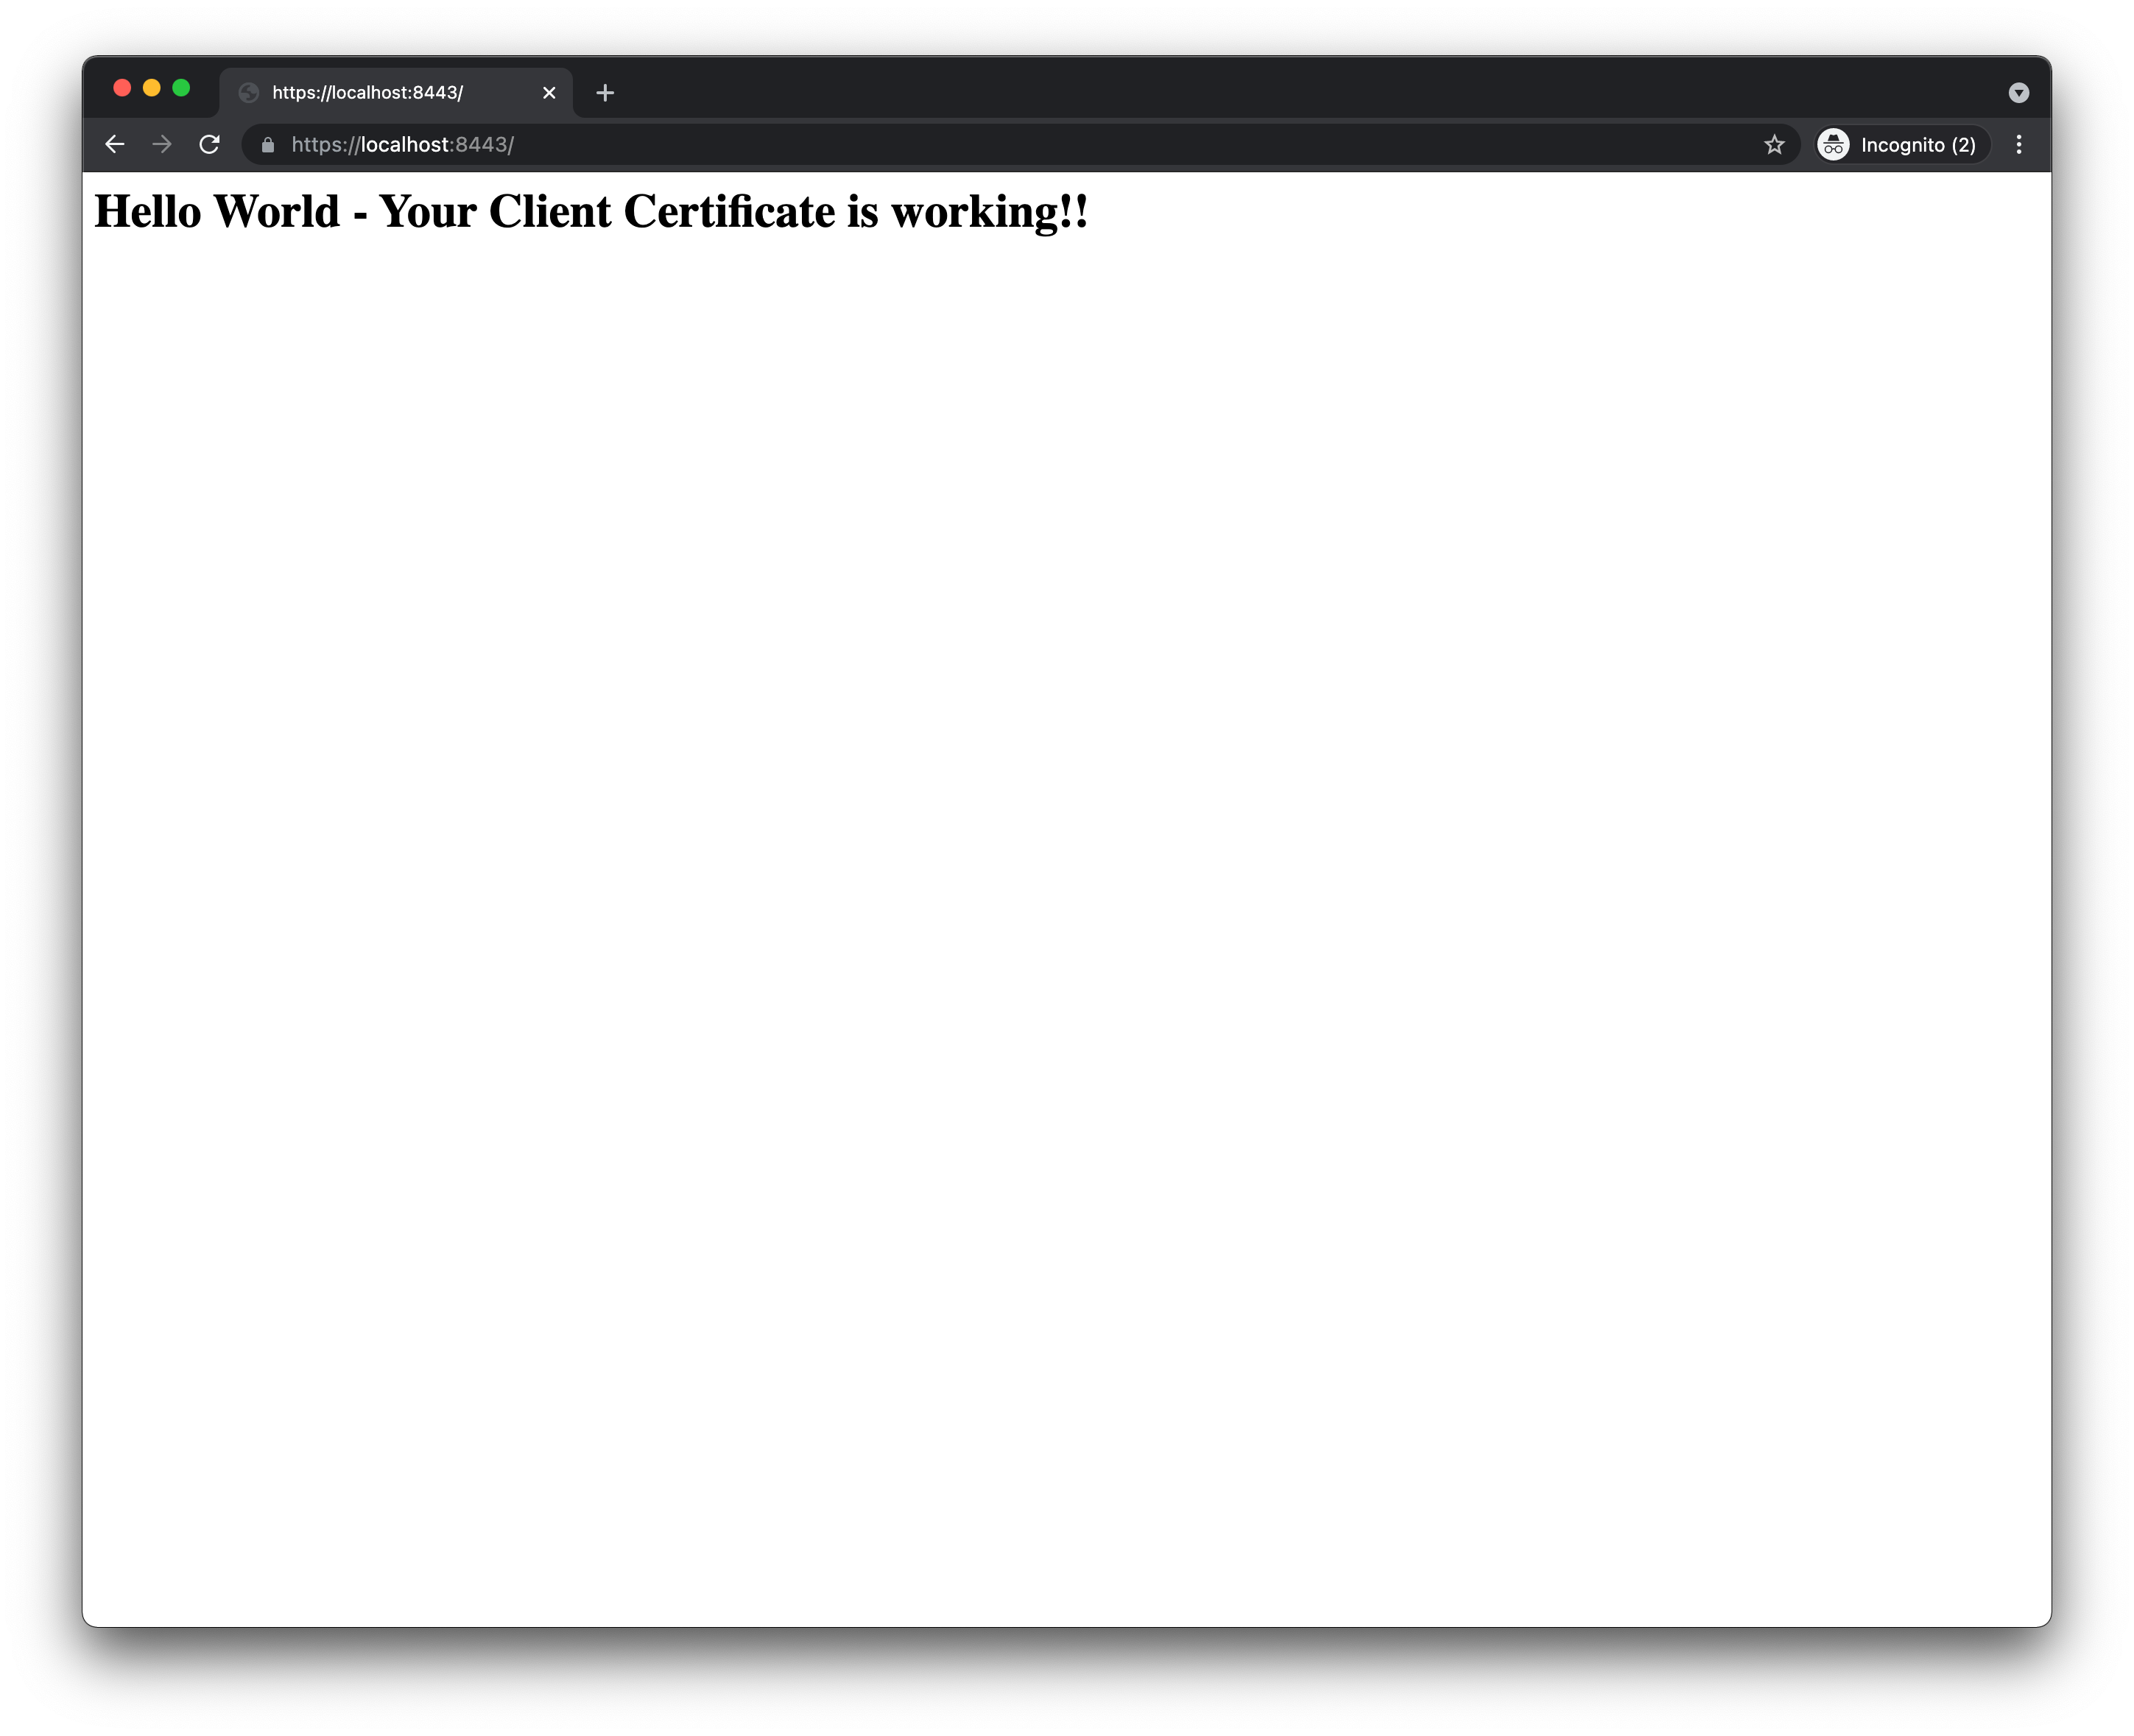
Valid client certificate provided, 200 OK response
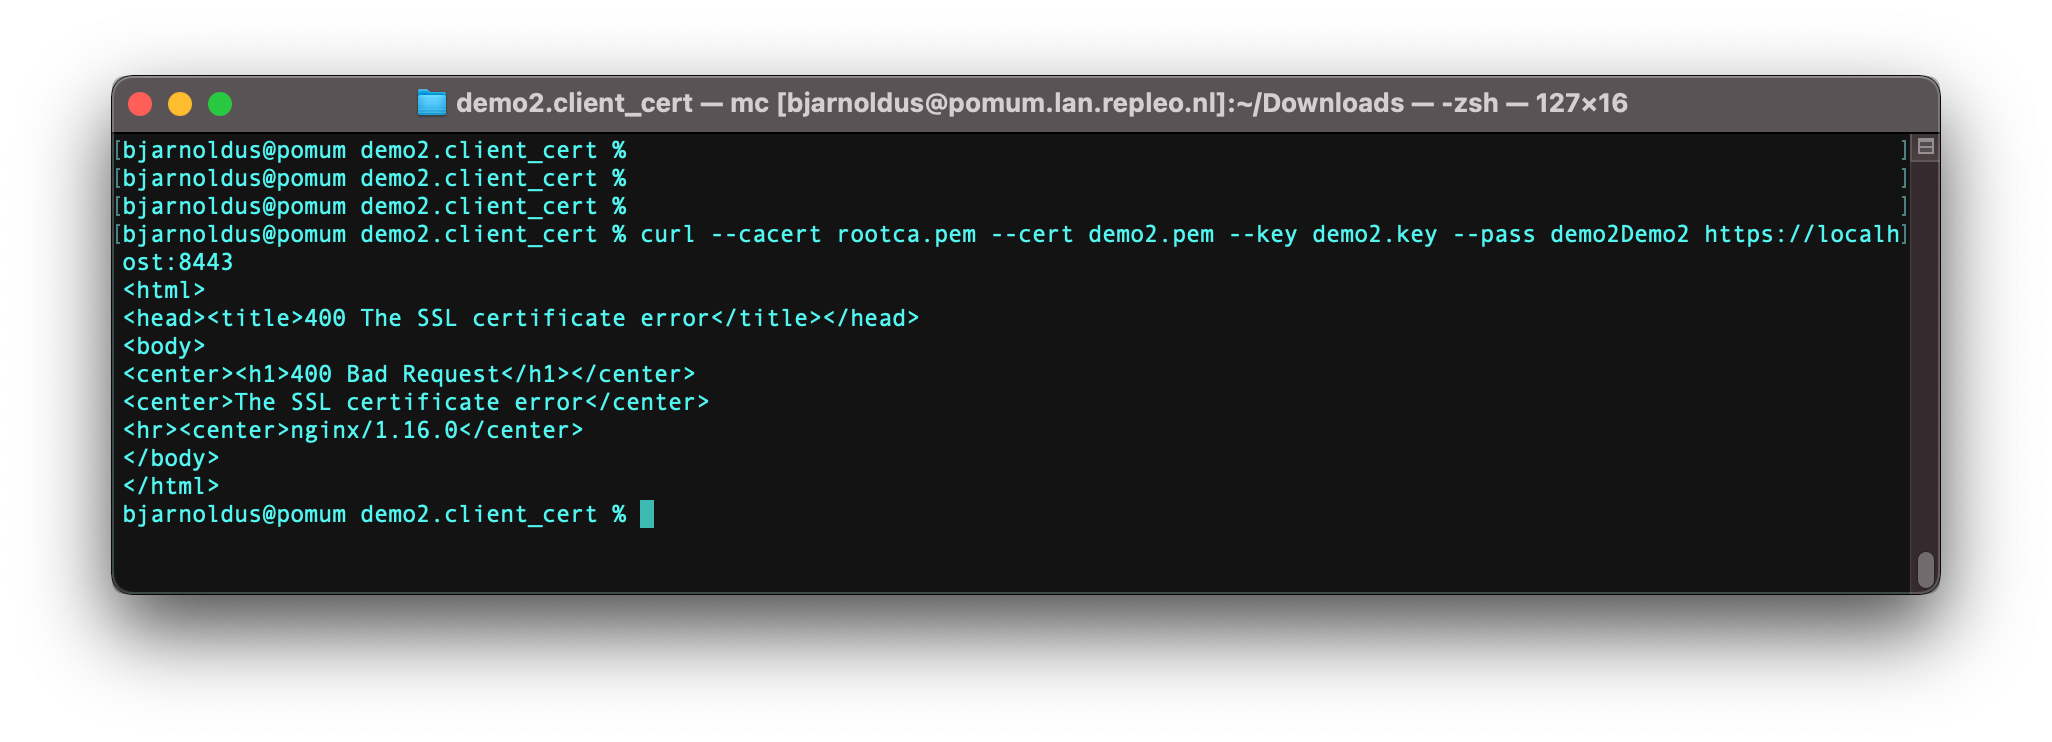
Revoked client certificate provided, 403 response
To visit your secured webserver via a webbrowser, you need to add the client to your browser. Adding the certificate to your browser is dependent on the operating system and browser. We discuss how to add in case of using MacOS.
Most important part is the PKCS12 file (.p12) in your certificate bundle. That file is necessary to add the client certificate to your browser. We also assume you have installed the root certificate in your browser and/or system.
To install the client certificate for Chrome and Safari in MacOS, just double click on the p12 file. Note: In case of MacOS you mind need the legacy.p12 file. The KeyChain manager will open, and asks for your passphrase. After you entered your passphrase, you can use the certificate in Chrome and Safari. The browser will ask to use the certificate for authentication.
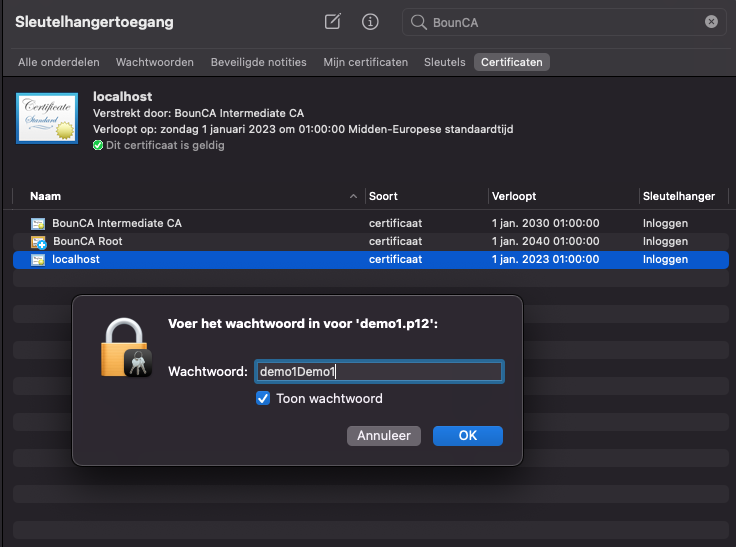
Adding client certificate to keychain of macOS

Client certificate to keychain of macOS has been added
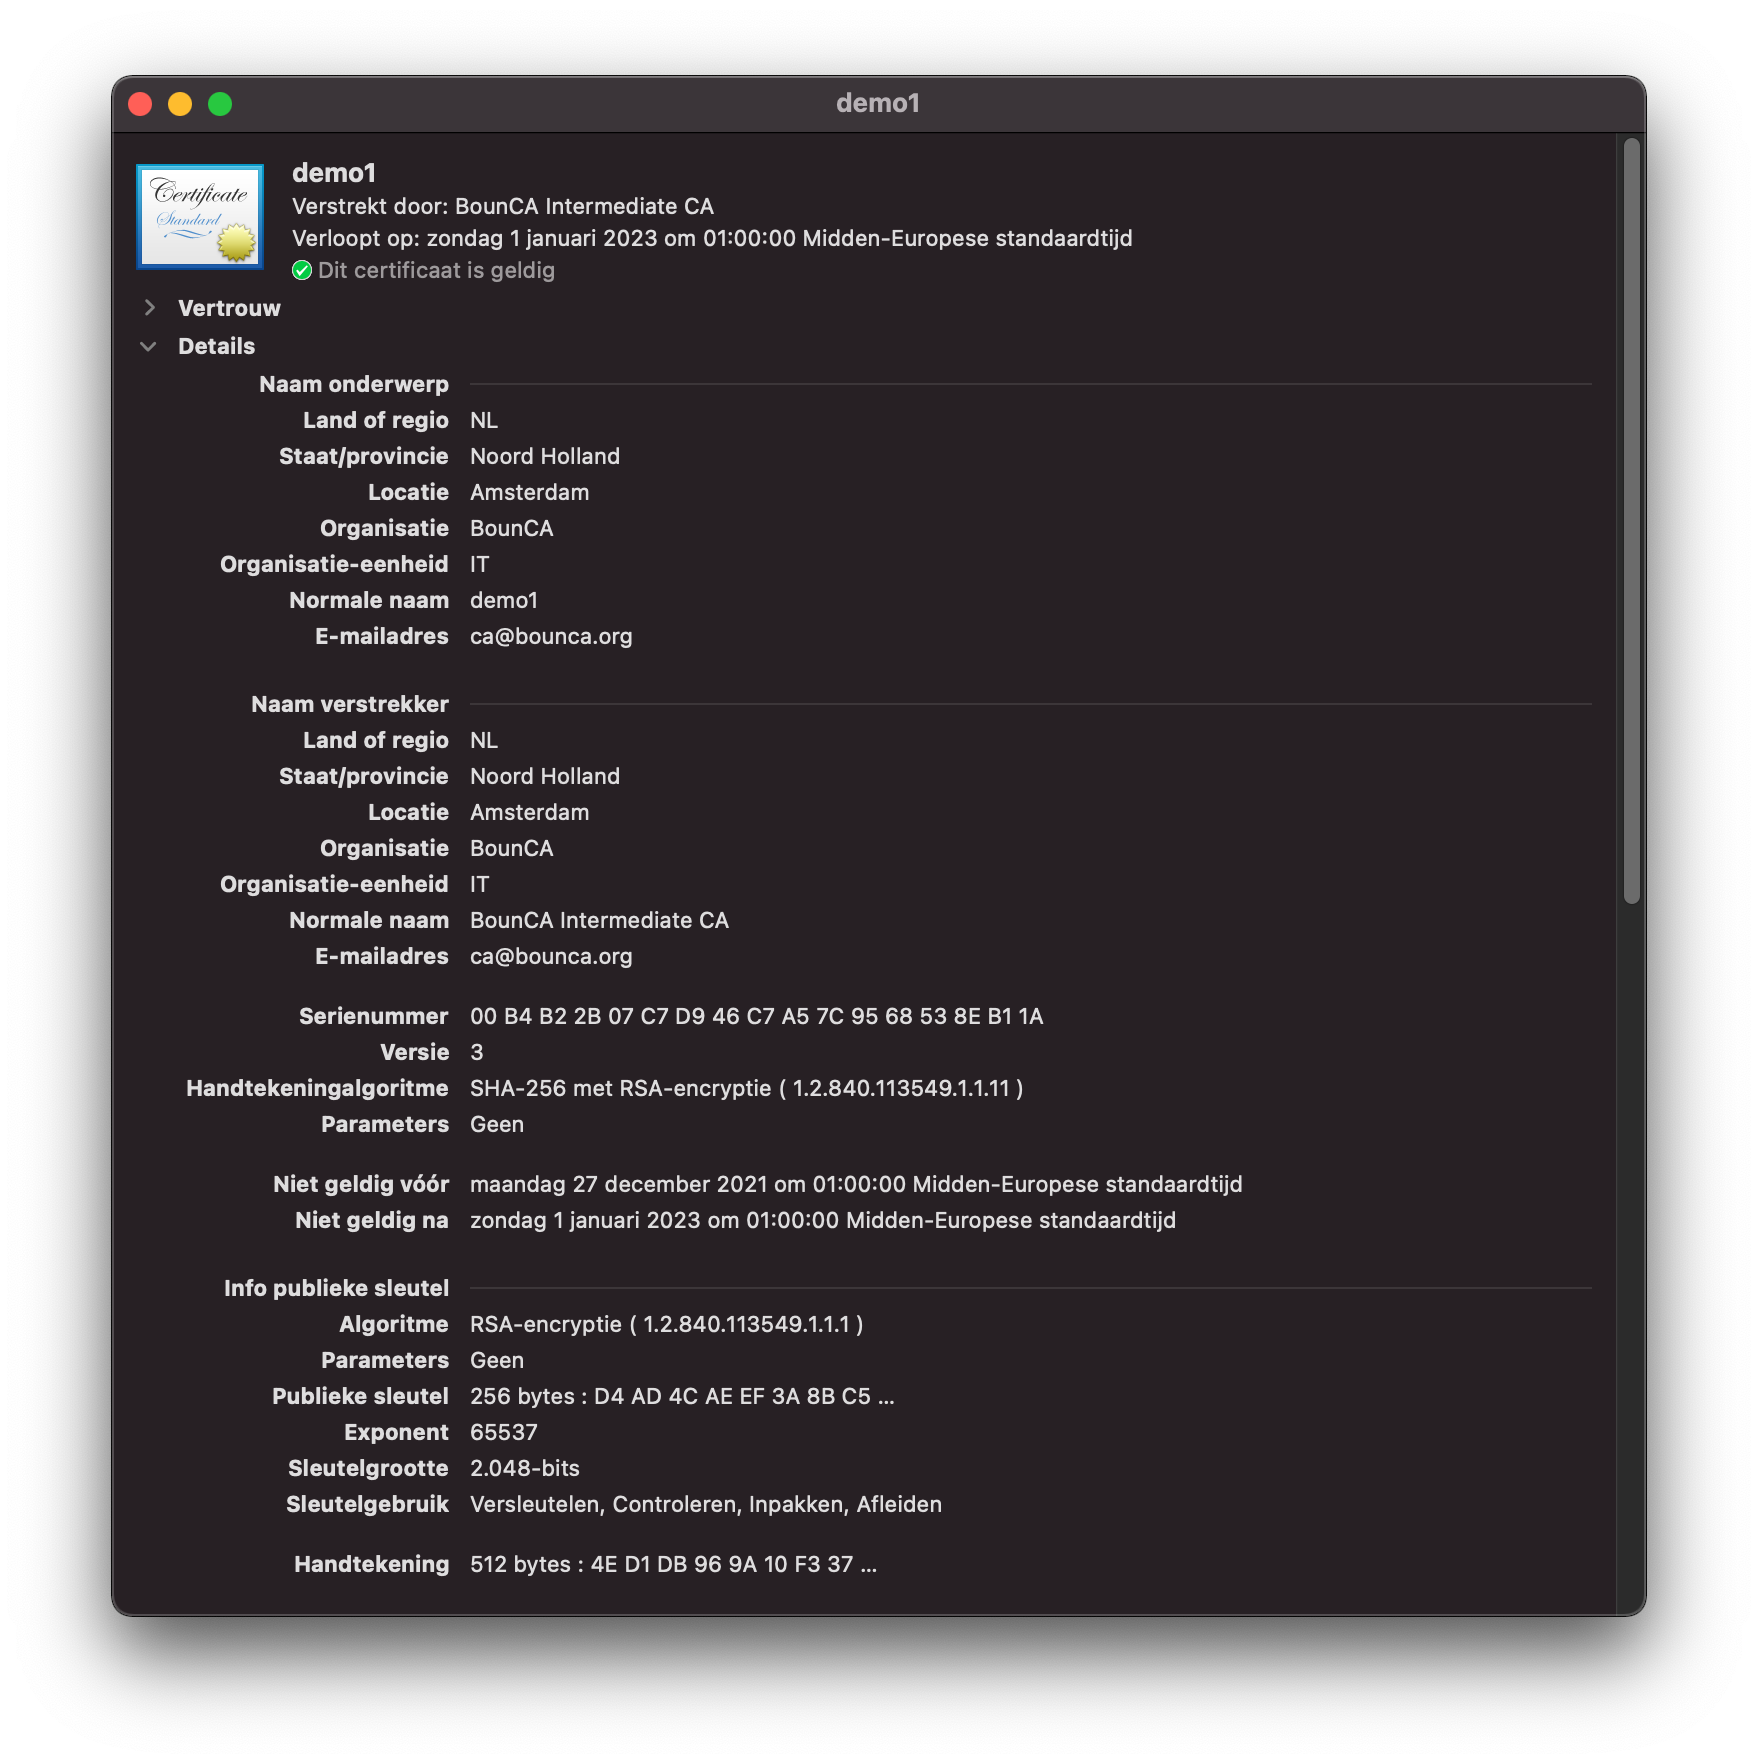
Inspect client certificate
The certificate is installed, and also trusted. Open Safari, and visit the demo site. In our case https://localhost:8443.
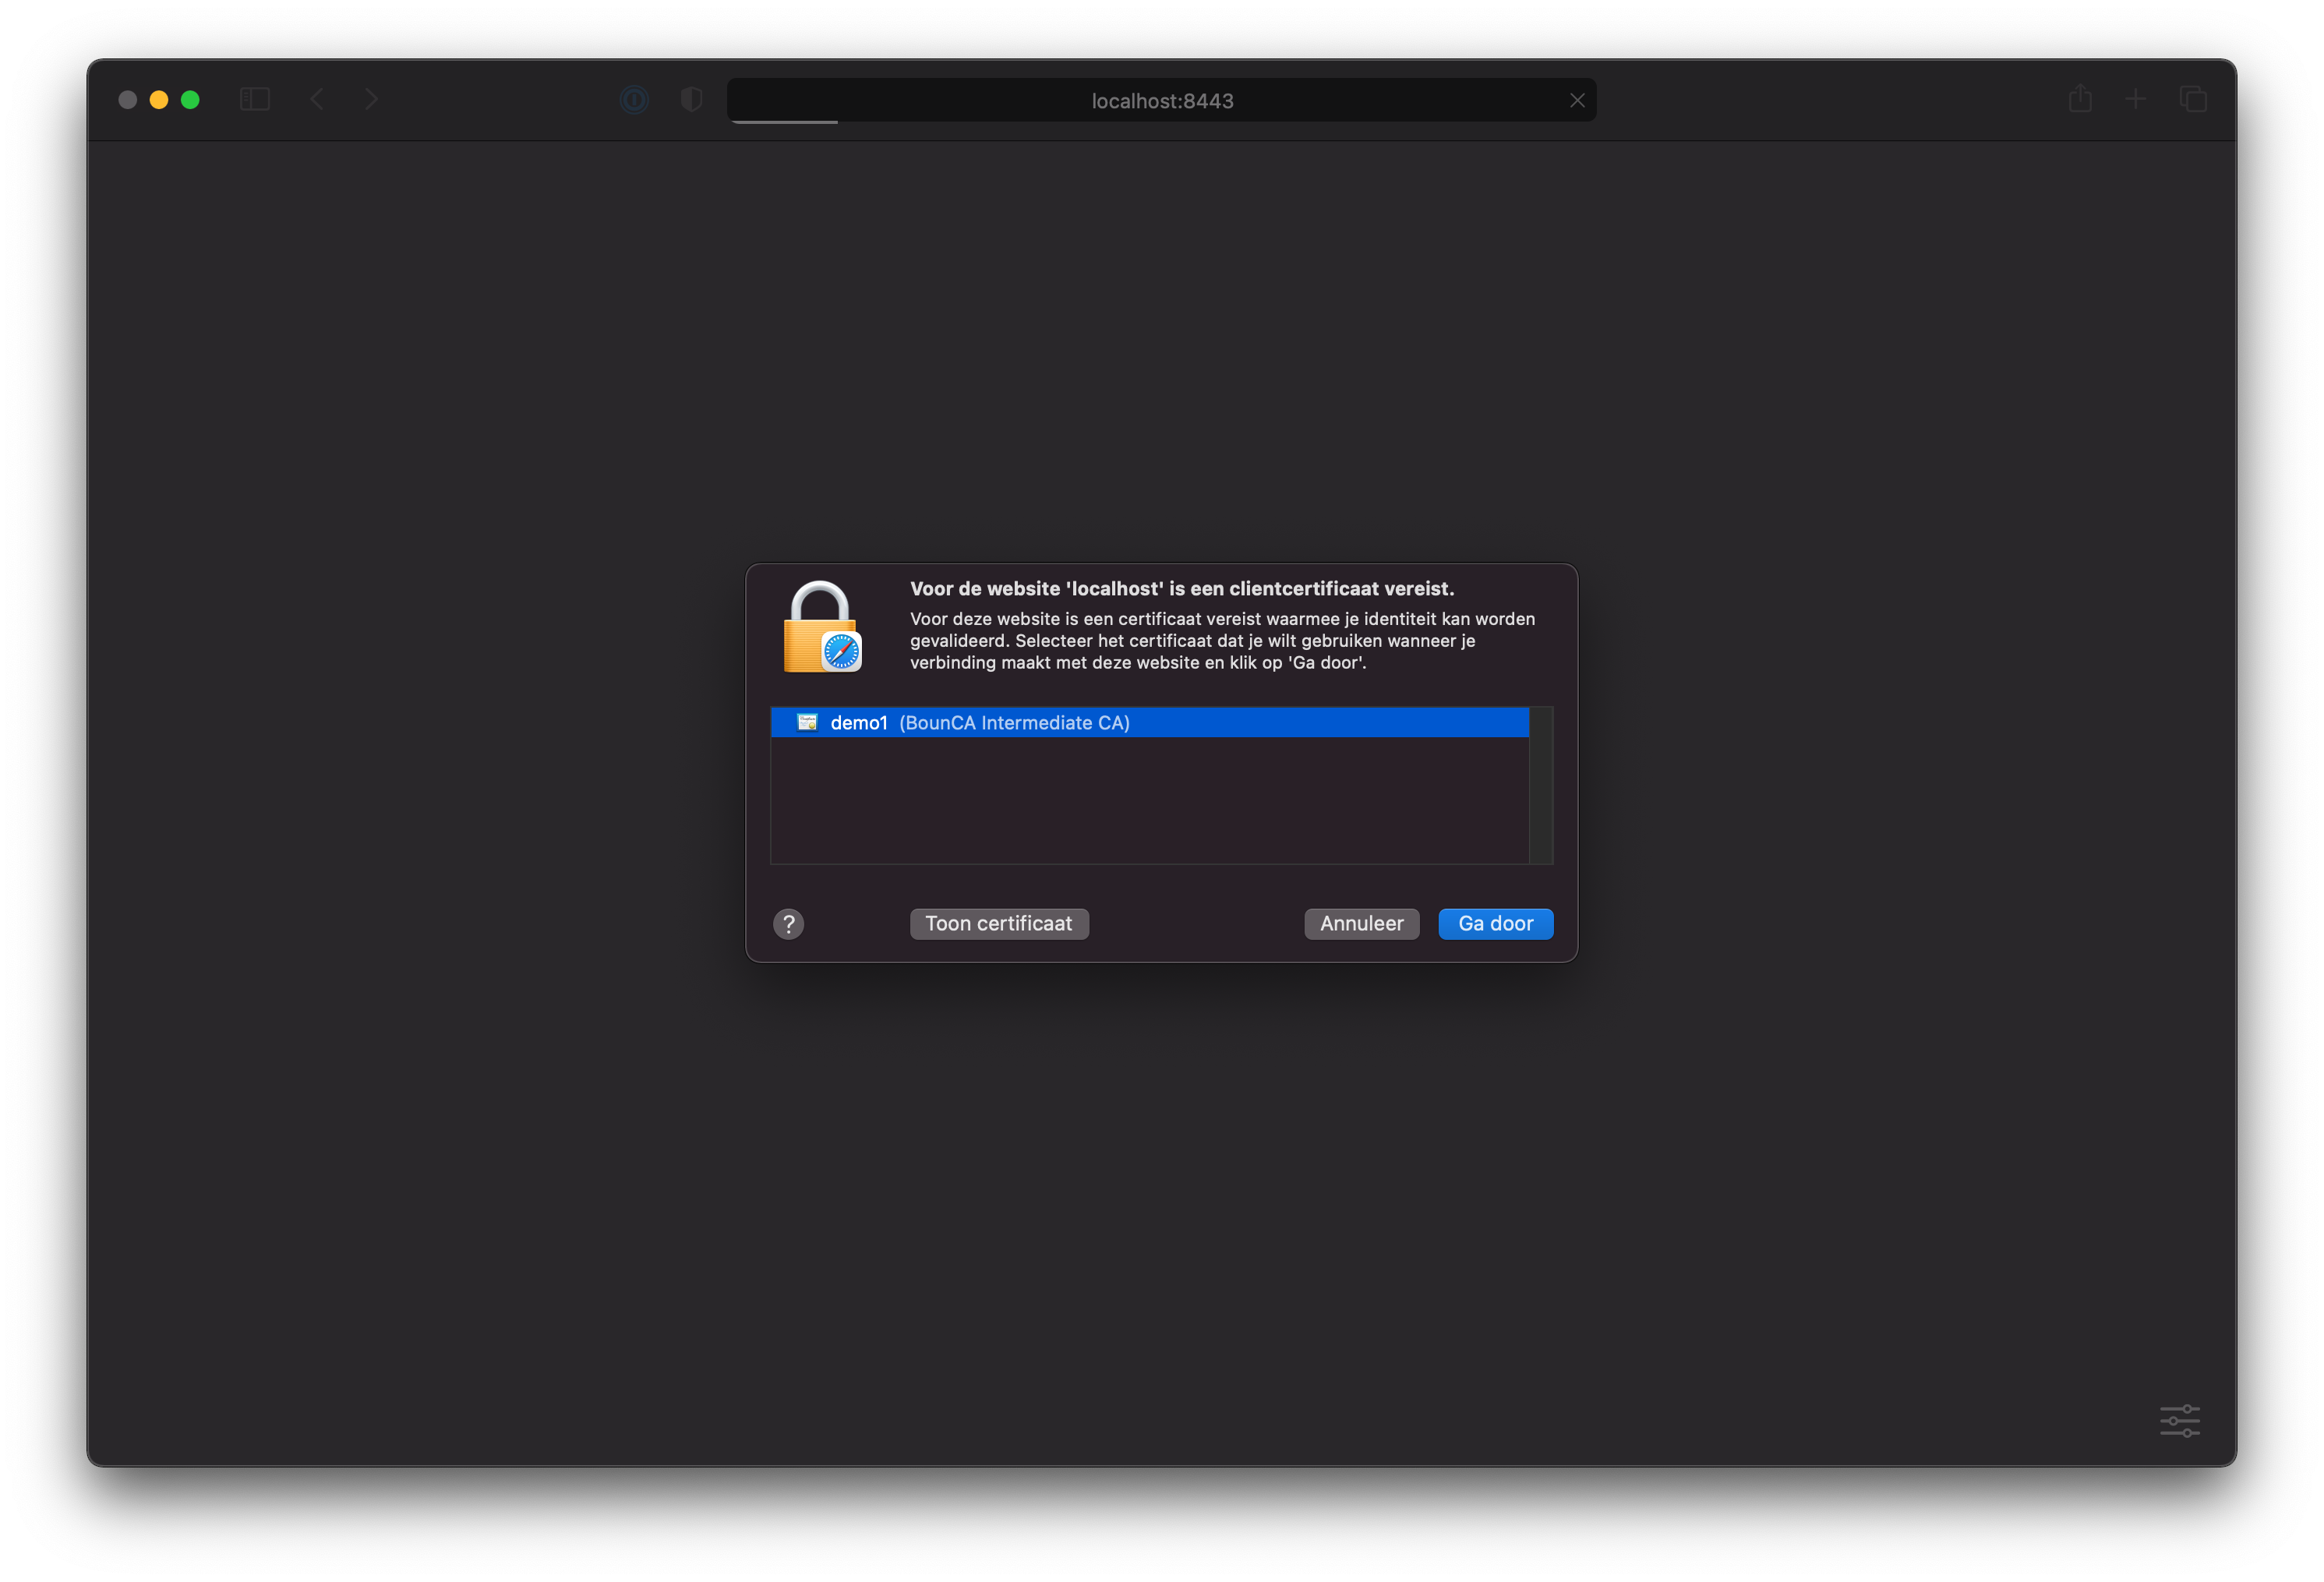
Visit mutual TLS site with Safari

Granted client certificate using Safari
The site is granted in Safari, the same can be done in Chrome (or Chromium). In macOS Chrome will use the keychain certificates, so no extra configuration is necessary.
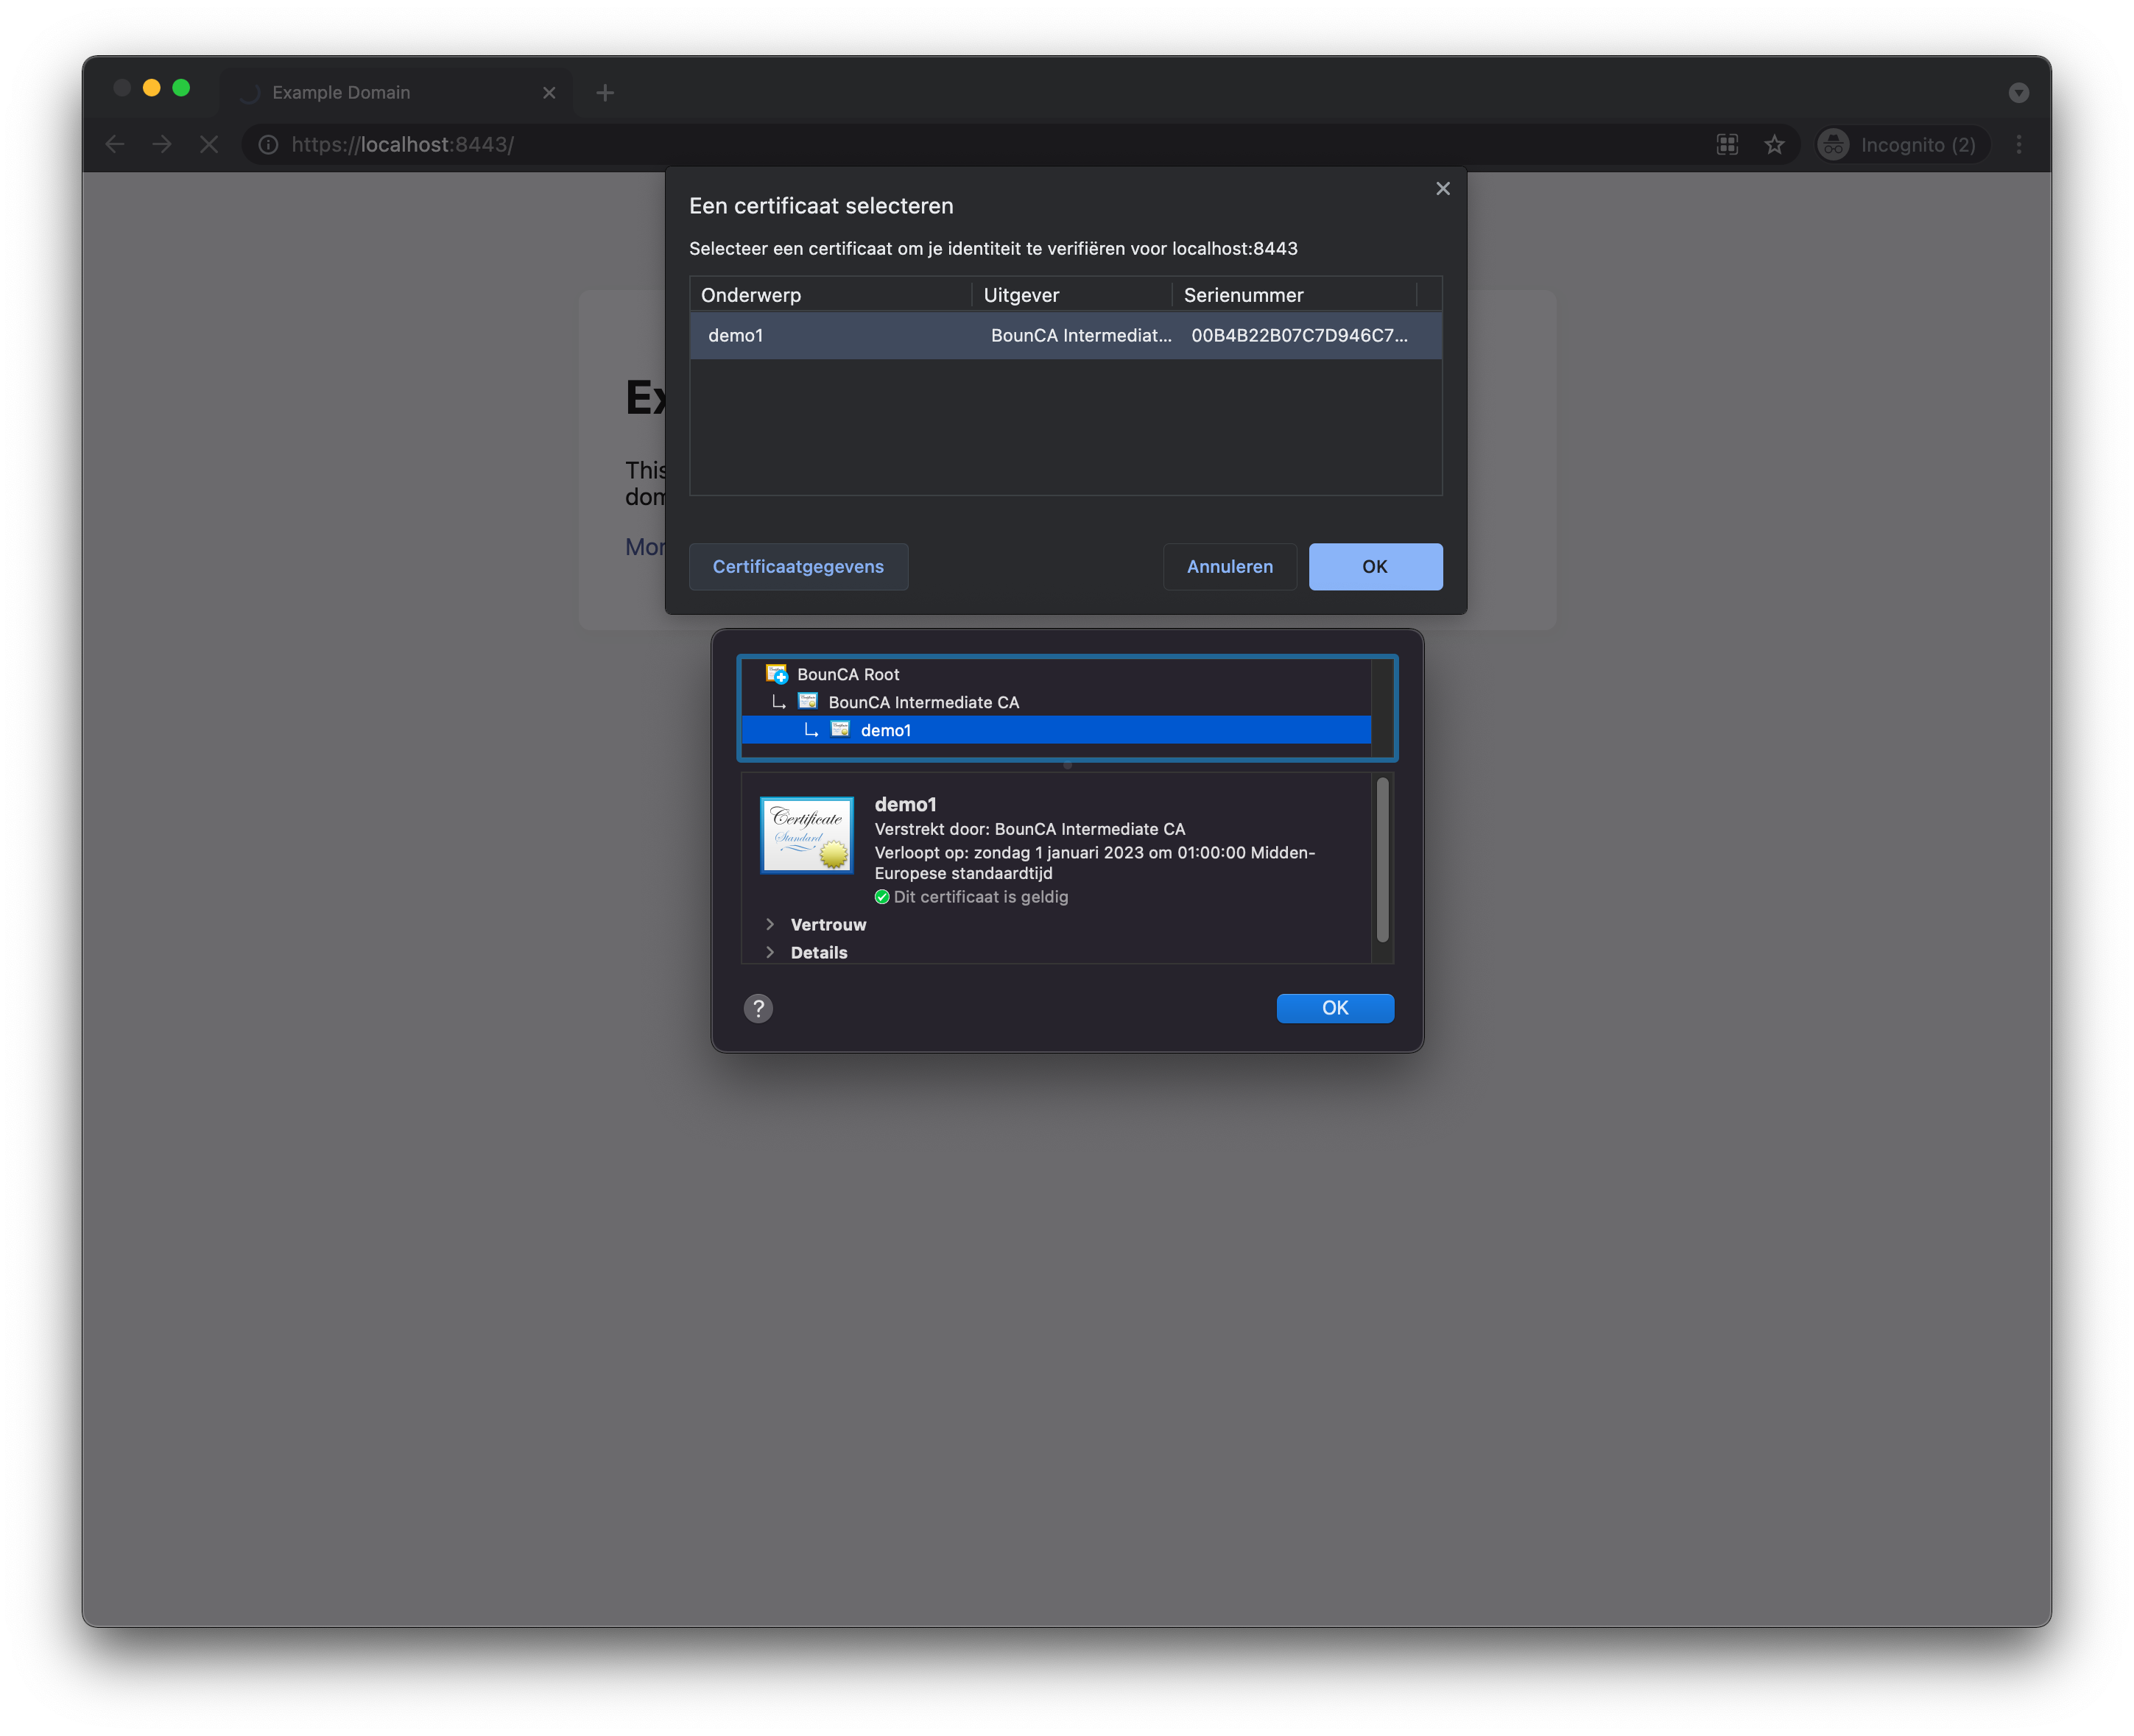
Visit mutual TLS site using Chrome
Granted client certificate using Chrome
Firefox requires a little more work. You need to add the client certificate, and root certificate to Firefox as the keychain is not used by this browser. Go to settings of Firefox, and click on the security pane. Scroll to the certificate management part, and click on view certificates.
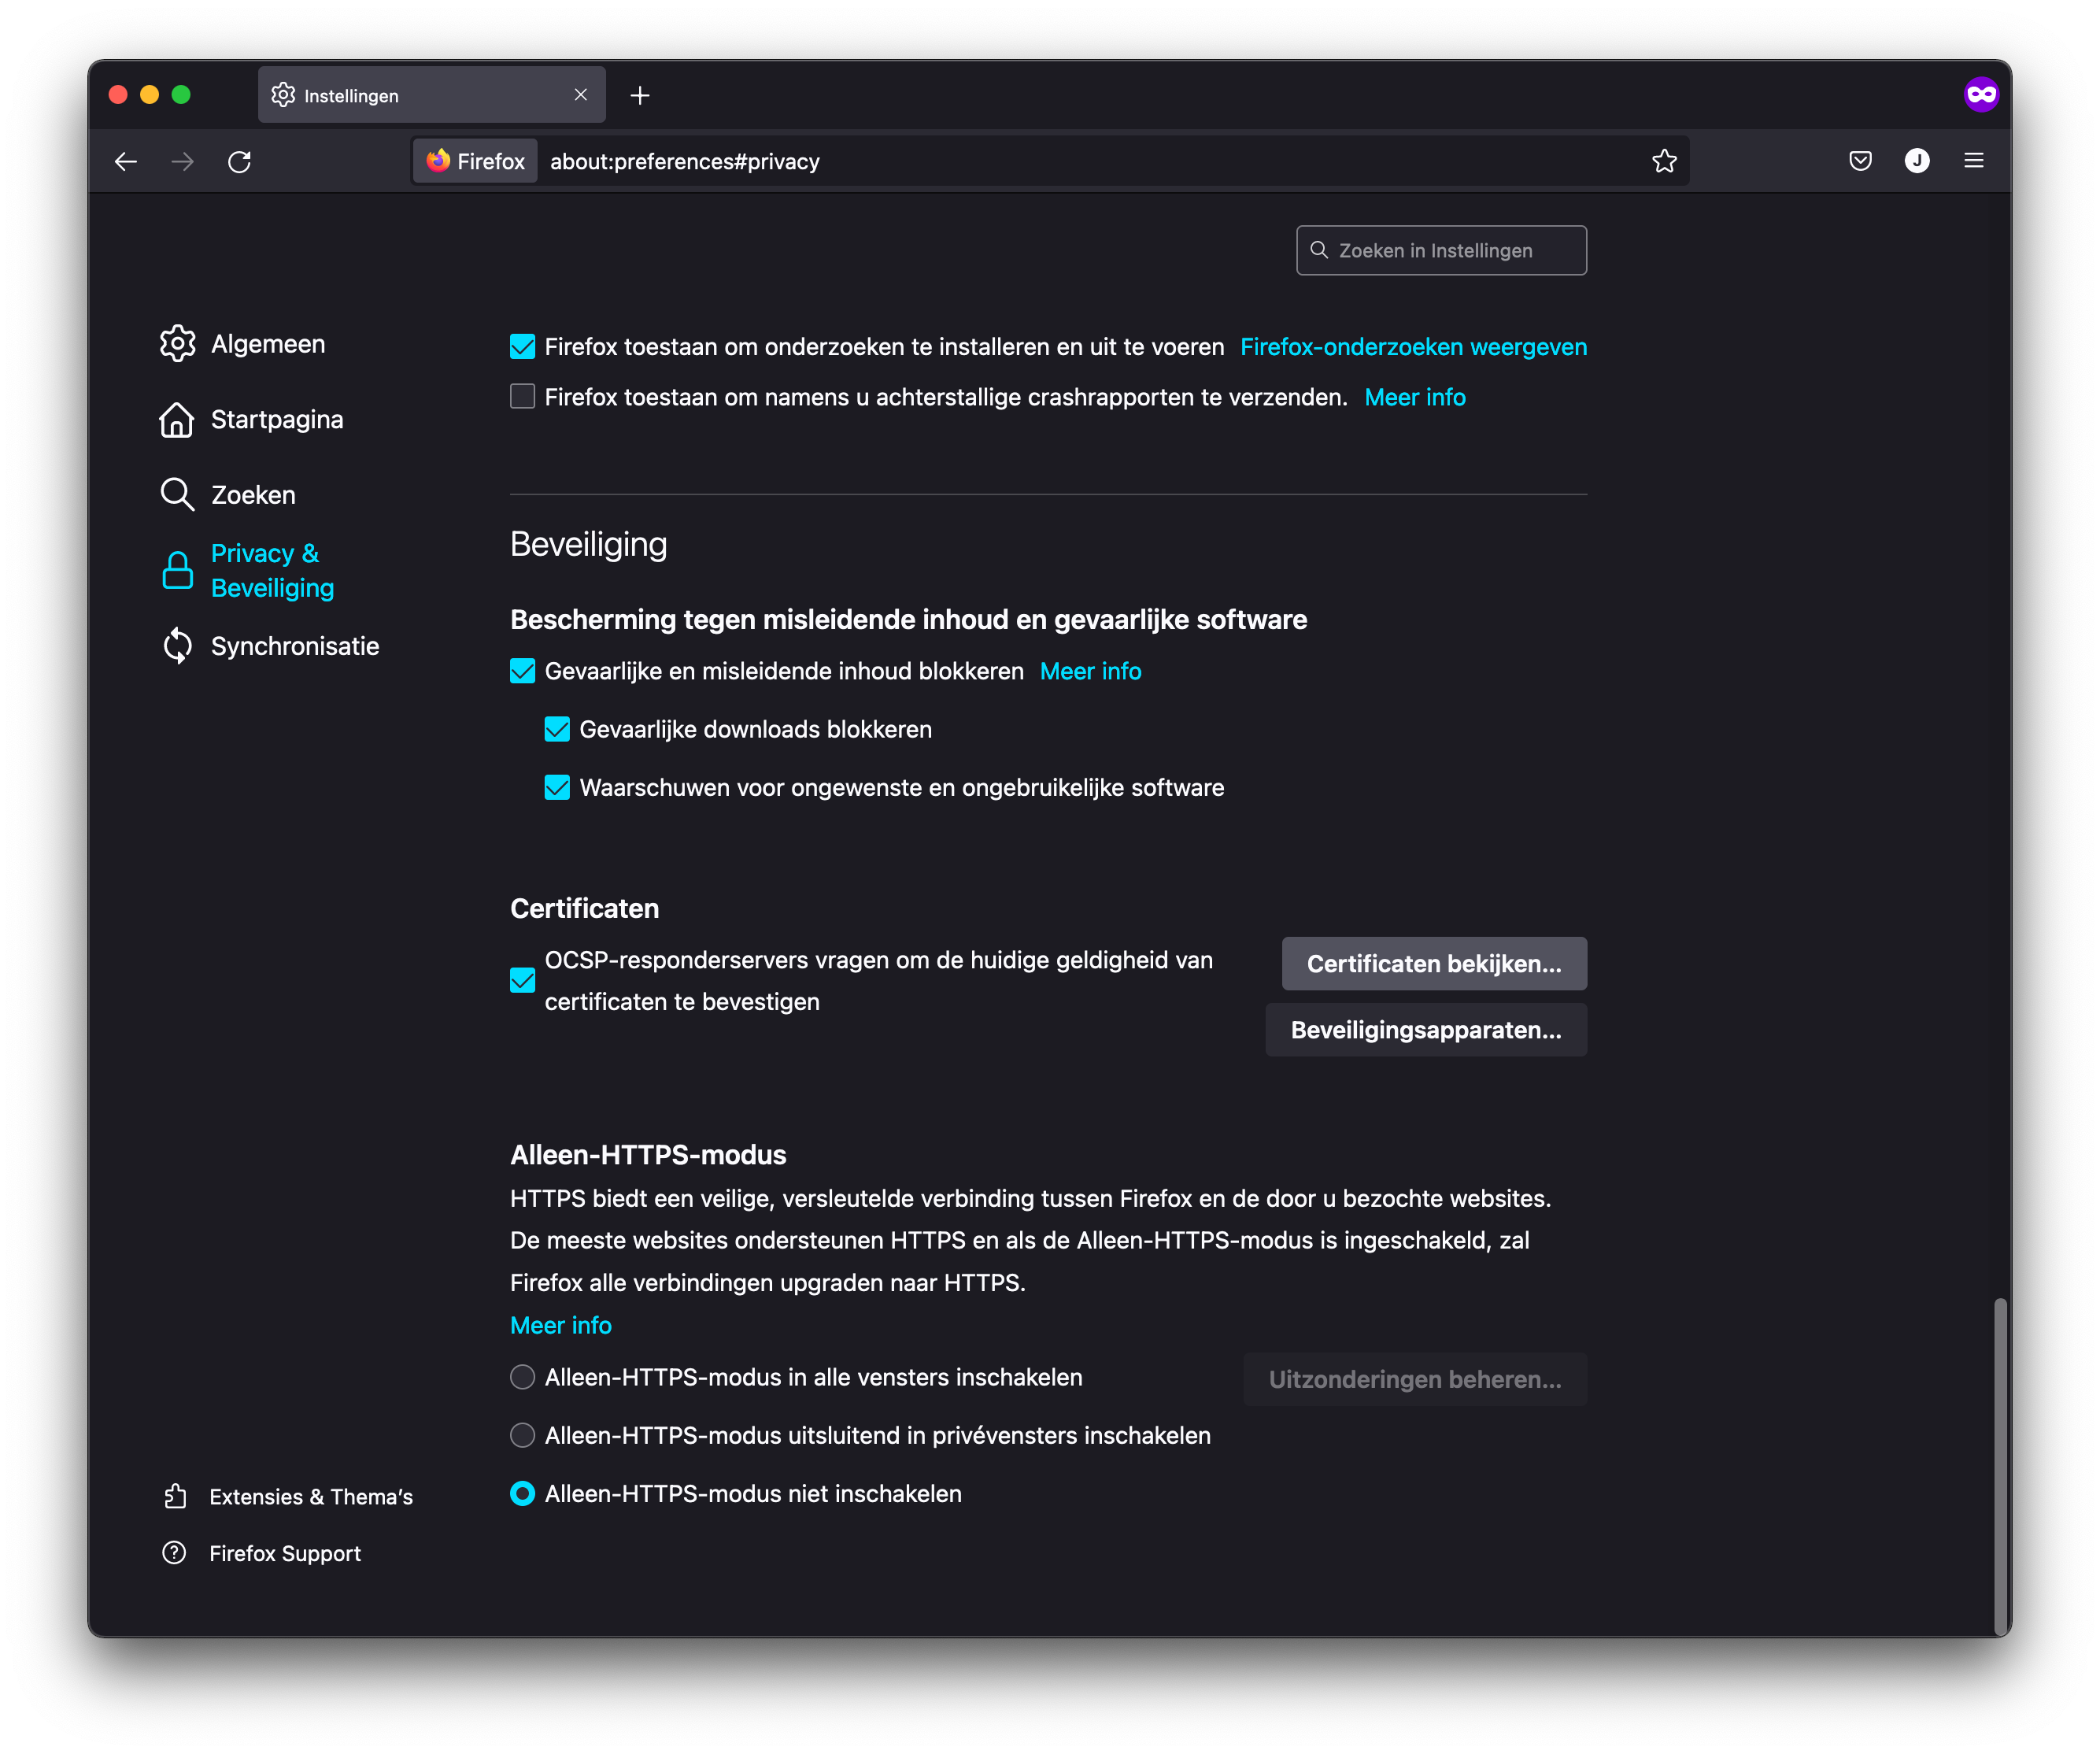
Open certificate management in Firefox
Import the PKCS12 bundle in th first pane of the certificate view.
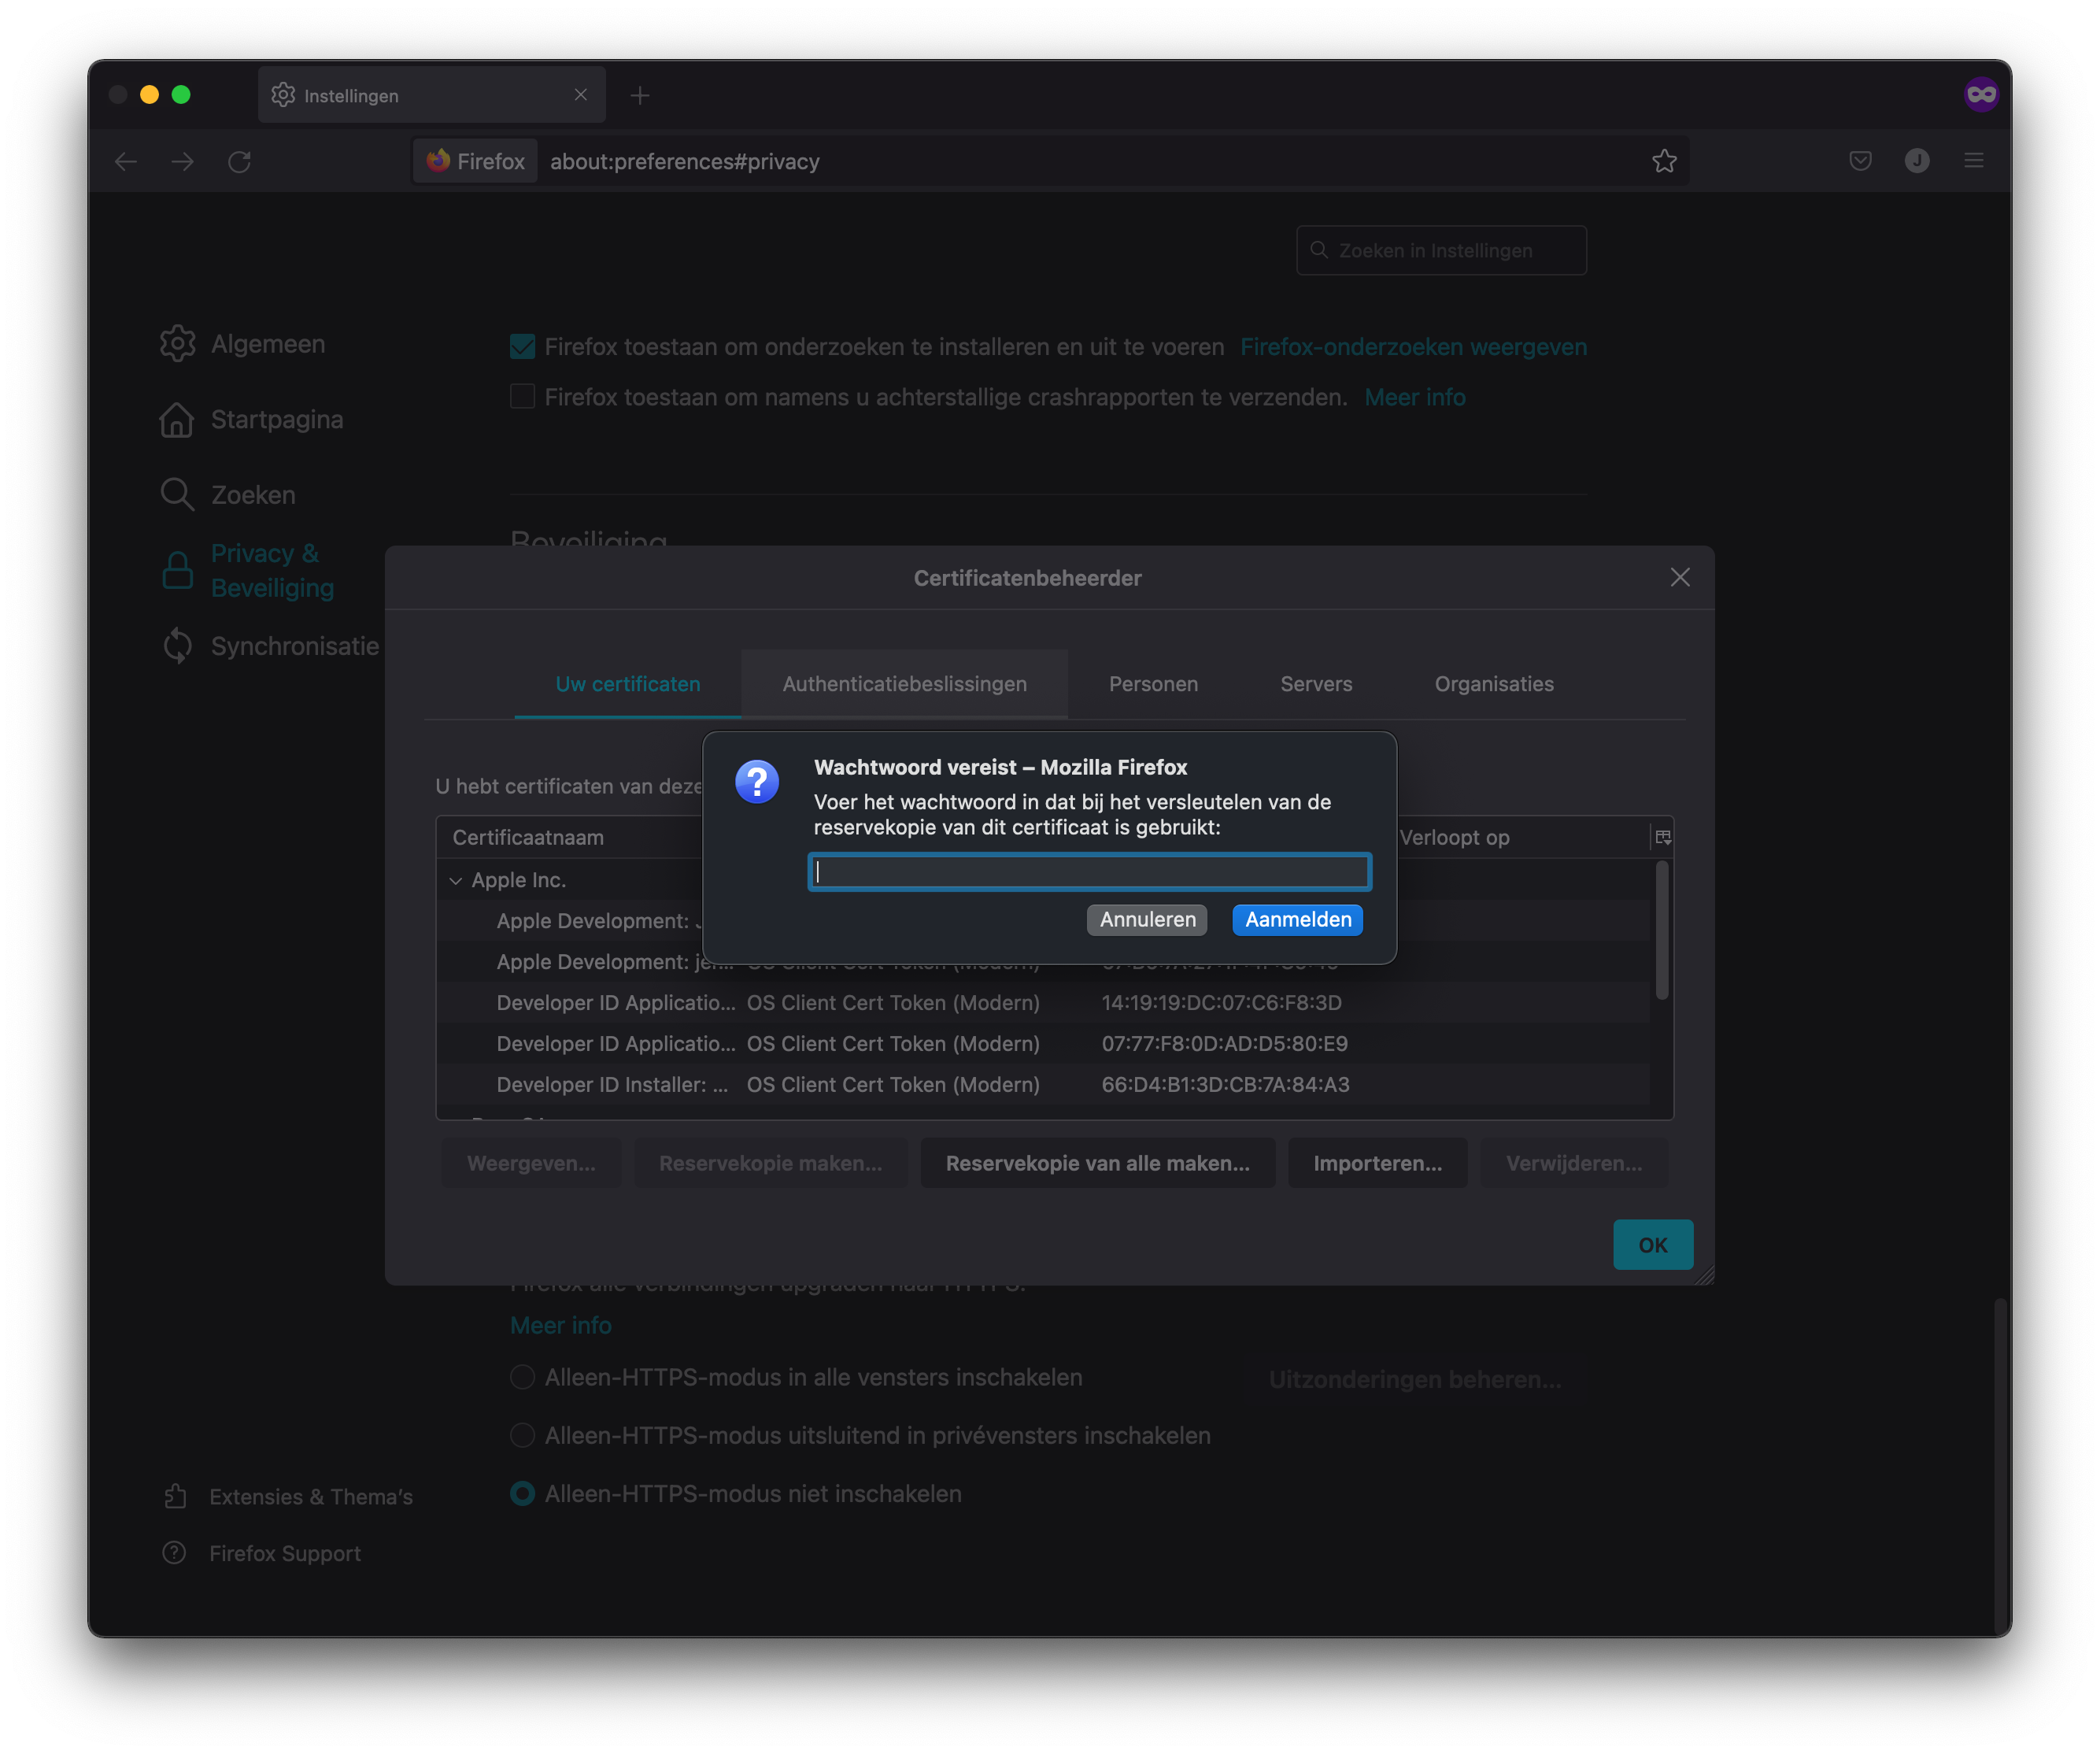
Import client certificate PKCS12 bundle in Firefox
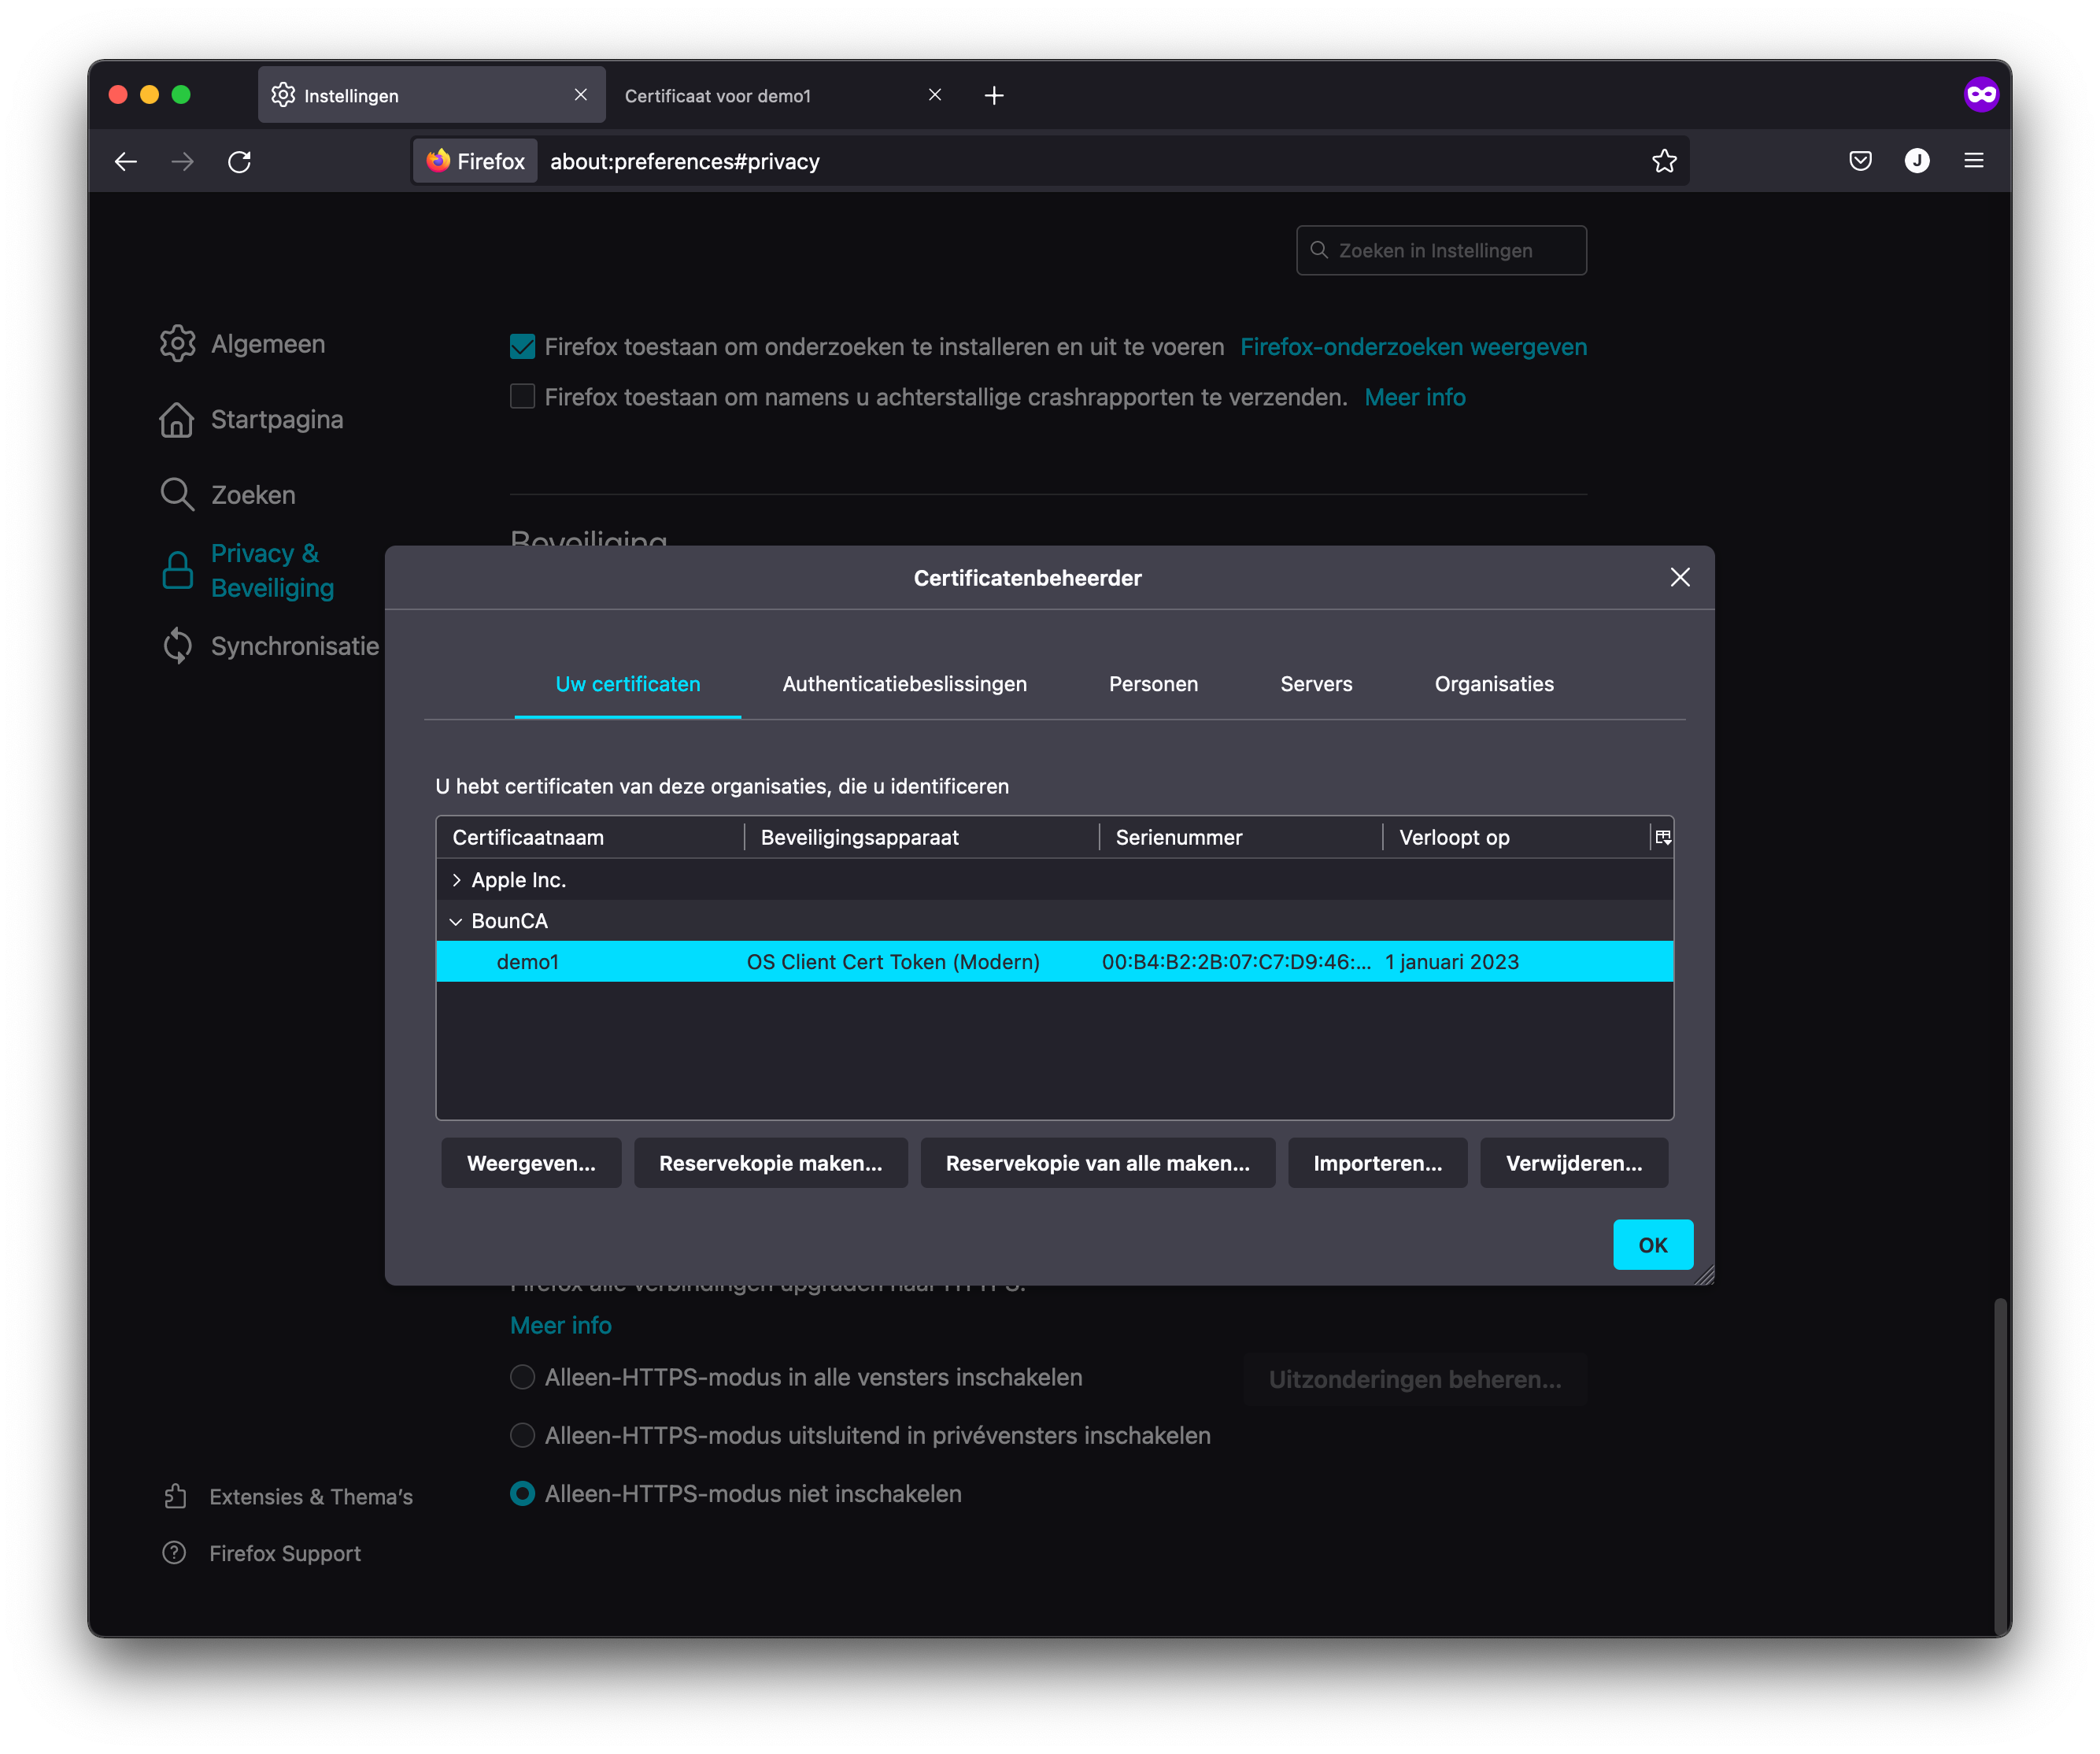
Client certificate added to Firefox
When you added the client certificate, you can browse to the mutual TLS site. Firefox will ask which certificate it should use for authentication.

Visit mutual TLS site using Firefox

Granted client certificate using Firefox
That’s it! We have shown how you can generate client certificates and enable mutual TLS connections using certificates by your trusted CA.