Set-up Root Certificate Authority
Step-by-step guide to generate a basic root certificate authority.
Step-by-step guide to generate a basic root certificate authority.
This document will show you how to set up a root certificate authority with BounCA. We assume you have just installed BounCA, created an account, and are logged in on the desktop.
A certificate authority (CA) is a trust entity that signs digital certificates. These certificates are used to confirm the authenticity of a web request (HTTPS), computer code (signed code), authentication (Client certificate), etc. In the public domain, internationally trusted CA (eg, VeriSign, DigiCert, Letsencrypt) are used to sign a certificate for domains.
In some cases it may make more sense to have your own Certificate Authority. Common cases include securing an intranet website, or for issuing certificates to clients to allow them to authenticate to a server. Main use cases for having your own CA:
Trusted encrypted communication with your peers (man-in-the-middle attack prevention)
Secure your internal REST micro-services and internal API’s
Sending encrypted S/MIME e-mails
Client-certificate based login for web services, web applications and OpenVPN connections
Secure access to your private cloud services with your own HTTPS scheme
Secure your Internet of Things (IoT) network with your certificates
Your certificate authority (CA) starts with creating a root certificate and key. The root certificate is a self-signed certificate at the top of your chain-of-trust. A key and certificate are generated when you create the root certificate. The user interface of BounCA let you only download the certificate. The key is internally used for signing the child certificates. The root certificate should be distributed to all hosts which need to trust your certificates.
The root certificate does not sign server or client certificates directly. One or more intermediate certificate authorities must be created. These intermediate certificates are trusted by the root CA and are used to sign server certificates and client certificates. This allows to keep the root key offline and unused as much as possible, as any compromise of the root key makes your authority useless.
When you login to your fresh BounCA, you will enter the overview tab. Click on the ‘Root Certificate’ tab at the left side.
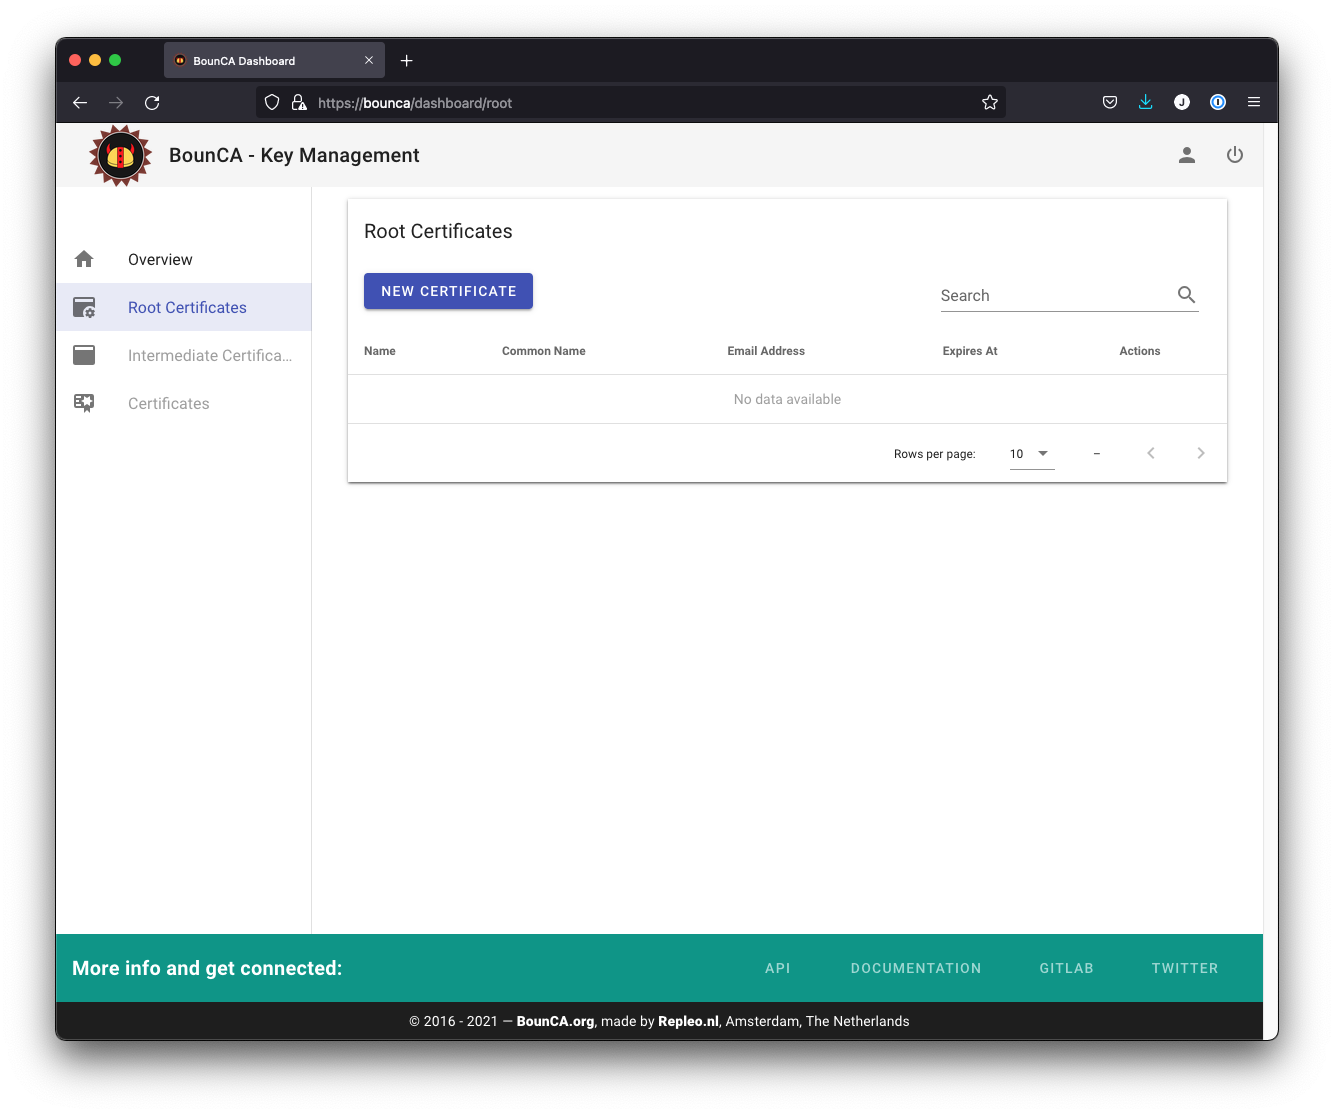
Start screen of BounCA without a root authority
Click on the New Certificate button, a new modal view will appear. Enter the details of your Root Certificate. The common name is the name of authority. Make sure you enter all information correctly, as you cannot edit it afterwards. If you want to use revocation services, you can provide the OCSP and CRL urls. Leave them out if you don’t want to use them. CRL is supported by BounCA, in case you wants to use OCSP, you need to host an OCSP responder.
Give the root certificate a long expiry date, for example twenty years. Once the root certificate expires, all certificates signed by the CA become invalid.
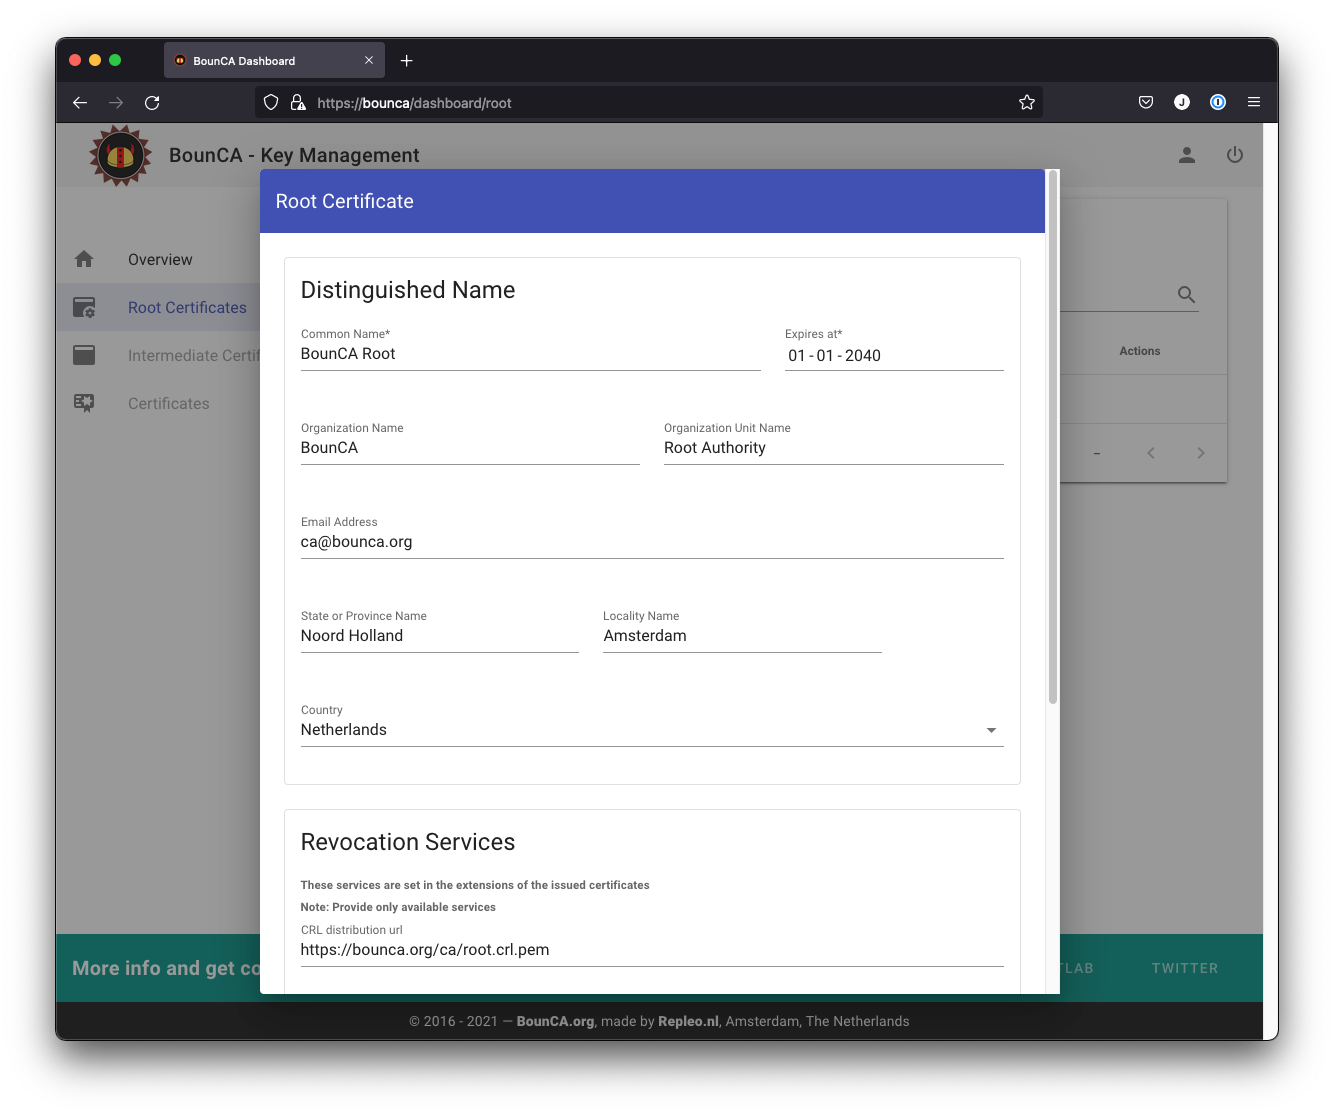
Create root certificate 1/2
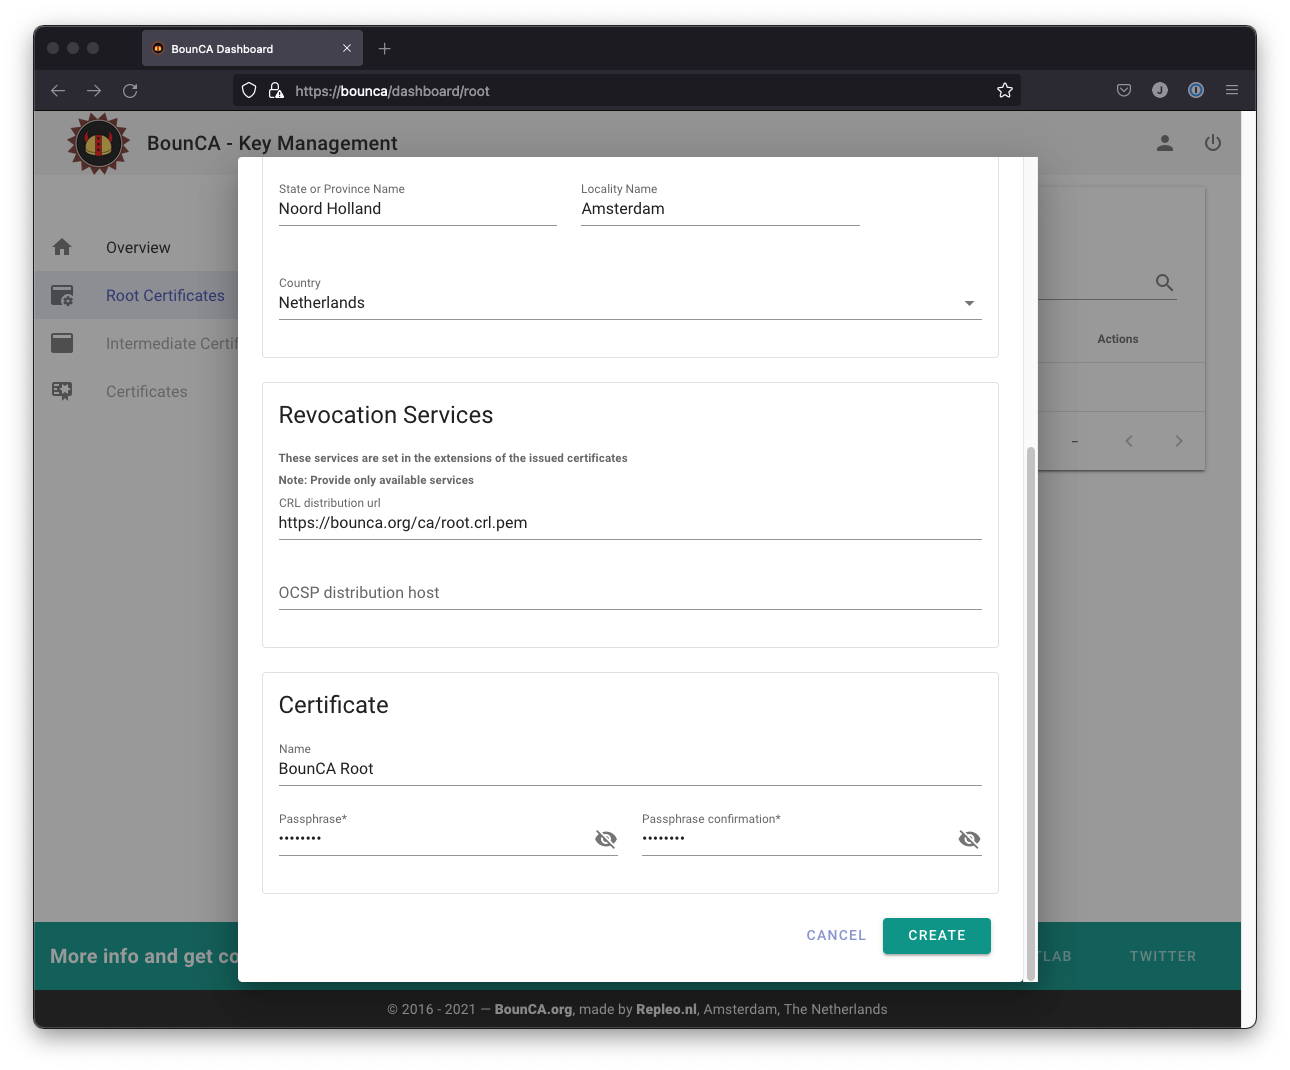
Create root certificate 2/2
When you scroll down you can enter revocation services, internal name and passphrase. Create a passphrase for accessing your key. Remember your passphrase or store it in a safe. The CRL and OSCP uri’s are not added to the root certificate, but to all its children. It allows to revoke the intermediate certificates. The name is not part of the certificate, but used to name the downloaded files, and for listing the certificate in the user interface.
BounCA offers Ed25519 and RSA based key algorithms. Ed25519 is a a modern, fast and safe key algorithm, however not supported by all operating systems, like MacOS. The RSA-algorithm is the default configuration of BounCA. Root and intermediate keys are 4096 bits, client and server certificates use 2048 bits keys.
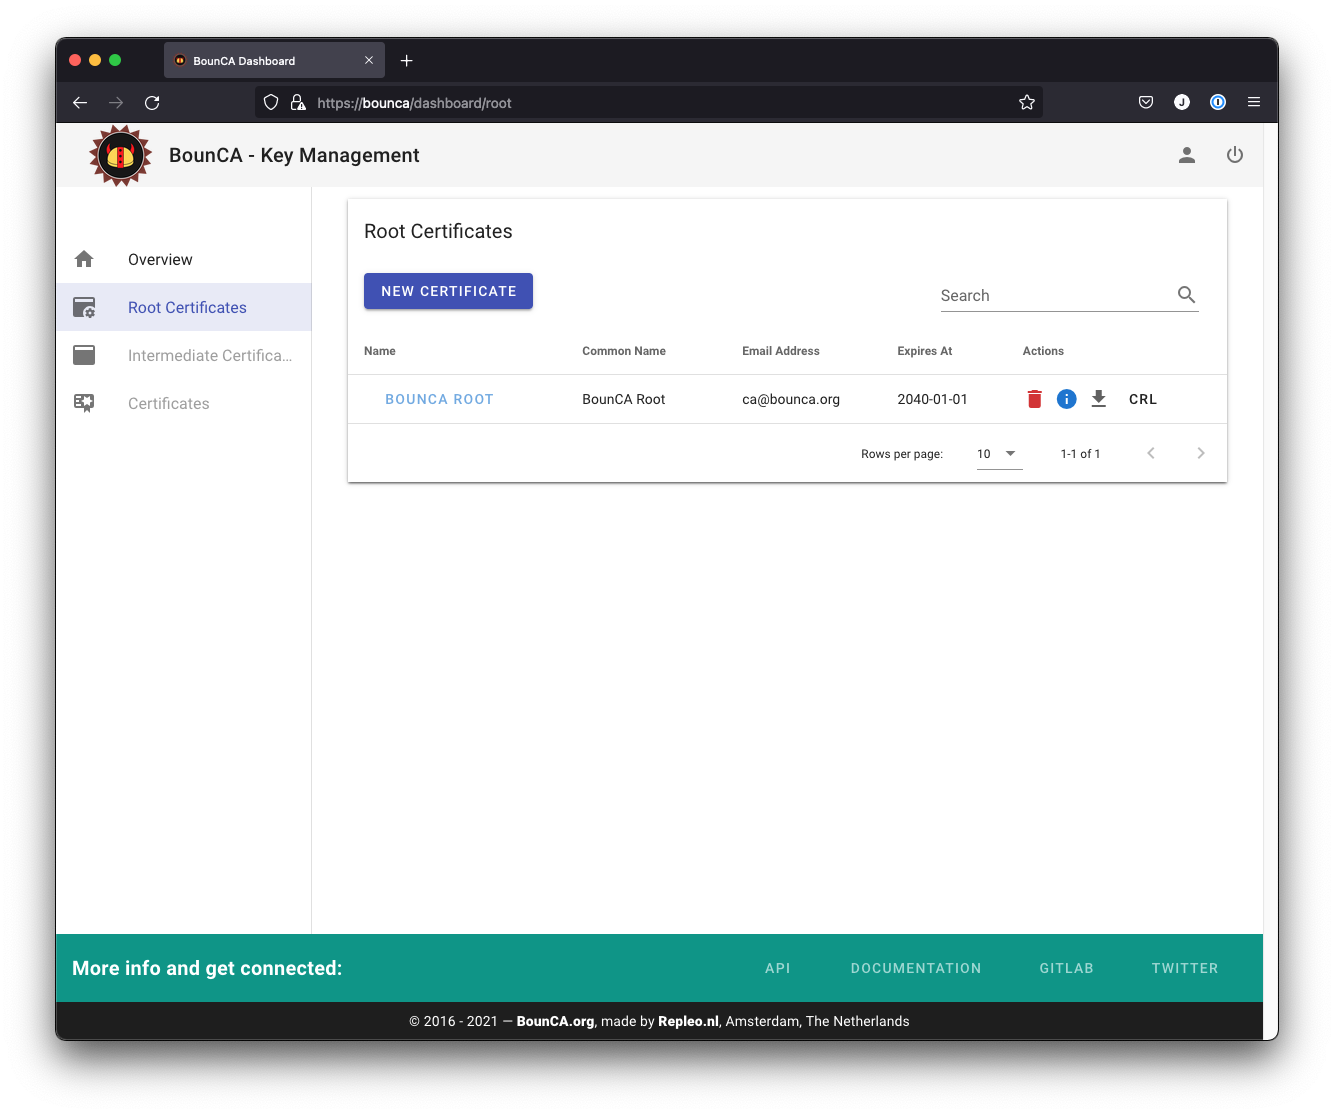
Root certificate for authority generated
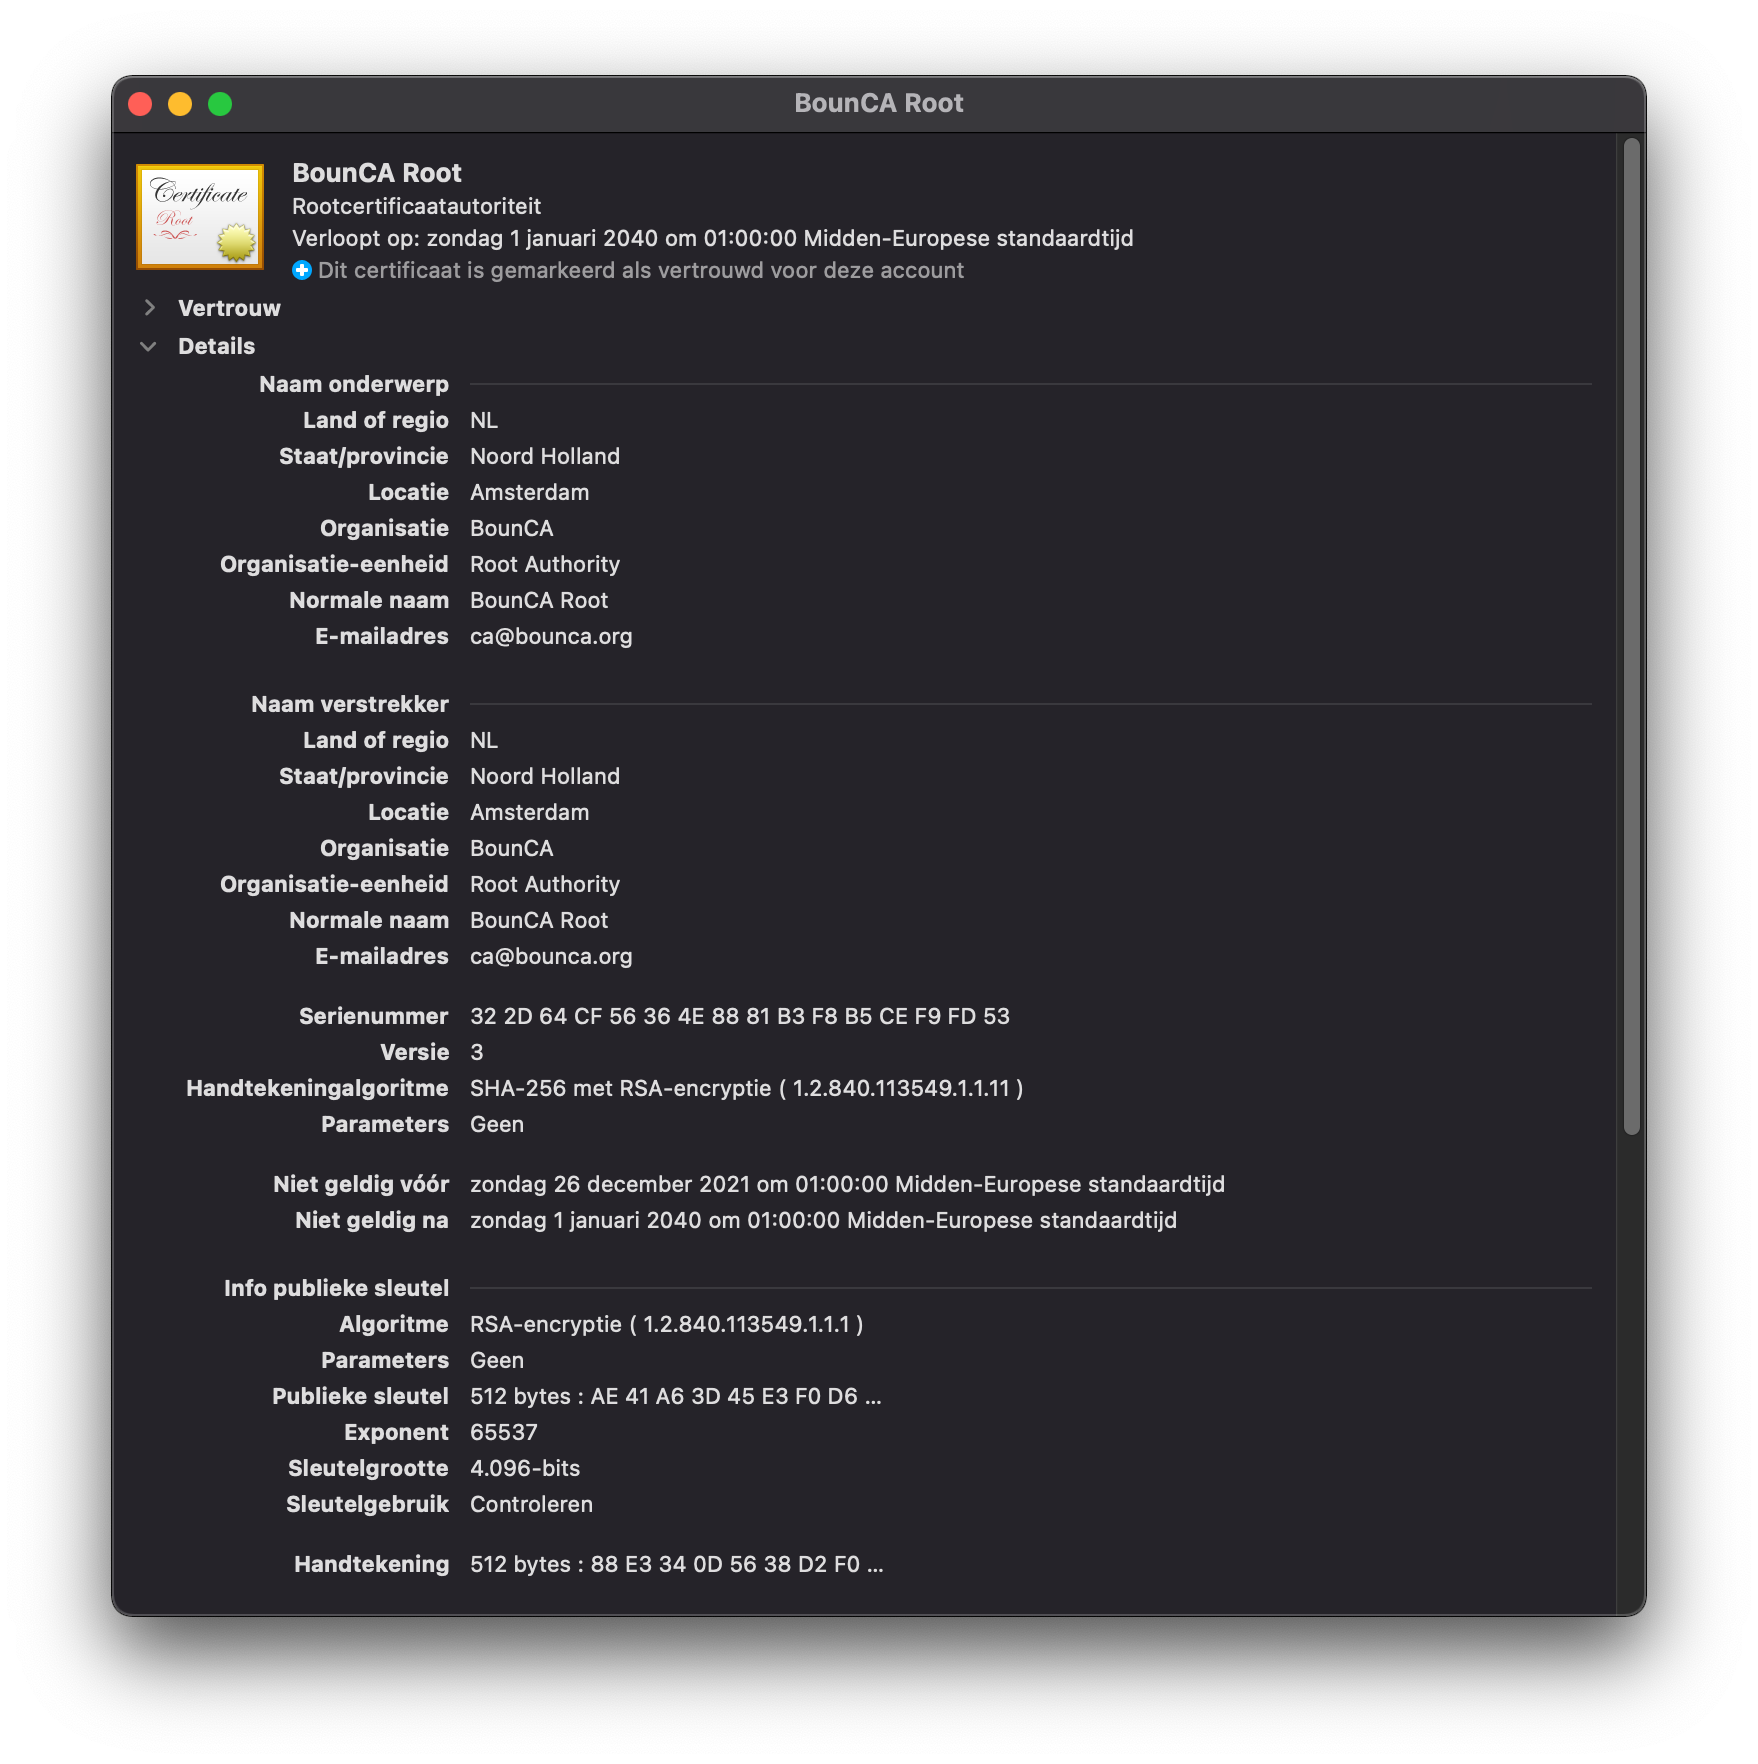
You can check the subject and data of the certificate by clicking on the info button.
The output shows:
the Signature Algorithm used
the dates of certificate Validity
the Public-Key encryption algorithm
the Issuer, which is the entity that signed the certificate
the Subject, which refers to the certificate itself
The Issuer and Subject are identical as the certificate is self-signed.
Note that all root certificates are self-signed.
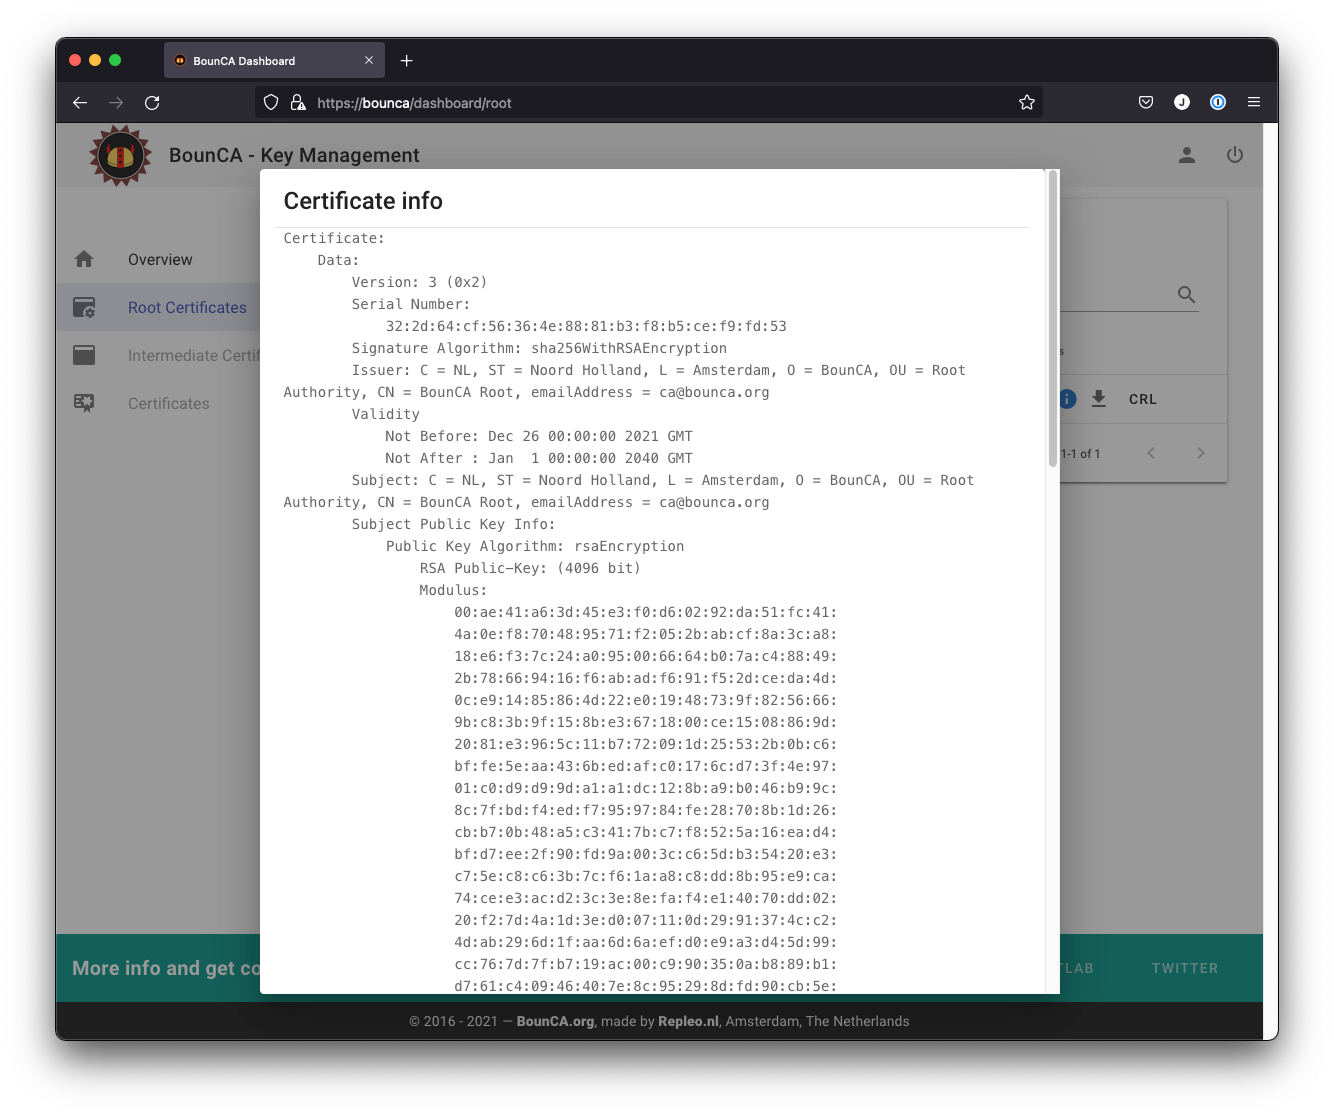
Inspect root certificate
You can scroll down to inspect the applied X509v3 extensions.
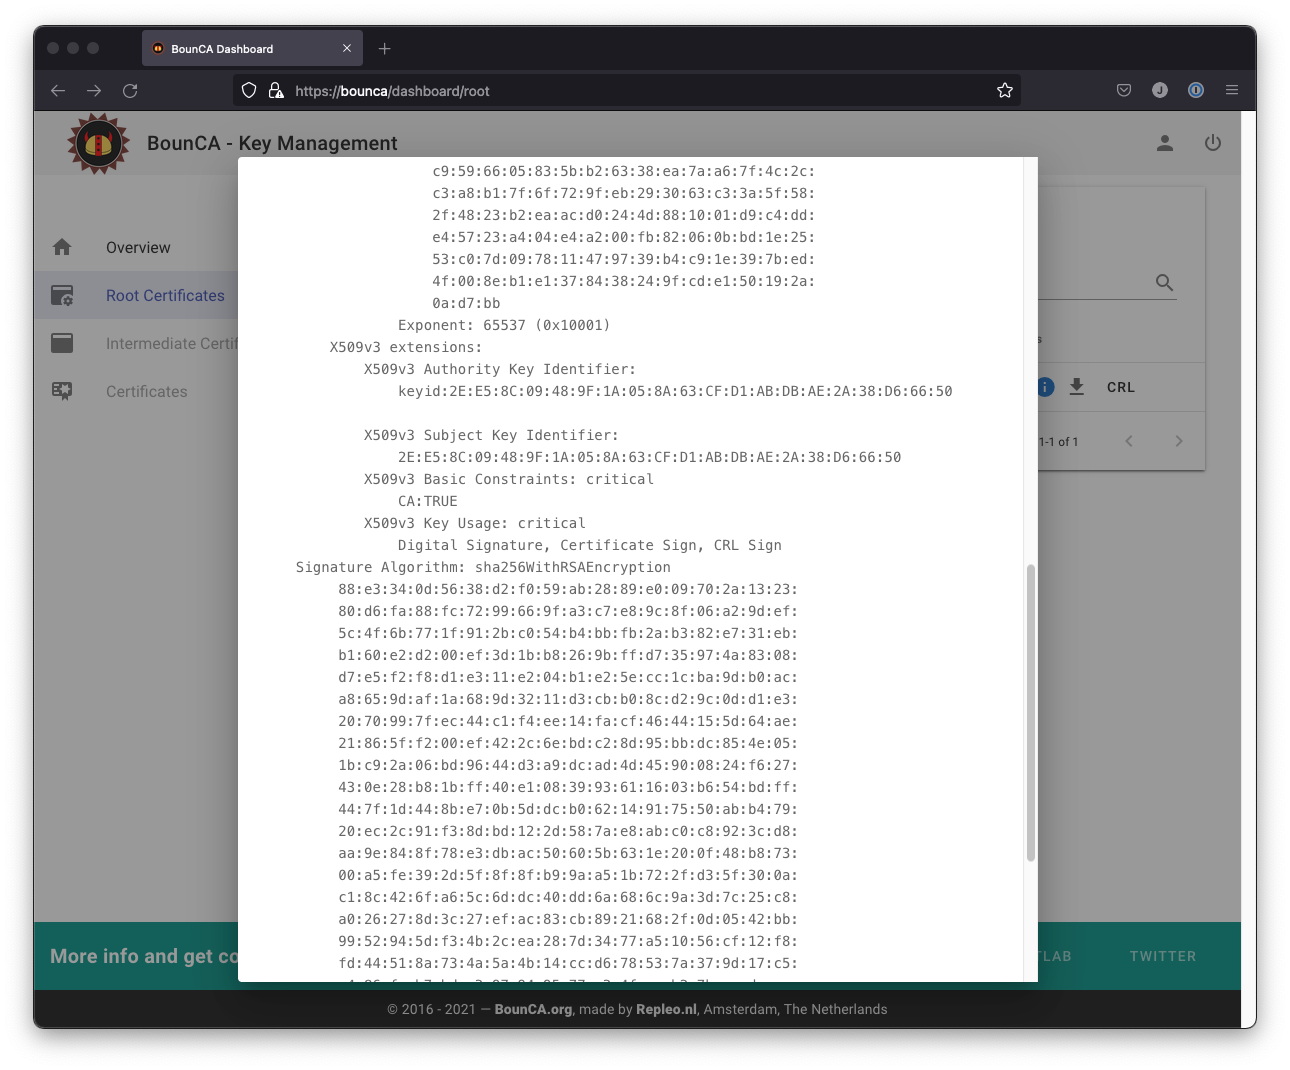
The applied X509v3 extensions
Download the root certificate PEM by clicking on the down-arrow button. Your operating system will trust all the child certificates of your root authority when you add the PEM file to your trust library of your operating system. We show here how to add the root certificate to MacOS, other operating systems are discussed in Install self-generated root certificates.
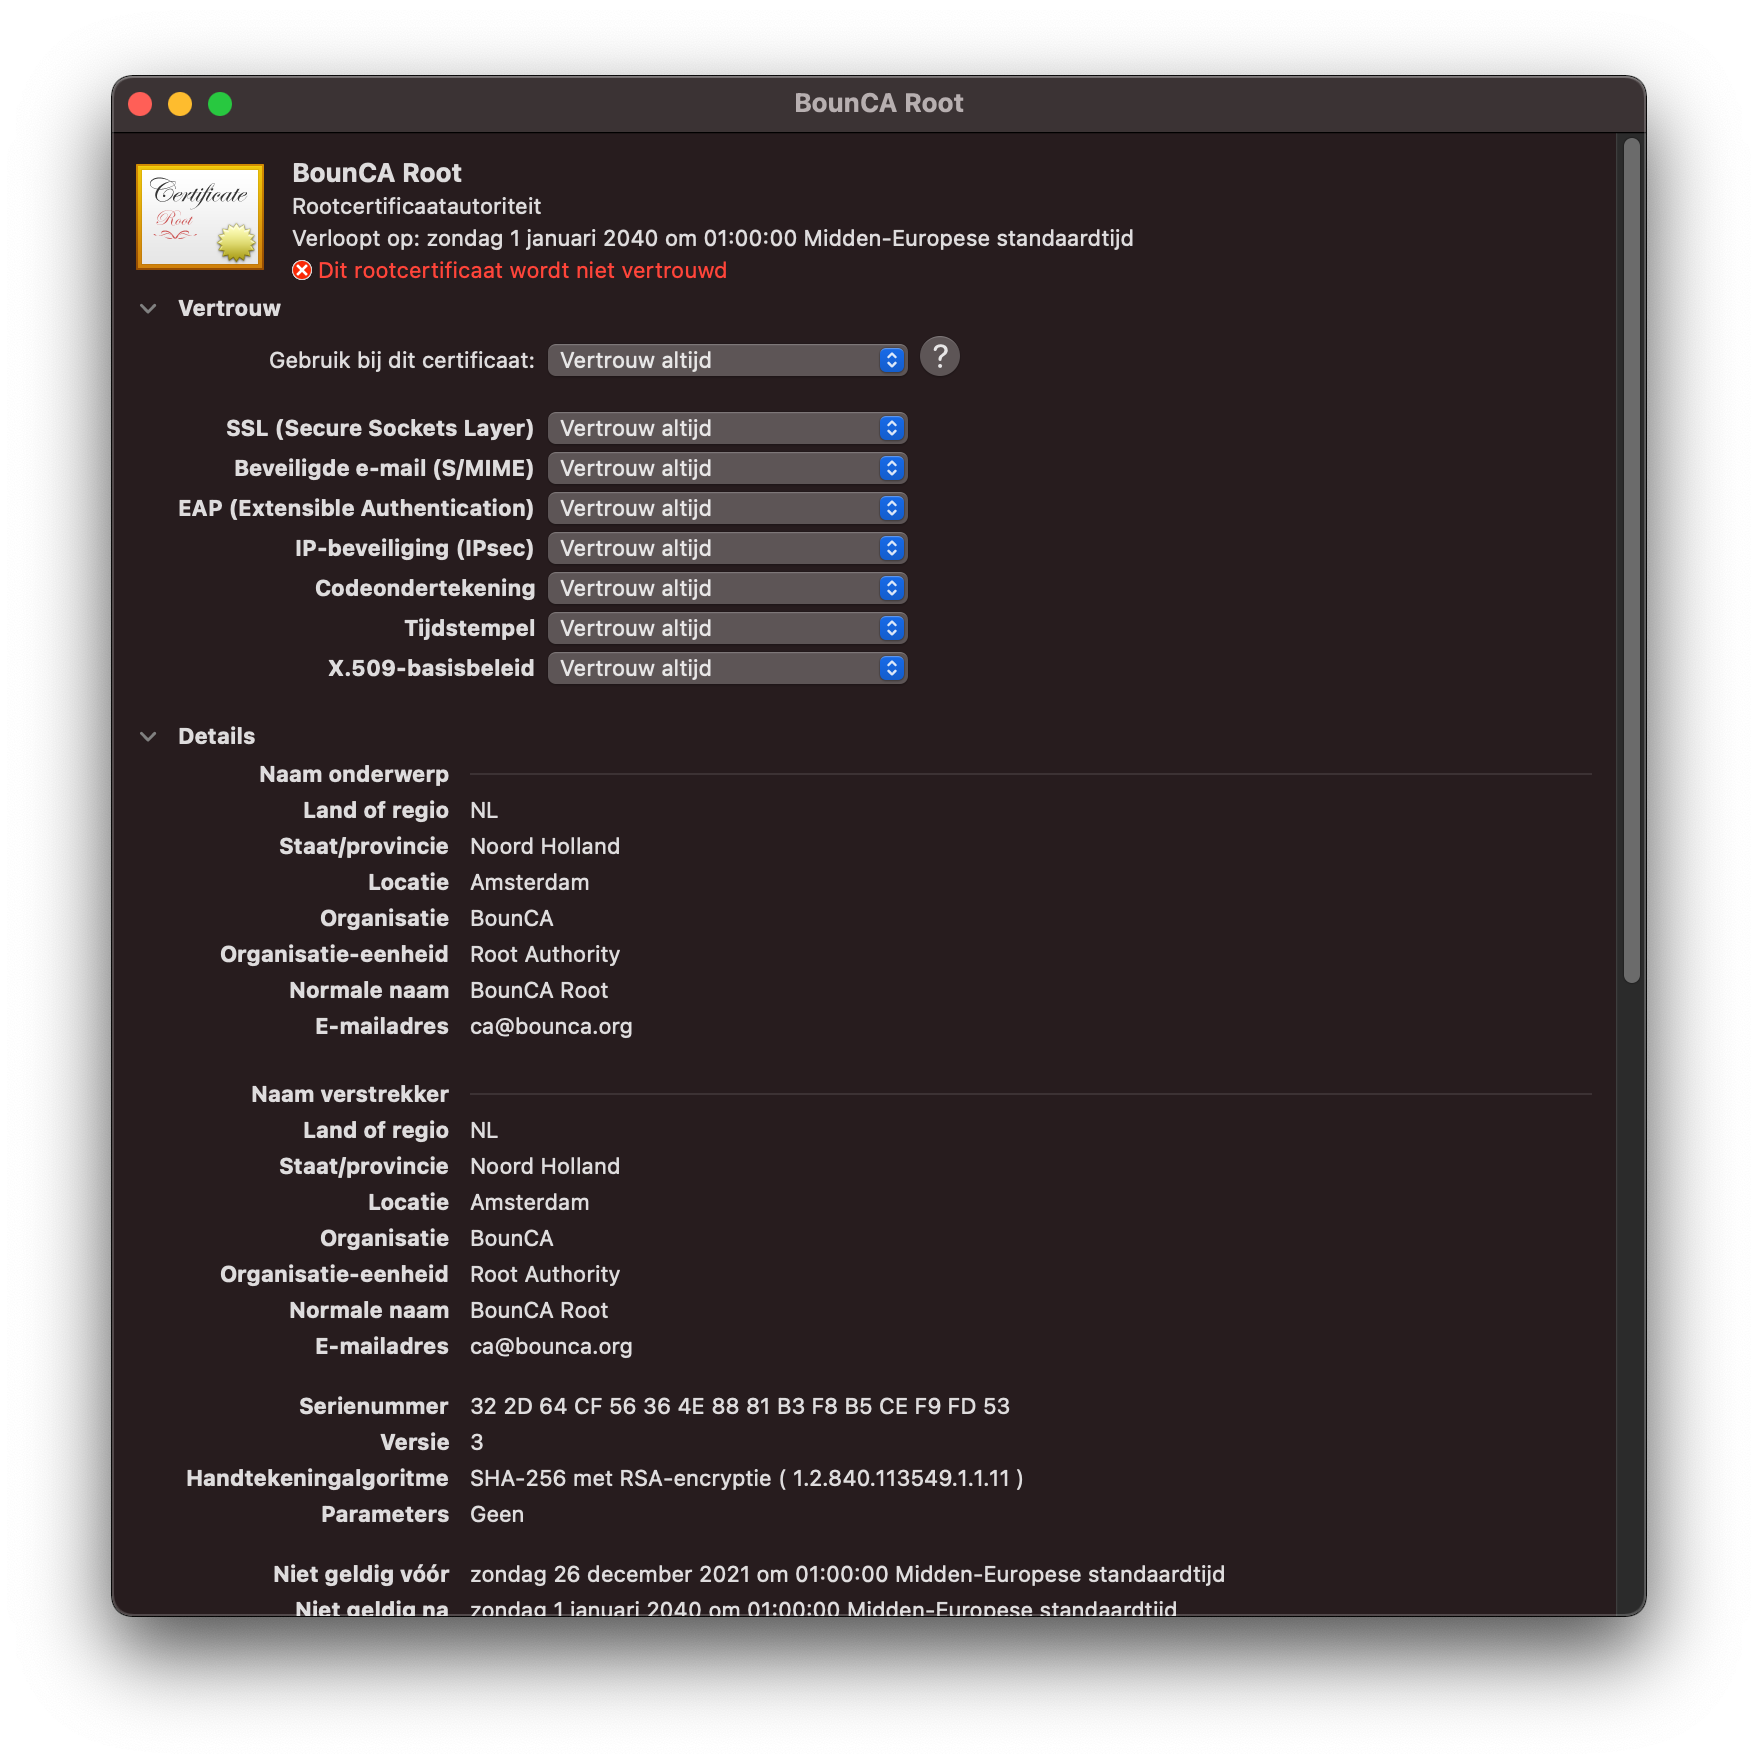
Download the root certificate from the BounCA interface and double click on the downloaded PEM. The key manager program will start and it will show you the certificate. You might need to filter on the certificate common name to find it in the list. Check the validity of the certificate.
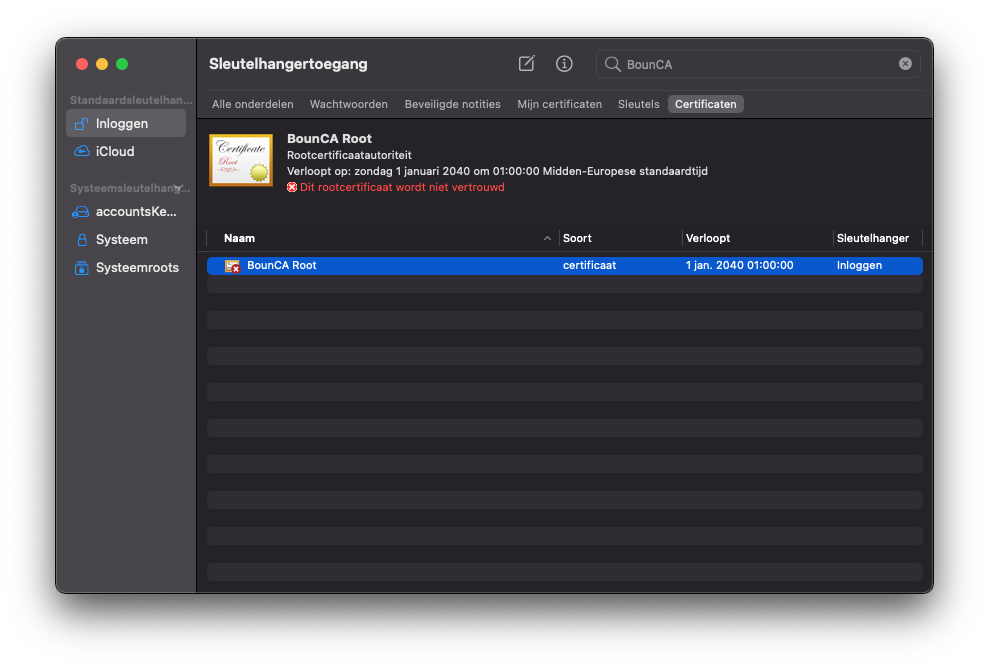
Install root CA pem file on MacOS
Right click on the certificate to inspect it.
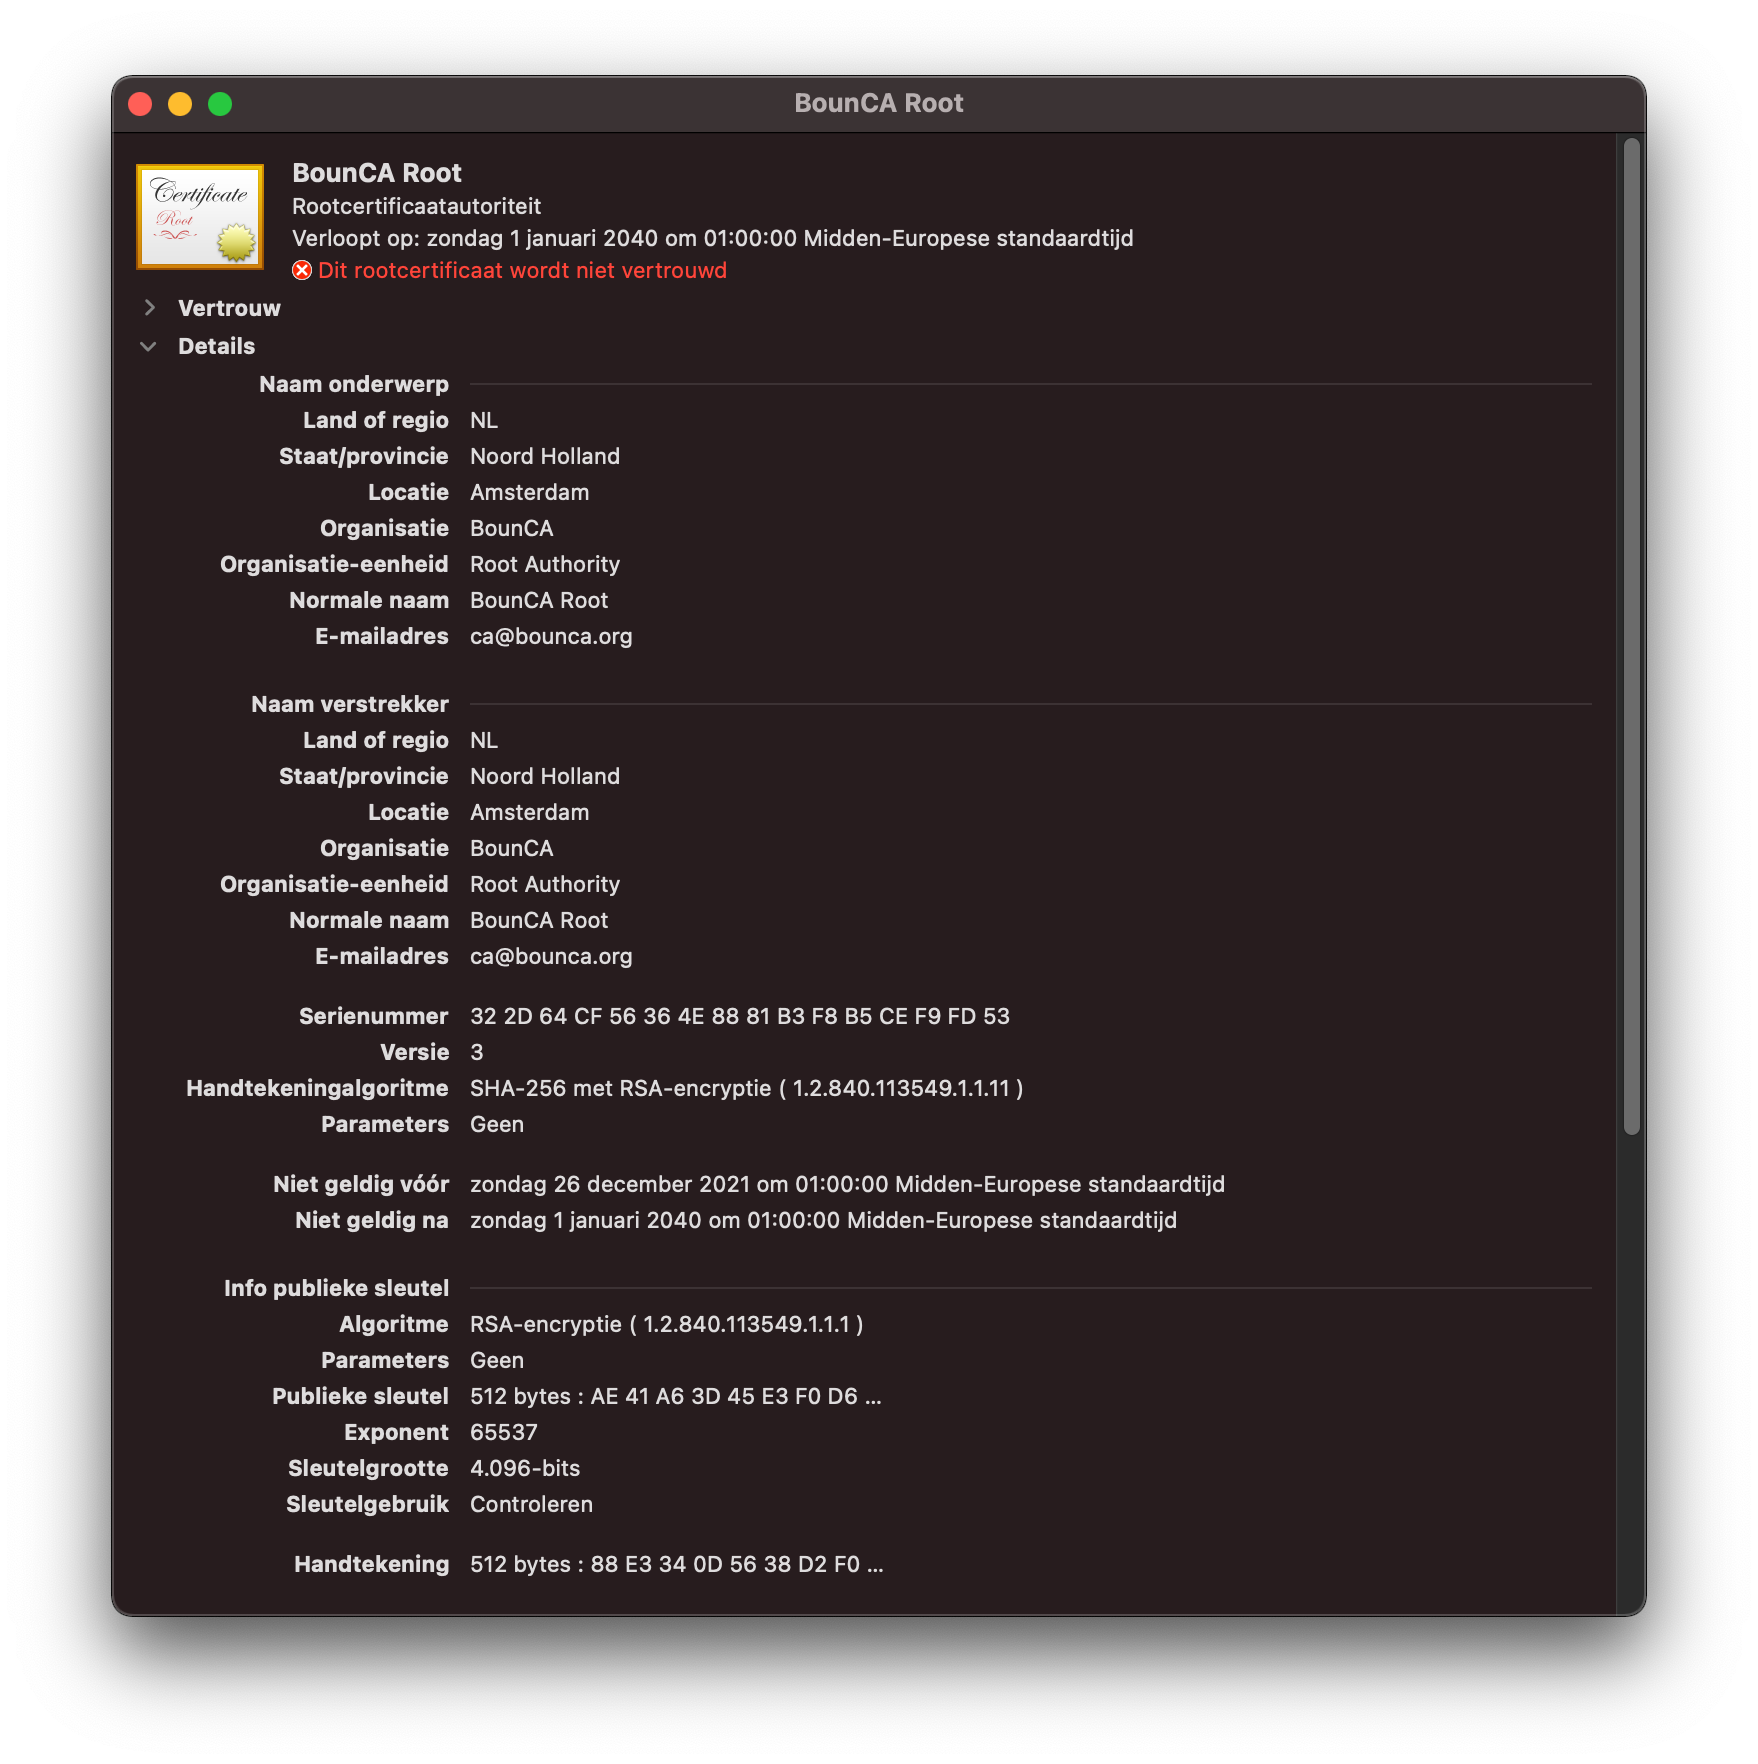
Validate root CA PEM on MacOS
If everything is correct, you can trust the certificate as root authority. A dialog pops up to enter your password. MacOS will trust the root CA’s signed certificates after you have added the certificate to your trust chain.
Trust your root certificate
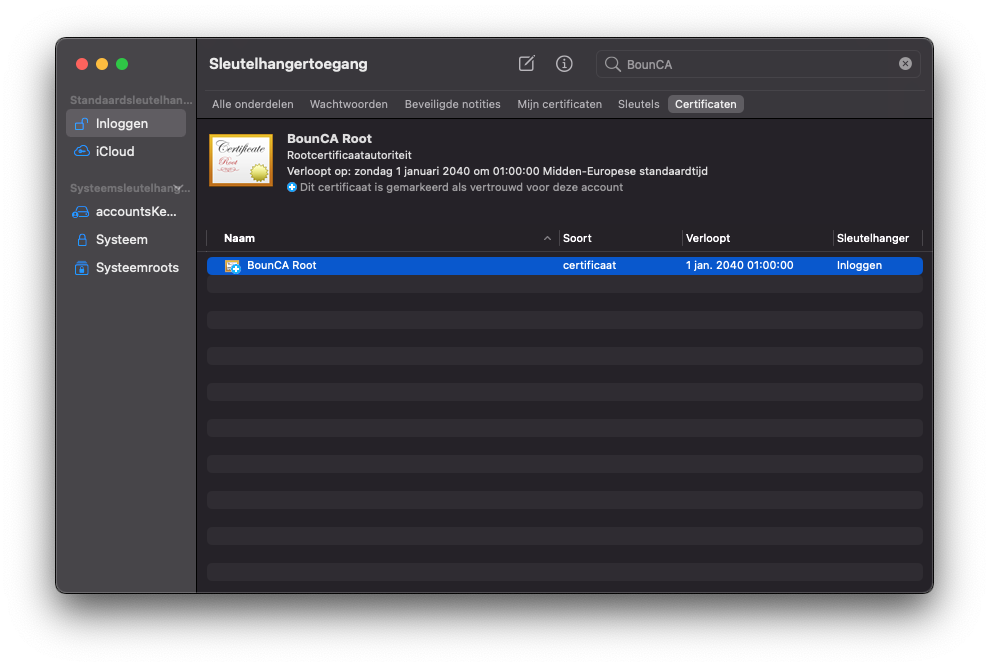
Re-open the key manager, search for your root certificate. You will notice it is now trusted by MacOS.
Trusted root certificate
If you inspect the certificate you see it is valid and trusted.
Verify root CA has been trusted
The intermediate certificate authority (CA) signs certificates on behalf of the root CA. A root CA can sign multiple intermediate certificate, and each form a chain of trust.
The purpose of using an intermediate CA is primarily for security. The root key can be kept offline and used as infrequently as possible. If the intermediate key is compromised, the root CA can revoke the intermediate certificate and create a new intermediate cryptographic pair.
Enter the root CA view in BounCA by clicking on the name of the root certificate. You will enter a screen with an empty table.
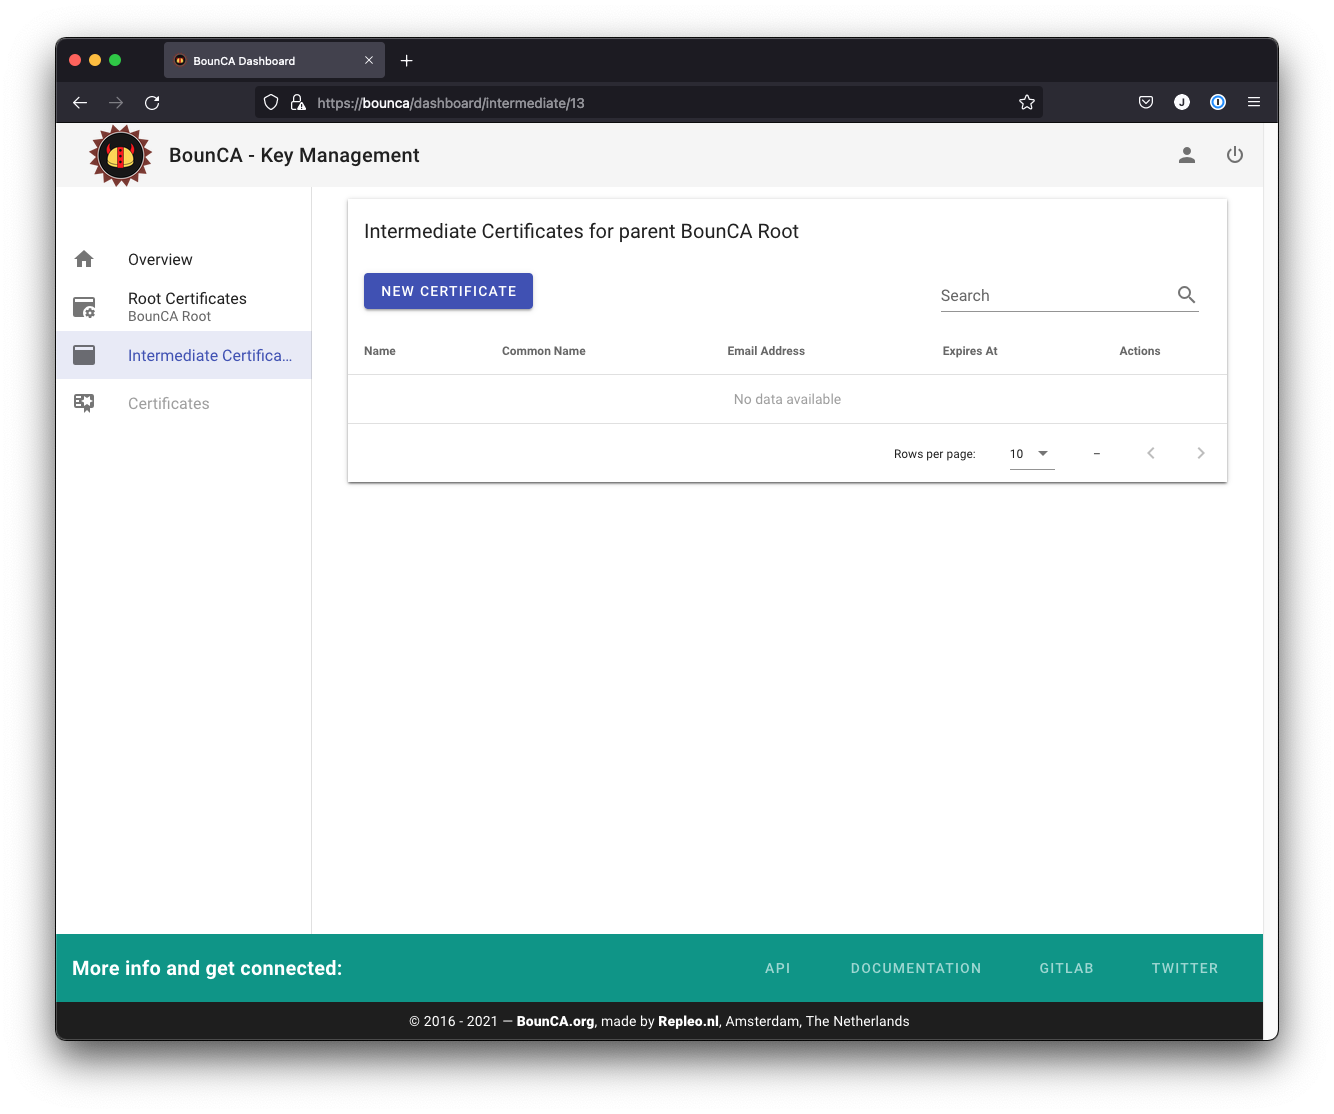
Use root certificate as context
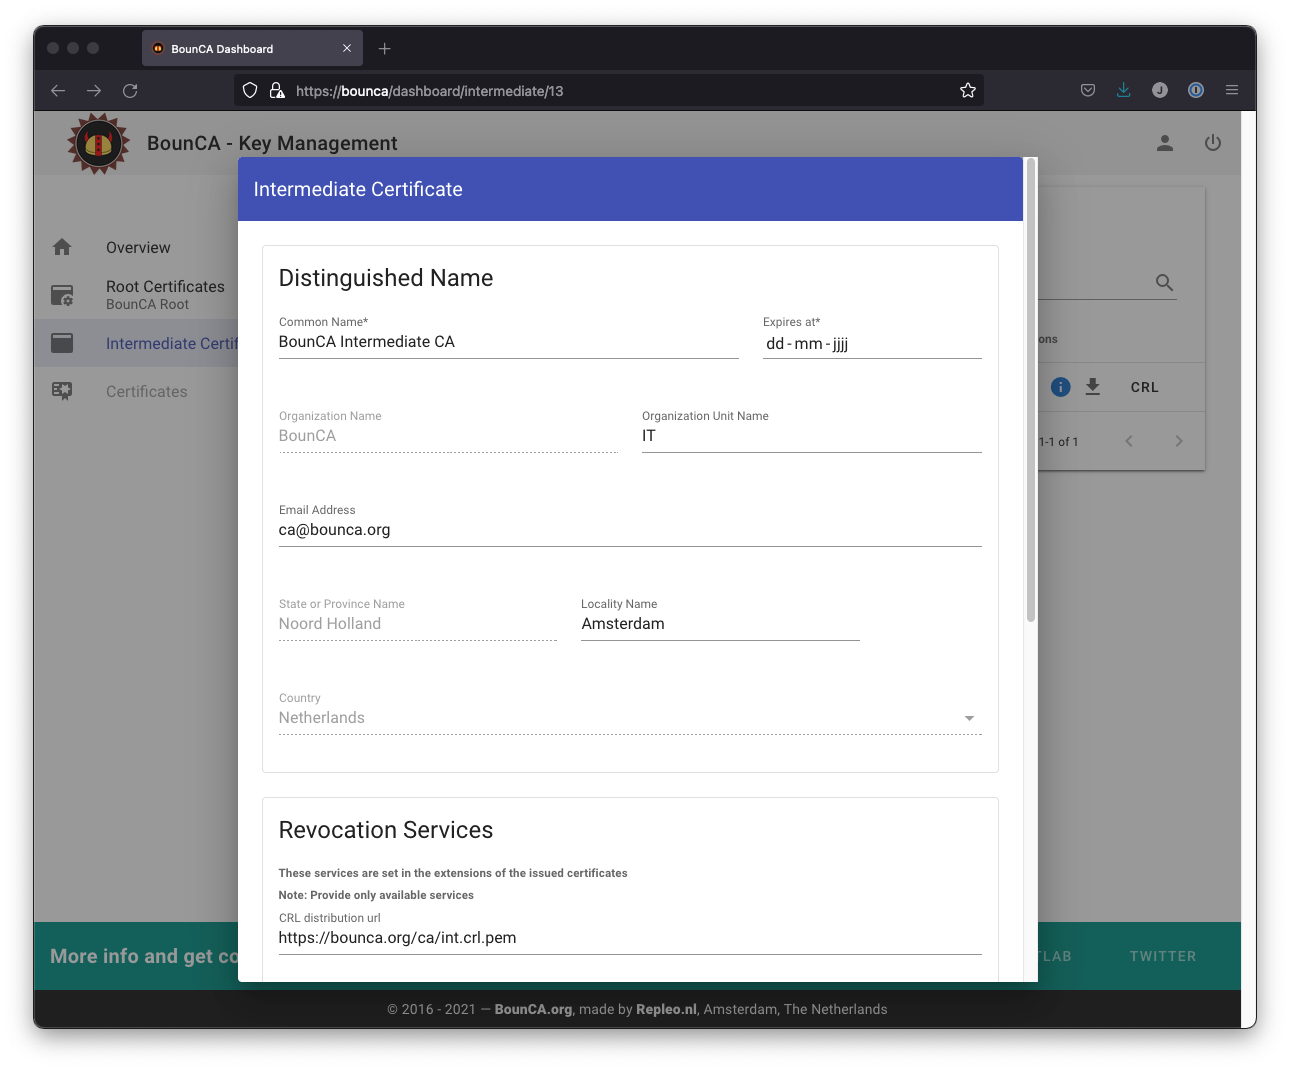
Click on the new certificate certificate button. You will get a form where where you can fill in the details of your intermediate CA.
Give the intermediate CA a common name which distinguish from the root certificate.
The distinguished name is pre-filled with the values from the root certificate. You are not able to edit all the fields,
as these fields must have the same value as your root authority.
The intermediate certificate should be valid for a shorter period than the root certificate. Ten years would be reasonable.
Generate intermediate certificate authority
You need to provide a passphrase to secure the intermediate certificate, and provide the passphrase of the root certificate. The passphrase of the root certificate is used to sign the intermediate certificate. Use again a strong passphrase to protect your intermediate certificate.
You can also provide a CRL uri and OCSP uri. These are used for the revocation of the server, and client certificates signed by the intermediate certificate.
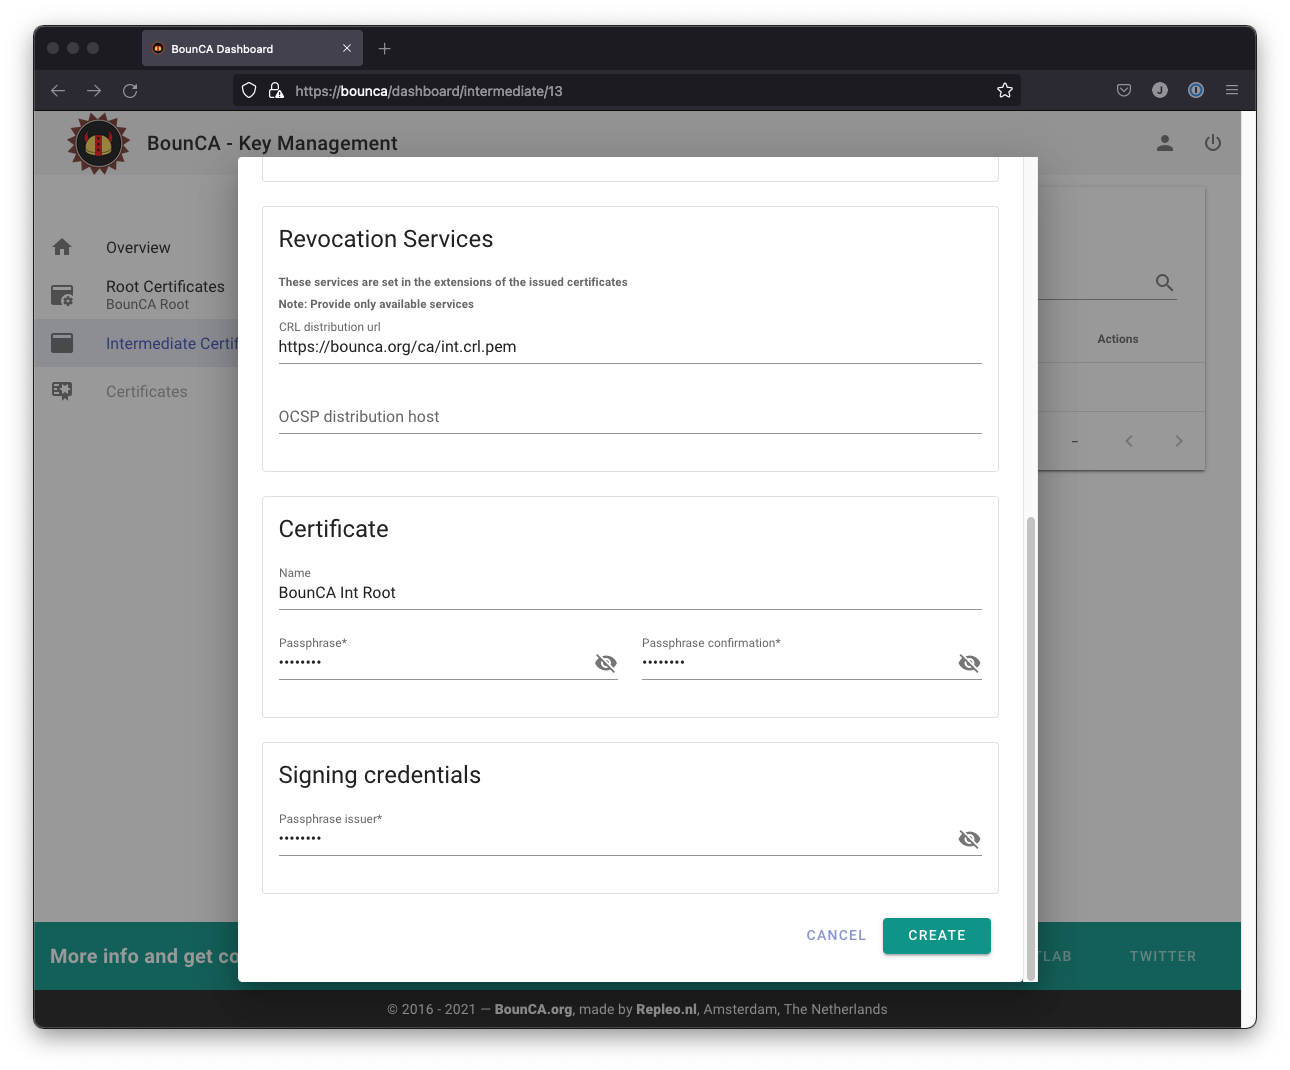
Enter passphrases for generating intermediate certificate

The generated intermediate certificate
The intermediate certificate will be generated and you can inspect its subject by clicking on the i button.
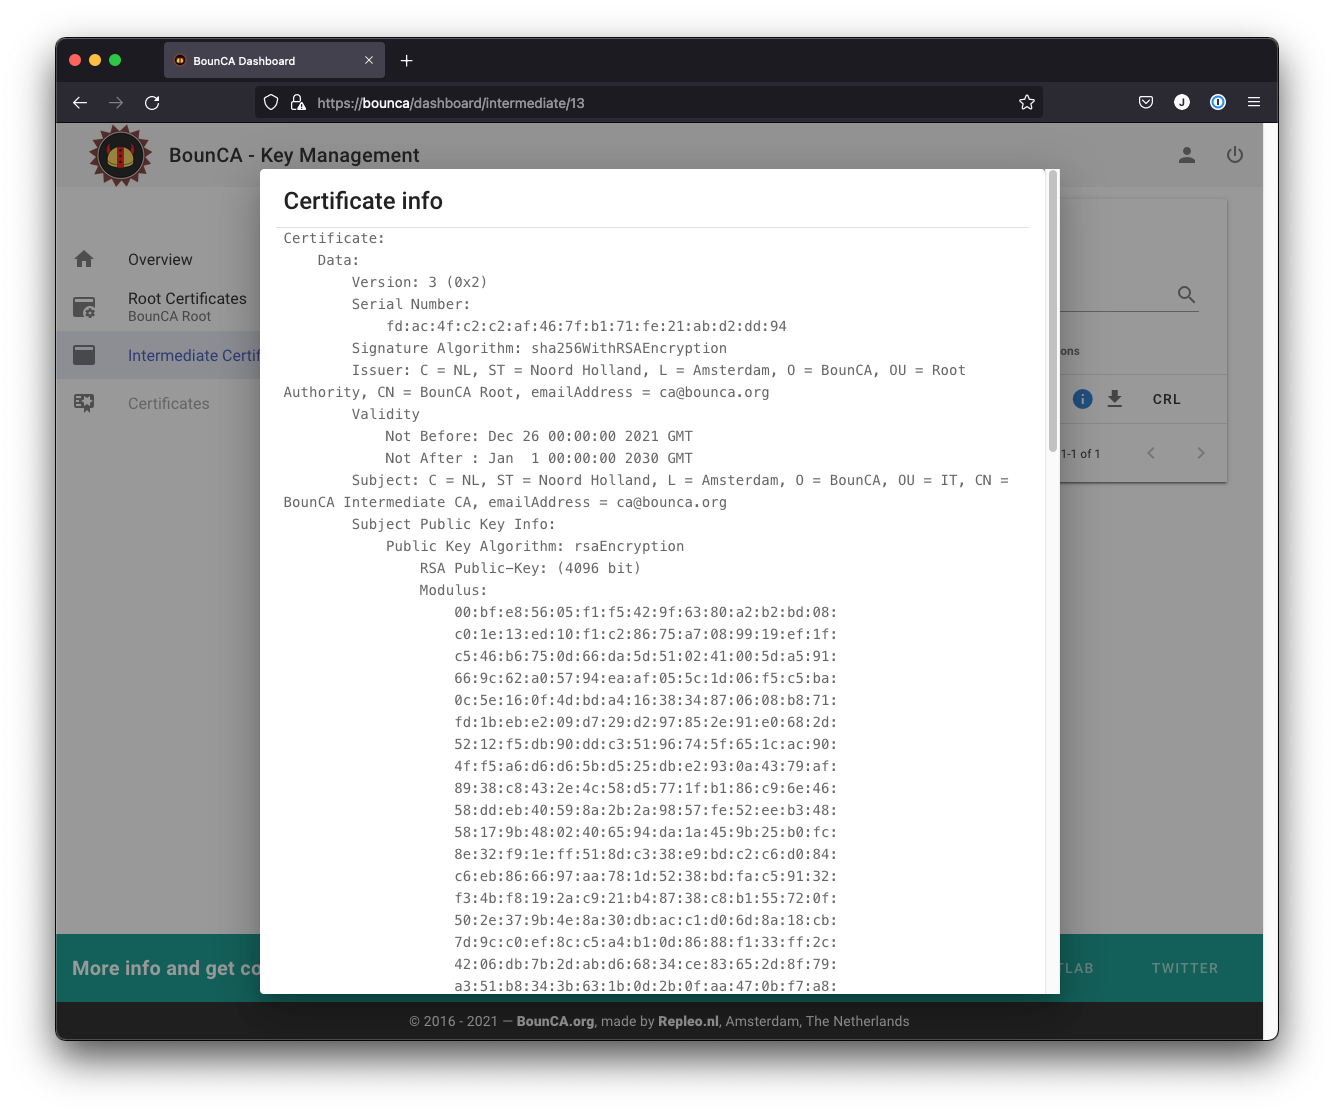
Inspect intermediate certificate authority
The CRL and OCSP uris of the intermediate certificate are based on the values provided when generating the root certificate.
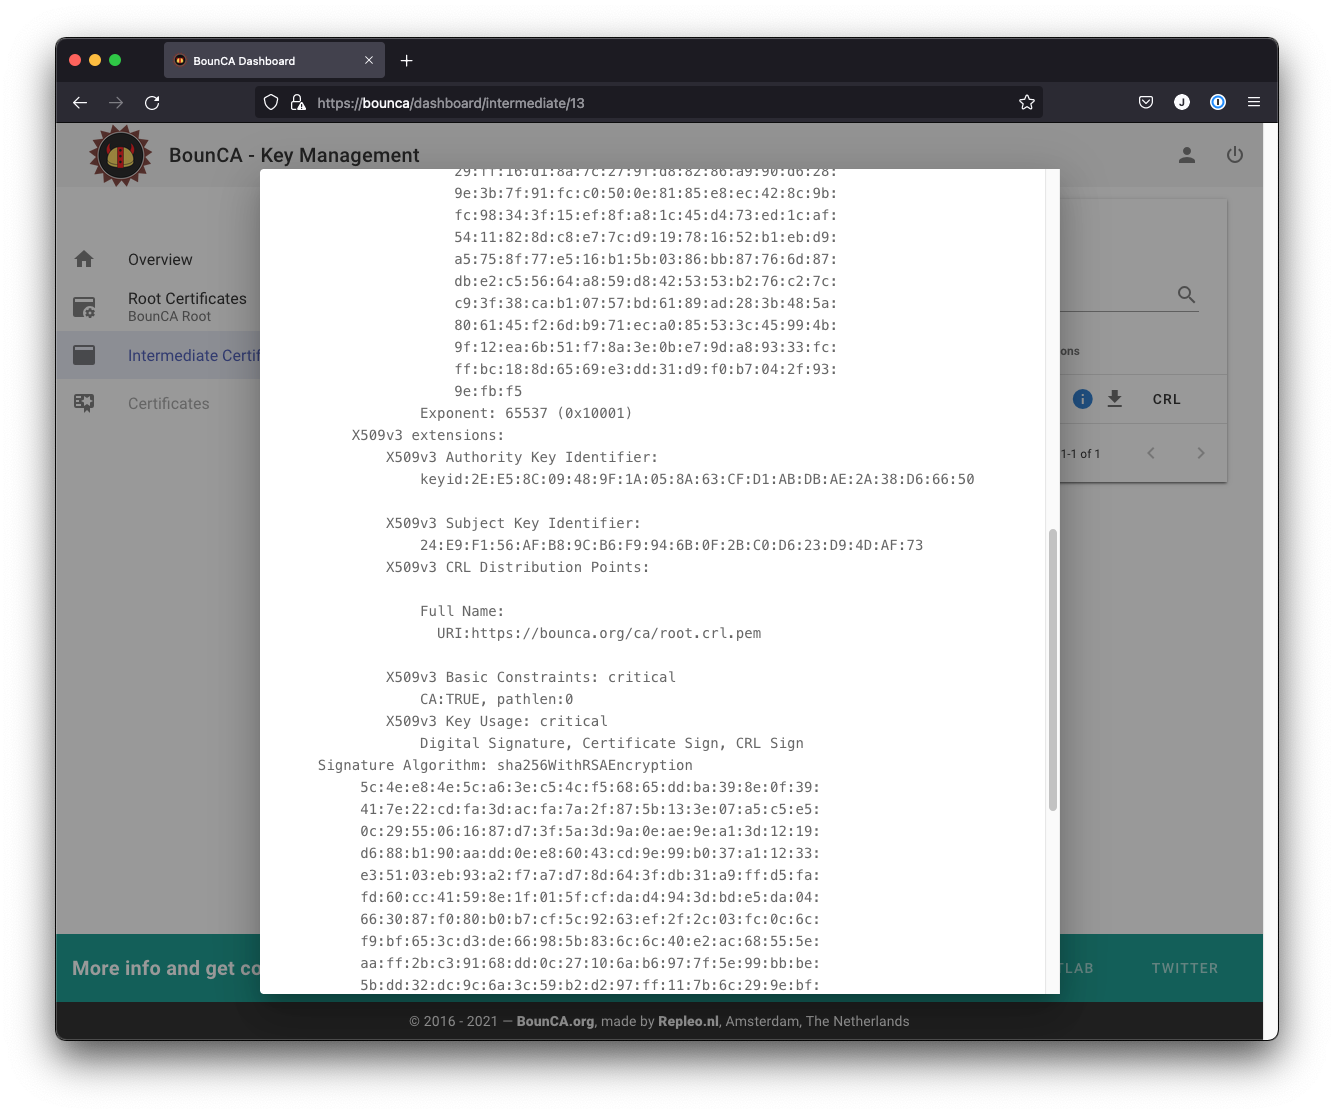
Inspect CRL and OCSP links of intermediate certificate
This guide has shown you how to set up a root certificate authority with BounCA and how to generate an intermediate certificate. You can now generate server certificates (Create Server Certificate) and client certificates (Setting up mutual TLS using Client Certificates) to enable encrypted HTTPS connections and client authorisation.
Every time you revoke a certificate, you need to update the CRL file on your webserver.
To automate this process, it is possible to download this CRL file from BounCA using a shell script.
The shell script overwrites the CRL file when BounCA offers a new CRL file, this is based on the Last_Modified header.
Install the following script on your webserver, and call it every hour via CRON.
#!/bin/sh -x

wget -NS --content-disposition --header="X-AUTH-TOKEN: <TOKEN>" <CRL-URL>
This script needs a CRL-URL and a TOKEN. The CRL-URL can be found to right-click on the CRL button of the
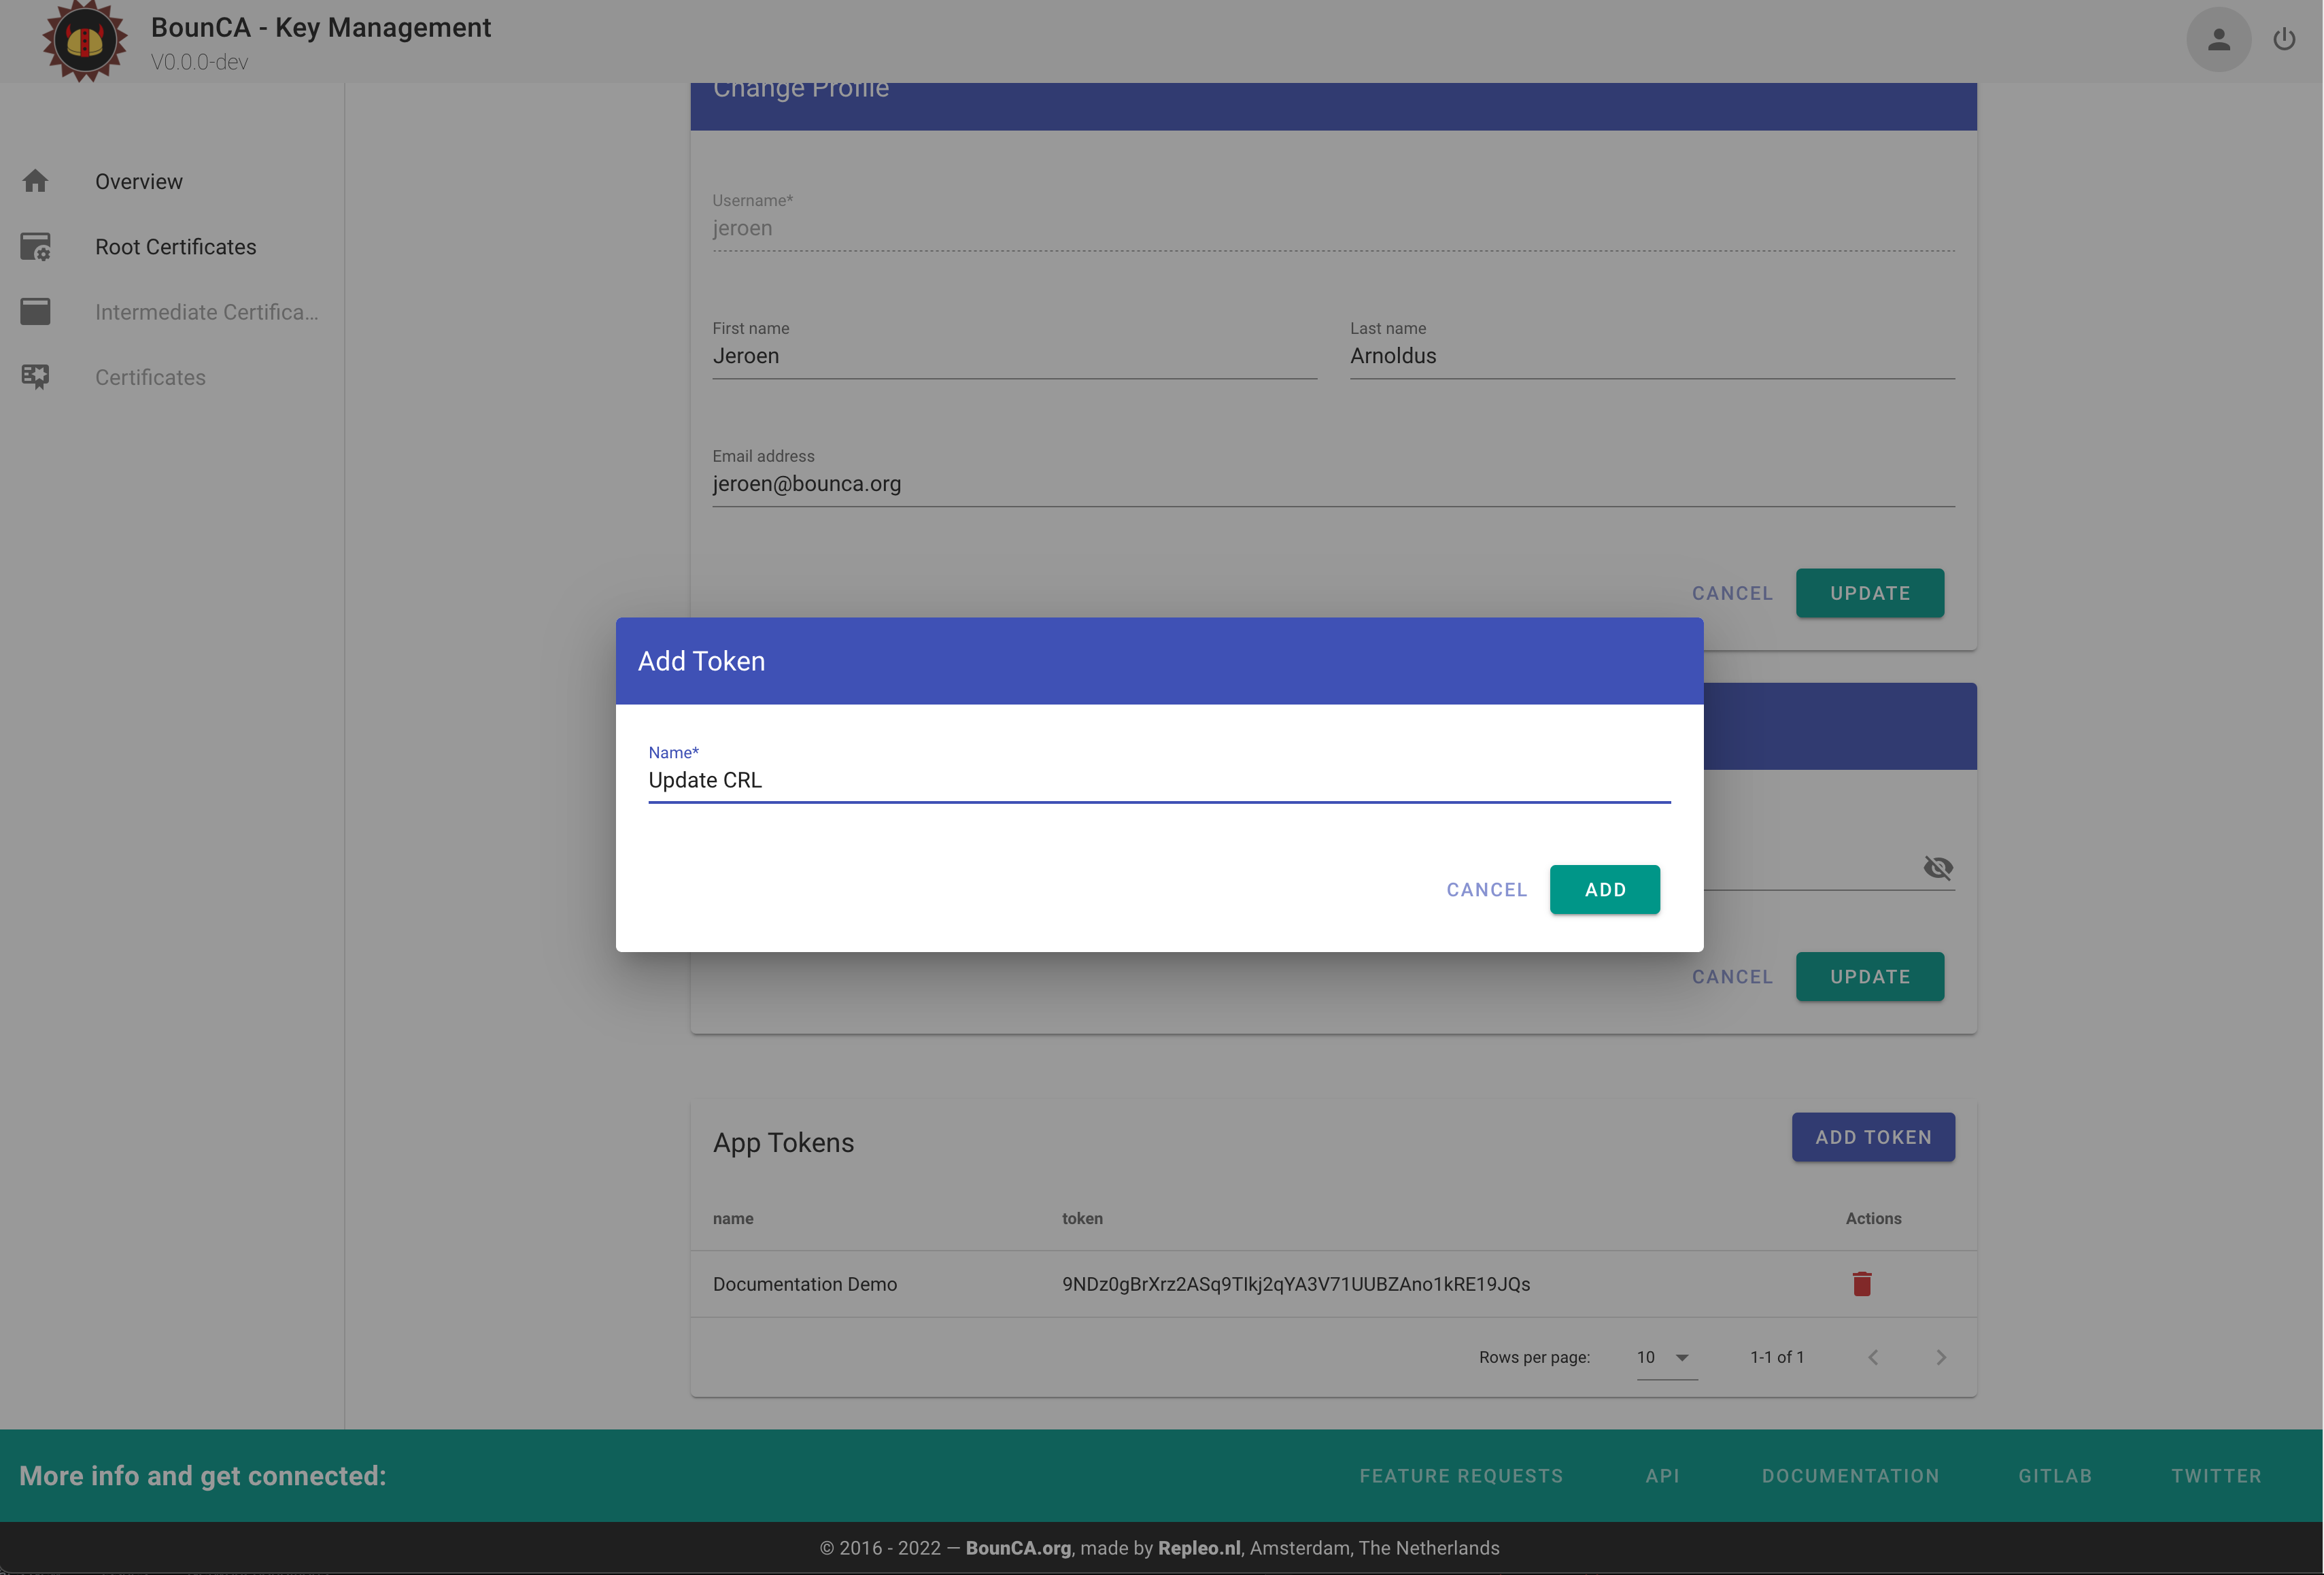
root certificate, or intermediate certificate. The TOKEN must be generated via the User Profile page. Scroll to the
App Tokens modal, and press Add Token. Give the token a name, and create it. Use the token string in the X-AUTH-TOKEN
header of your request to get access to the CRLs of your CA.
Create App Token for downloading CRL updates via API